7,500+ items available from stock
Best price guarantee
Your partner for astronomy

New Products

Posts Tagged 'astrophotography omegon'

Omegon polarscope additional light for Omegon MiniTrack mounts as well as EQ5, LX85, AVX etc.

October 5 2023, Achim Mros

We all know the problem – the black lines and crosshairs on a polarscope reticle can be difficult or impossible to see at night. Like a “Chimney Sweep at Night against a Black Background” (a painting by the German comedian Karl Valentin).
With this high-quality Omegon polarscope light, such problems are a thing of the past. The dimmable lighting unit brightens the polarscope’s field of view slightly, so that the crosshair is visible once again in front of your chosen section of the night sky, without outshining important stars such as, in this case, Polaris.
The Omegon polarscope light is made of high-quality CNC-machined aluminium, so it is not yet another flimsy plastic part. They are produced in the EU, more precisely in Portugal, by NIMAX Portugal.
What is particularly interesting, however, is that this supplementary illumination has a variety of uses. It fits all Omegon MiniTrack LX and Quattro travel mounts with optical polar finderscopes.

Attached to an Omegon MiniTrack polarscope

This device can also be used with mounts that do not have an illuminated polar finderscope unit, for example:

Skywatcher EQ5
Meade LX85
Celestron AVX
MON 2
EXOS II

and with other equatorial mounts with an optical polar finderscope.

Omegon polarscope light on a Skywatcher EQ5 mount

New additions to the MiniTrack family: the new LX Quattro NS

November 22 2021, Marcus Schenk

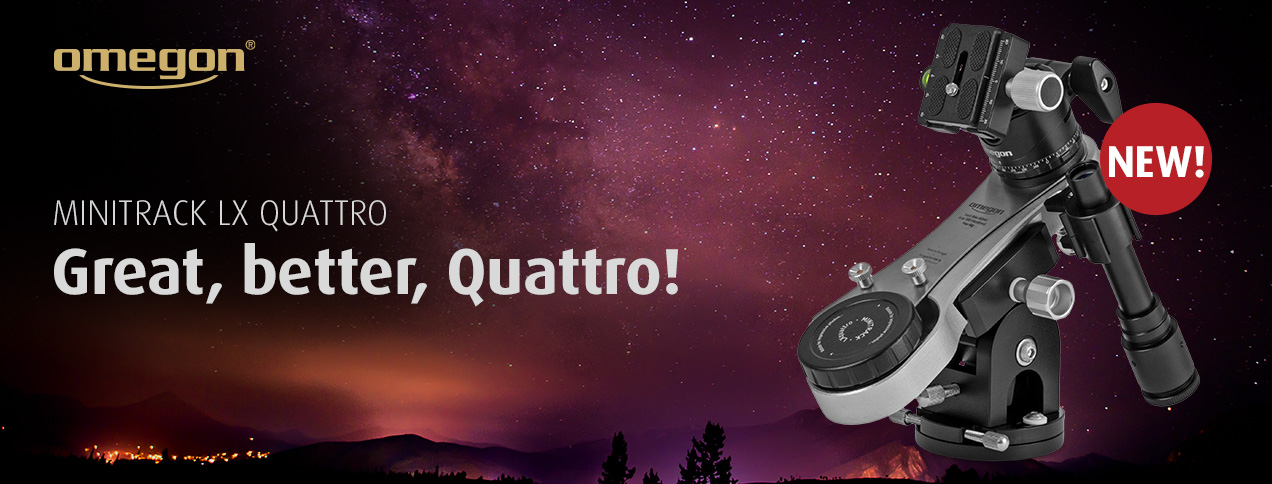
We’ve expanded our range and have welcomed a new member to the MiniTrack family: the MiniTrack LX Quattro NS. Unlike in most families, the new arrival is not the smallest member of the family, rather it is already fully grown. This means that our product developers were able to considerably improve the LX Quattro even more. But what exactly has changed?

MiniTrack, what is it?

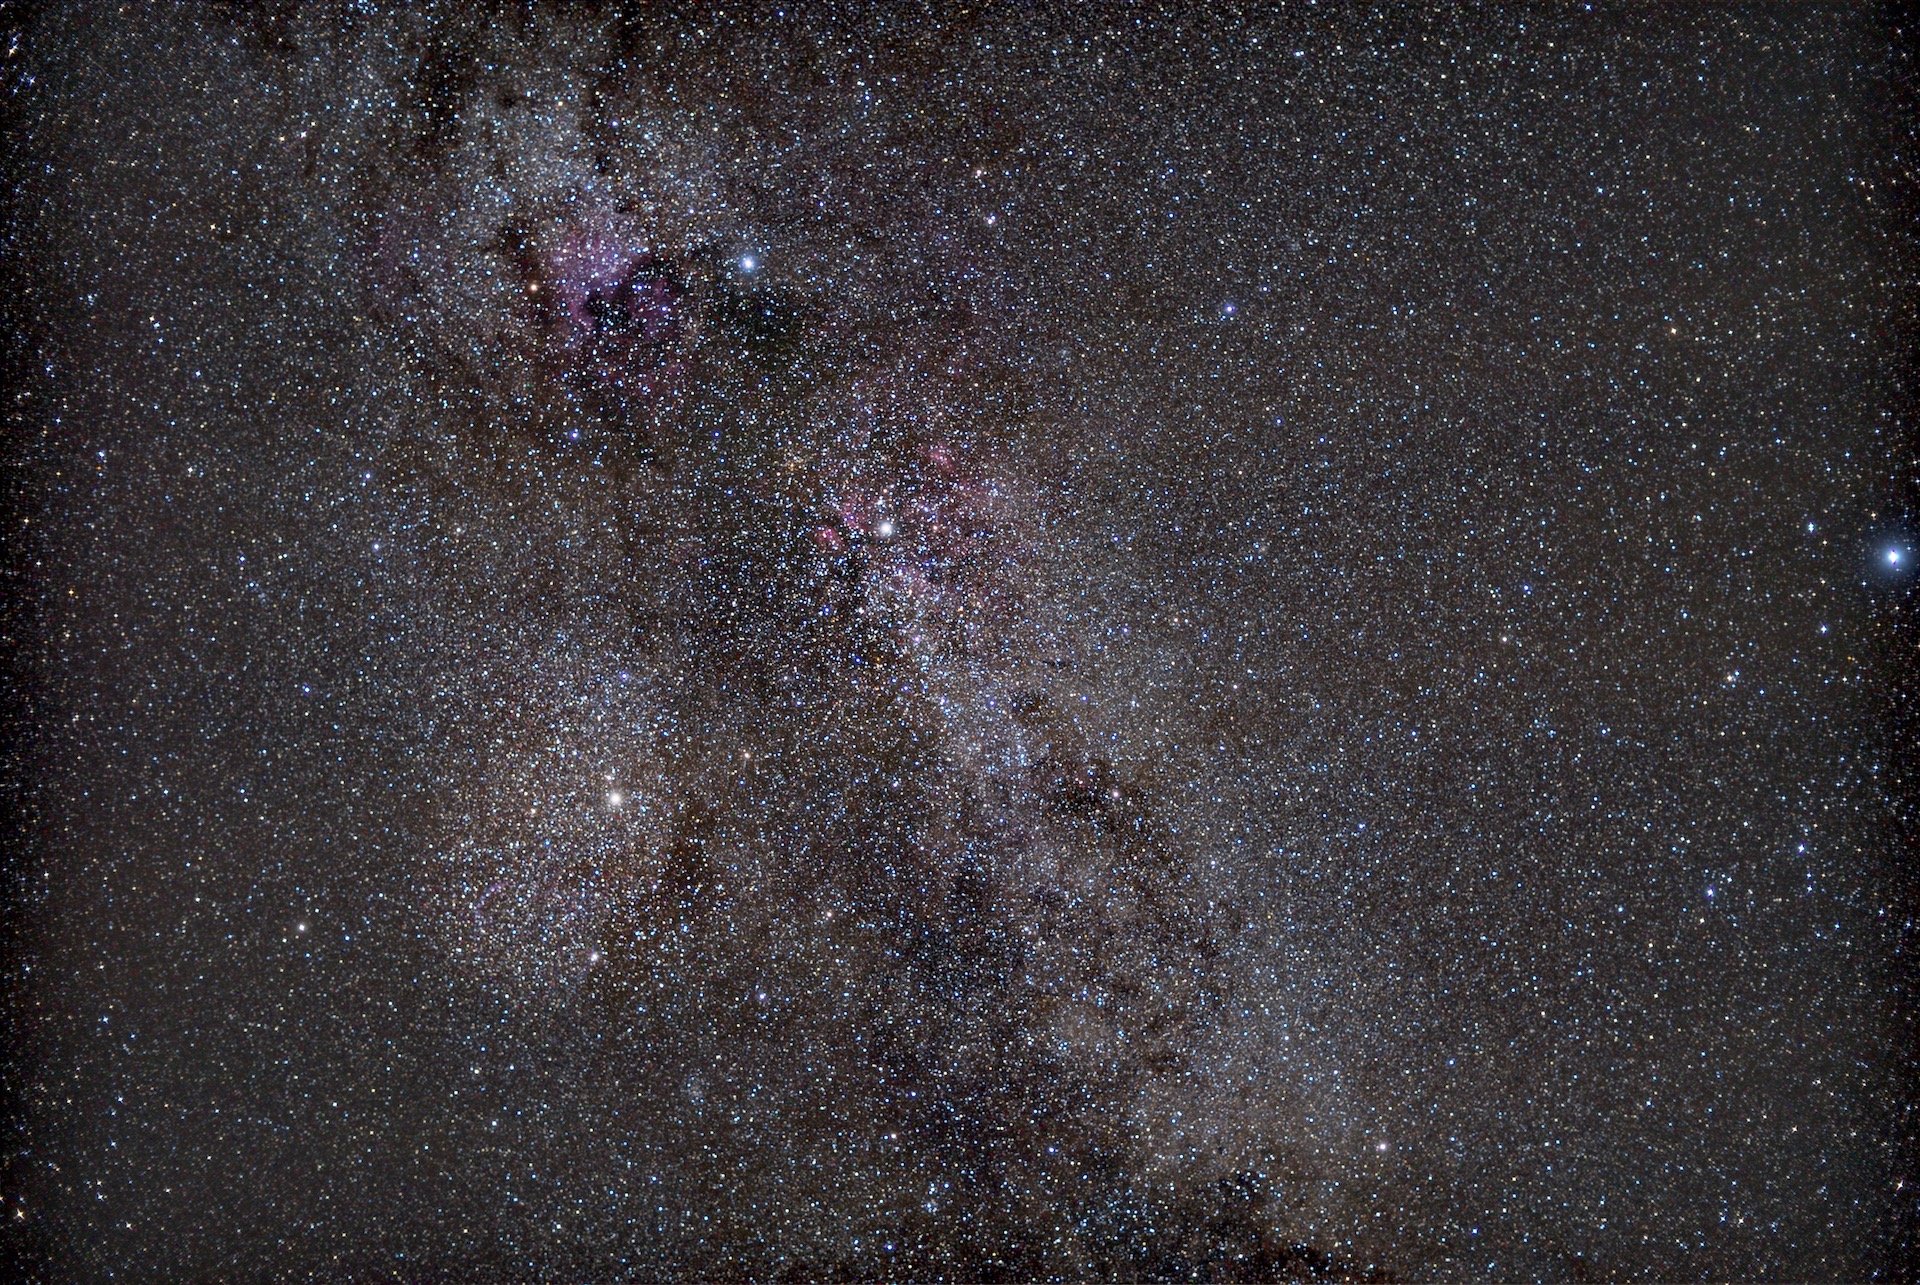
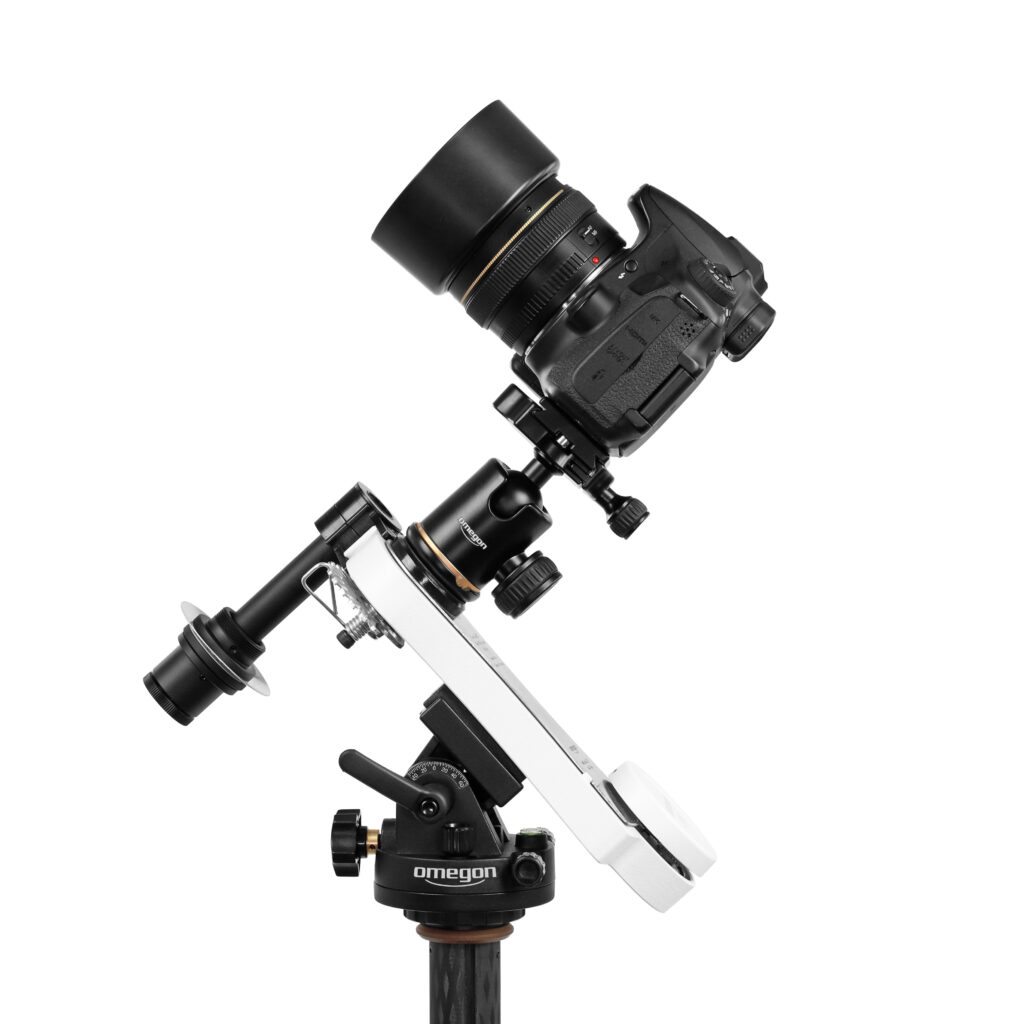
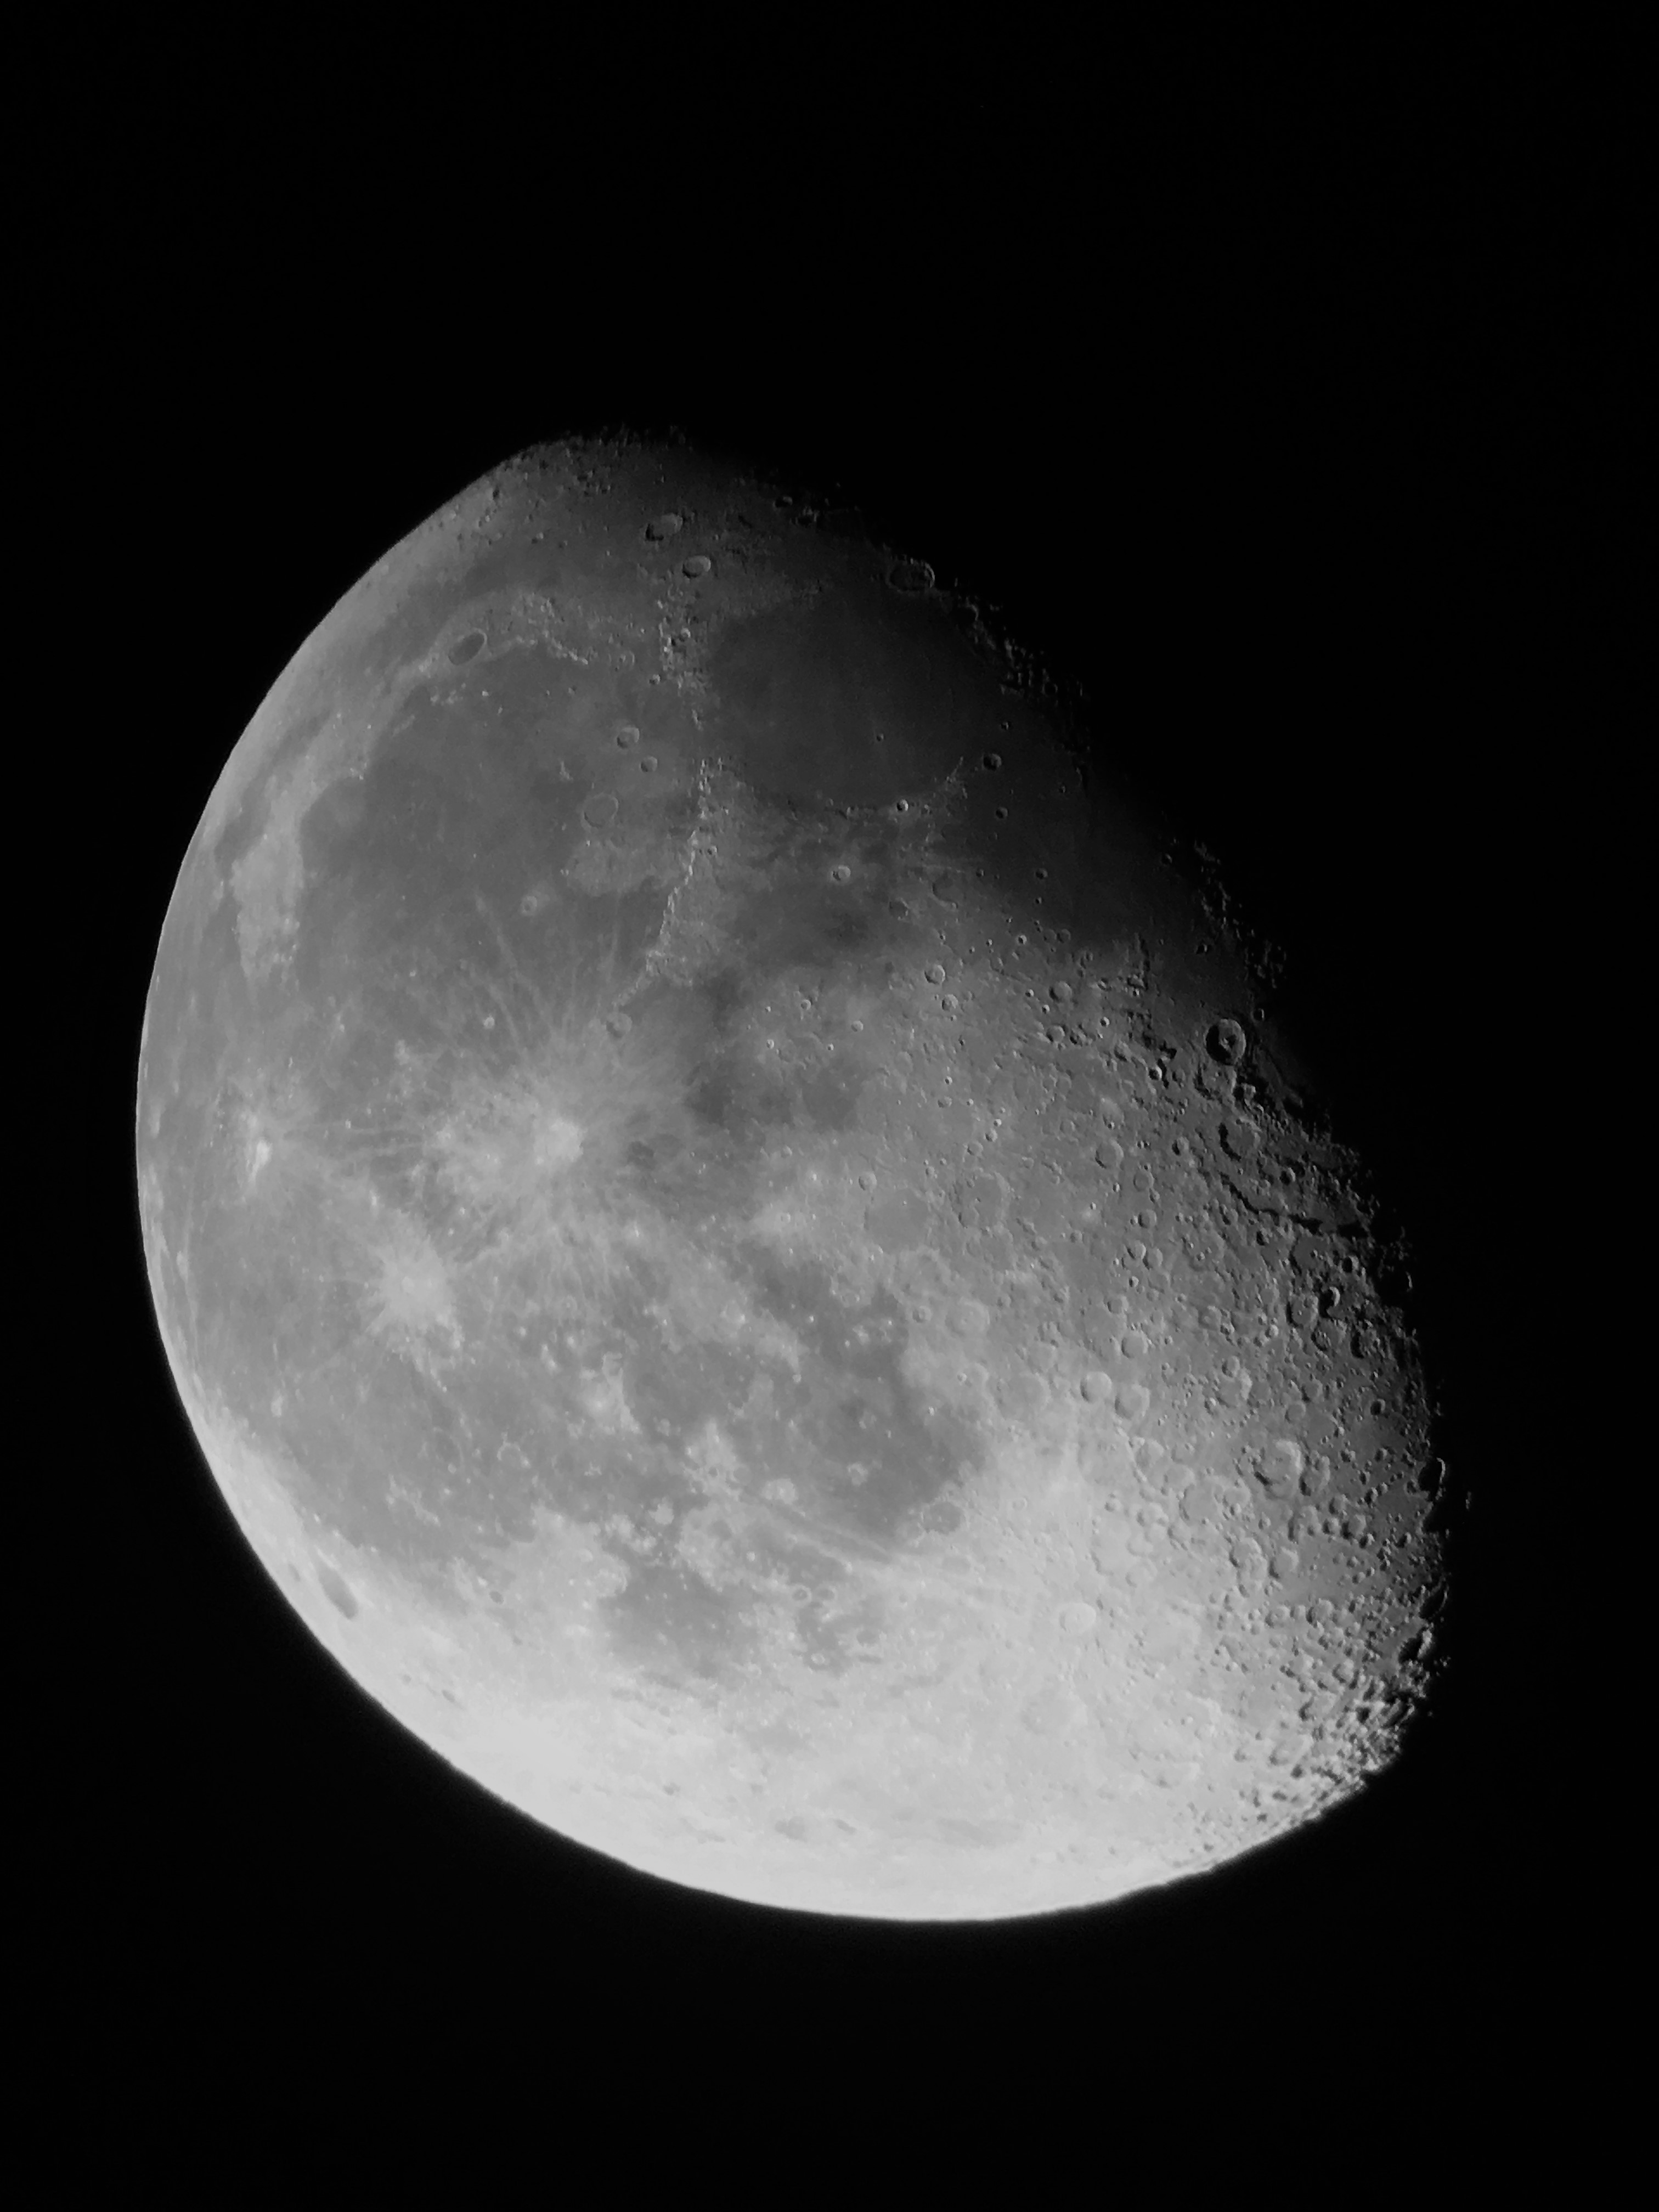
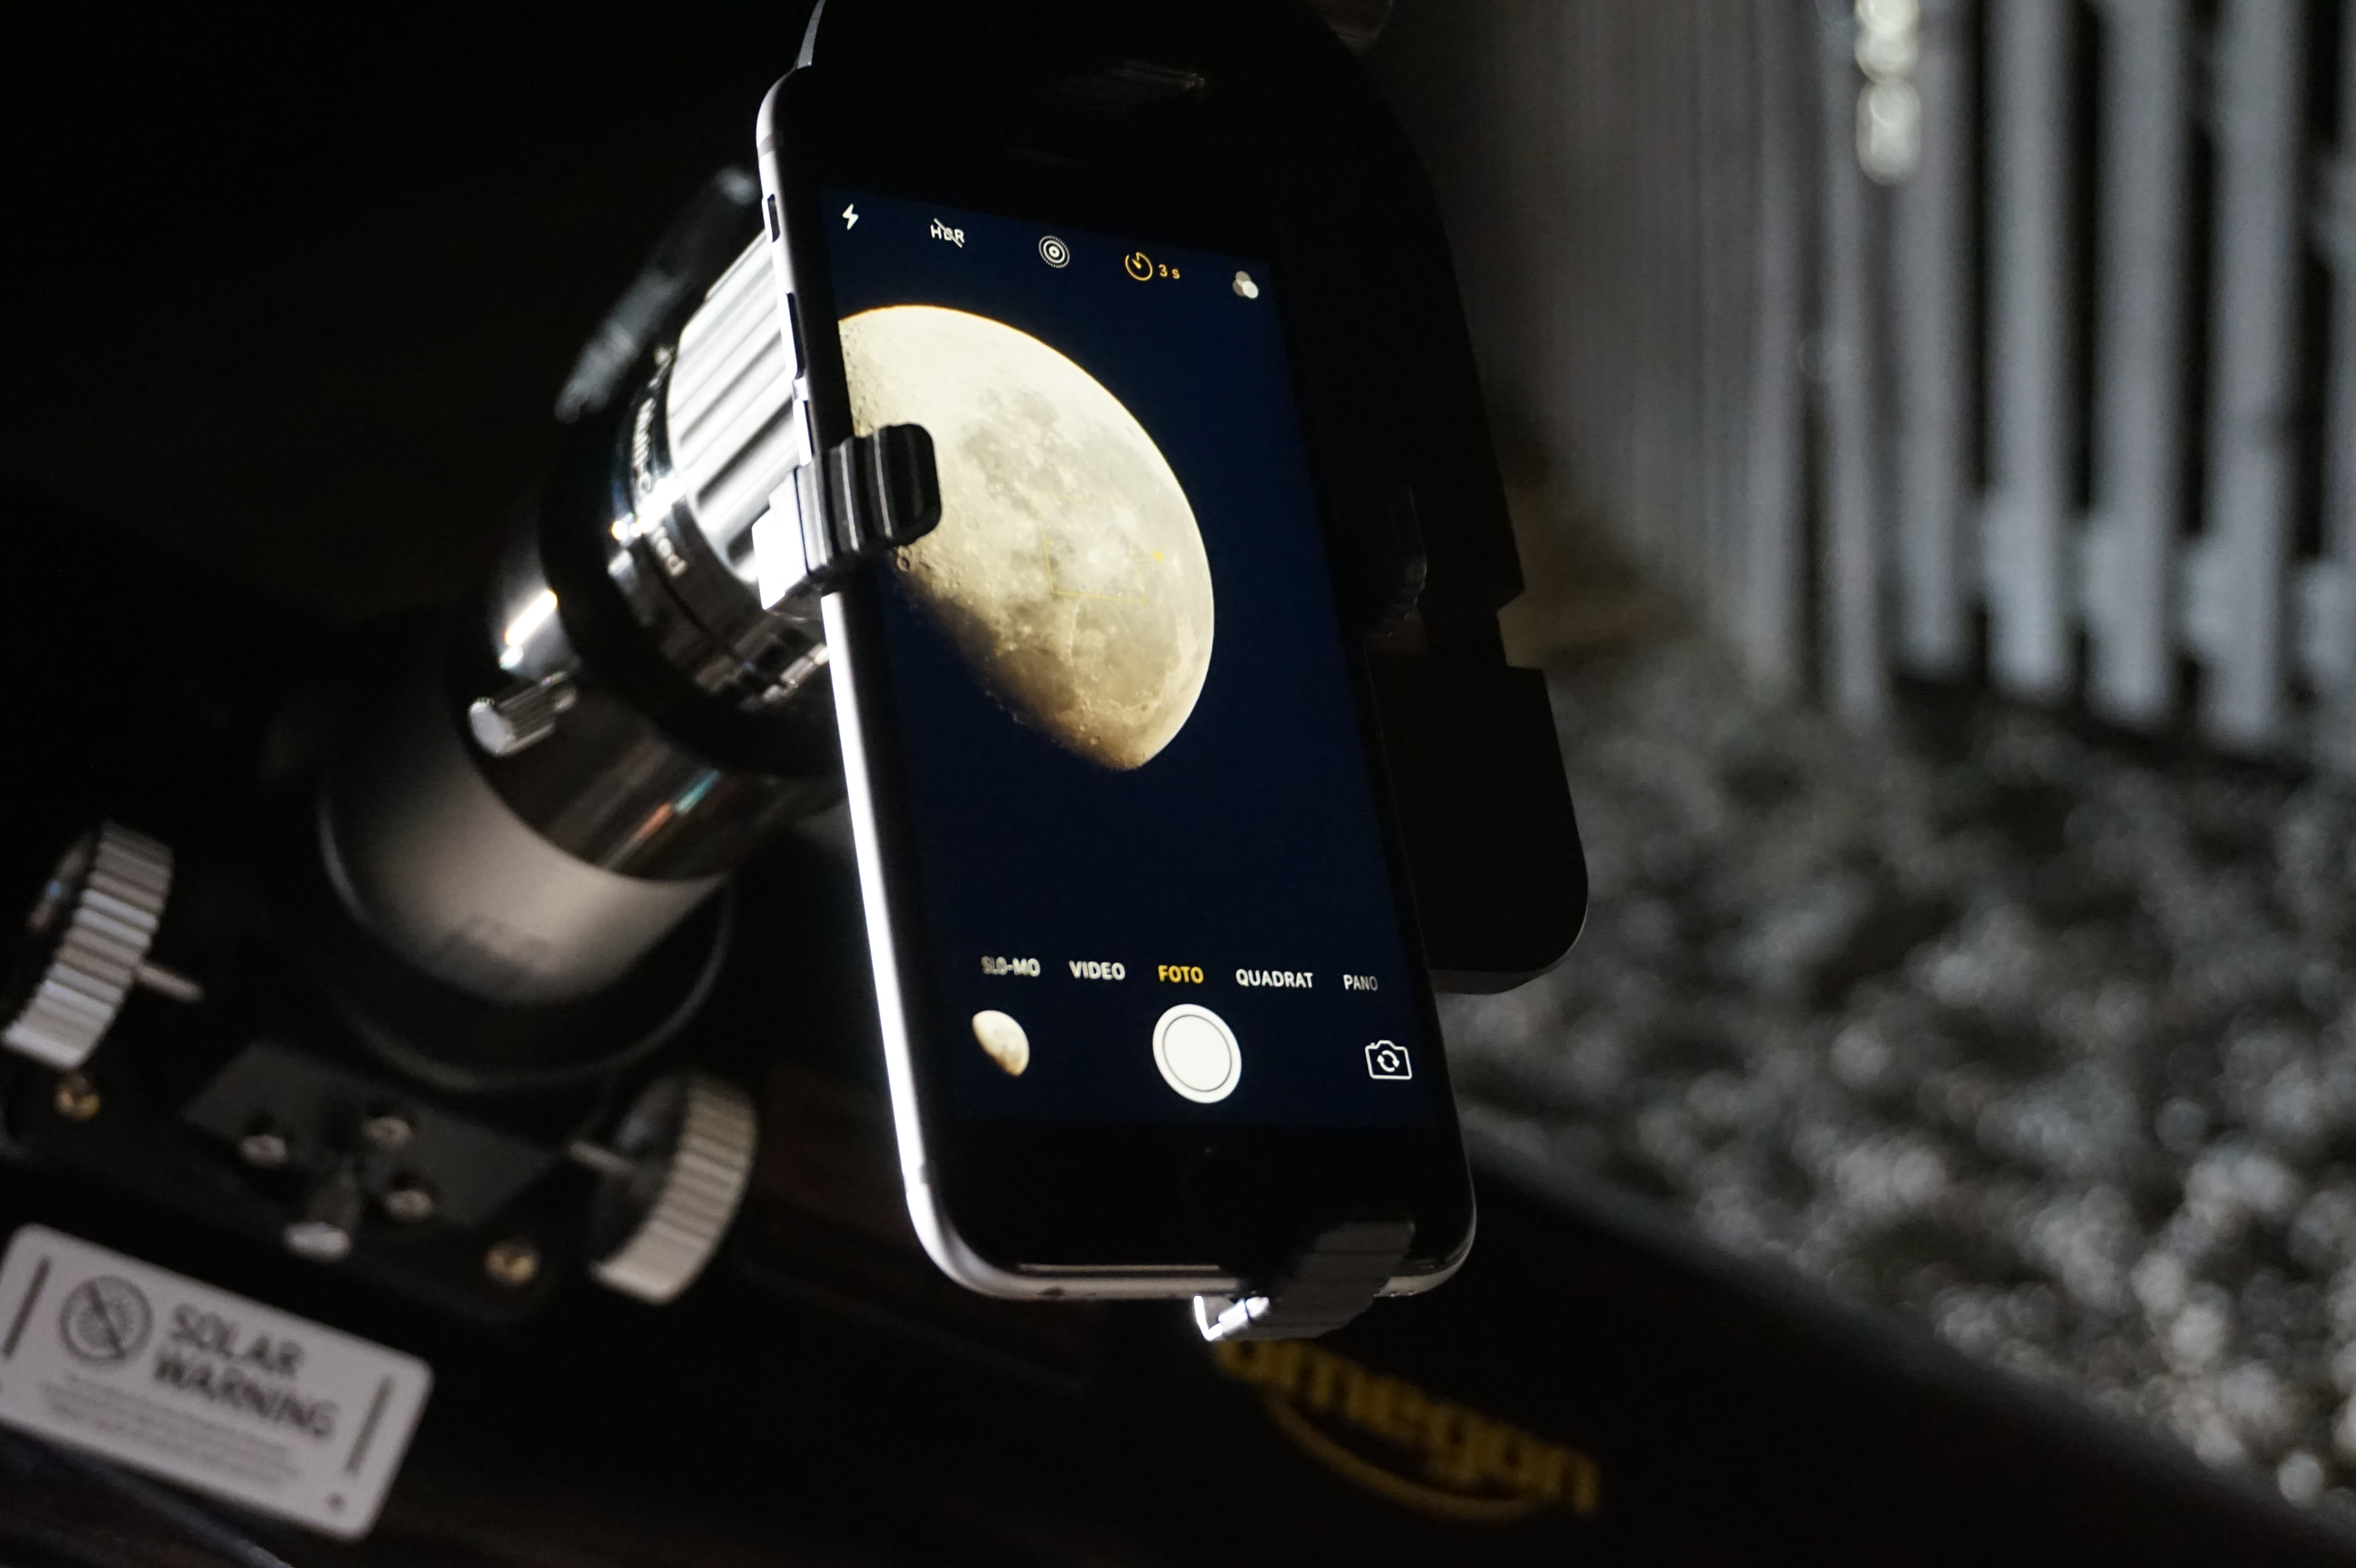
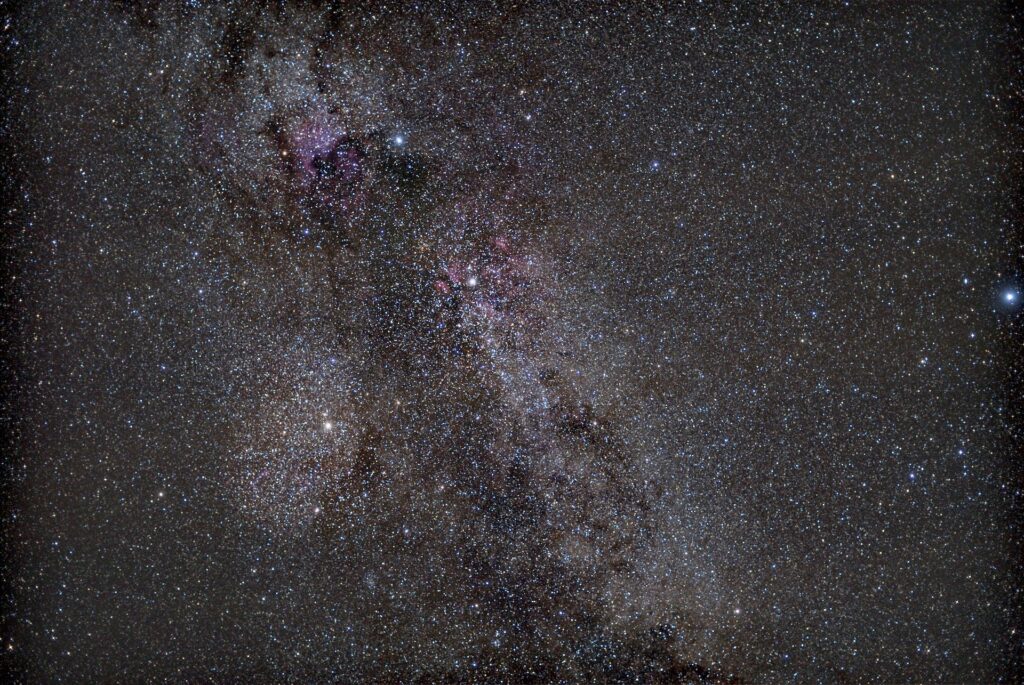
The MiniTrack is a minute and fully mechanical travel mount (also known as an astrotracker) for astrophotography. You can use it to effortlessly produce images of the night sky. Cameras that are mounted on it follow the movement of the stars over a prolonged period. These photos often include the landscape of the night. This results in fascinatingly beautiful shots. It is also the perfect way to get into astrophotography.


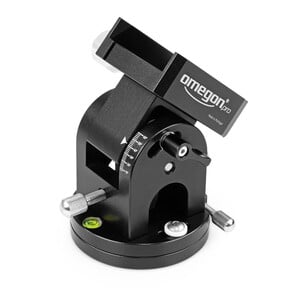
The MiniTrack LX Quattro NS

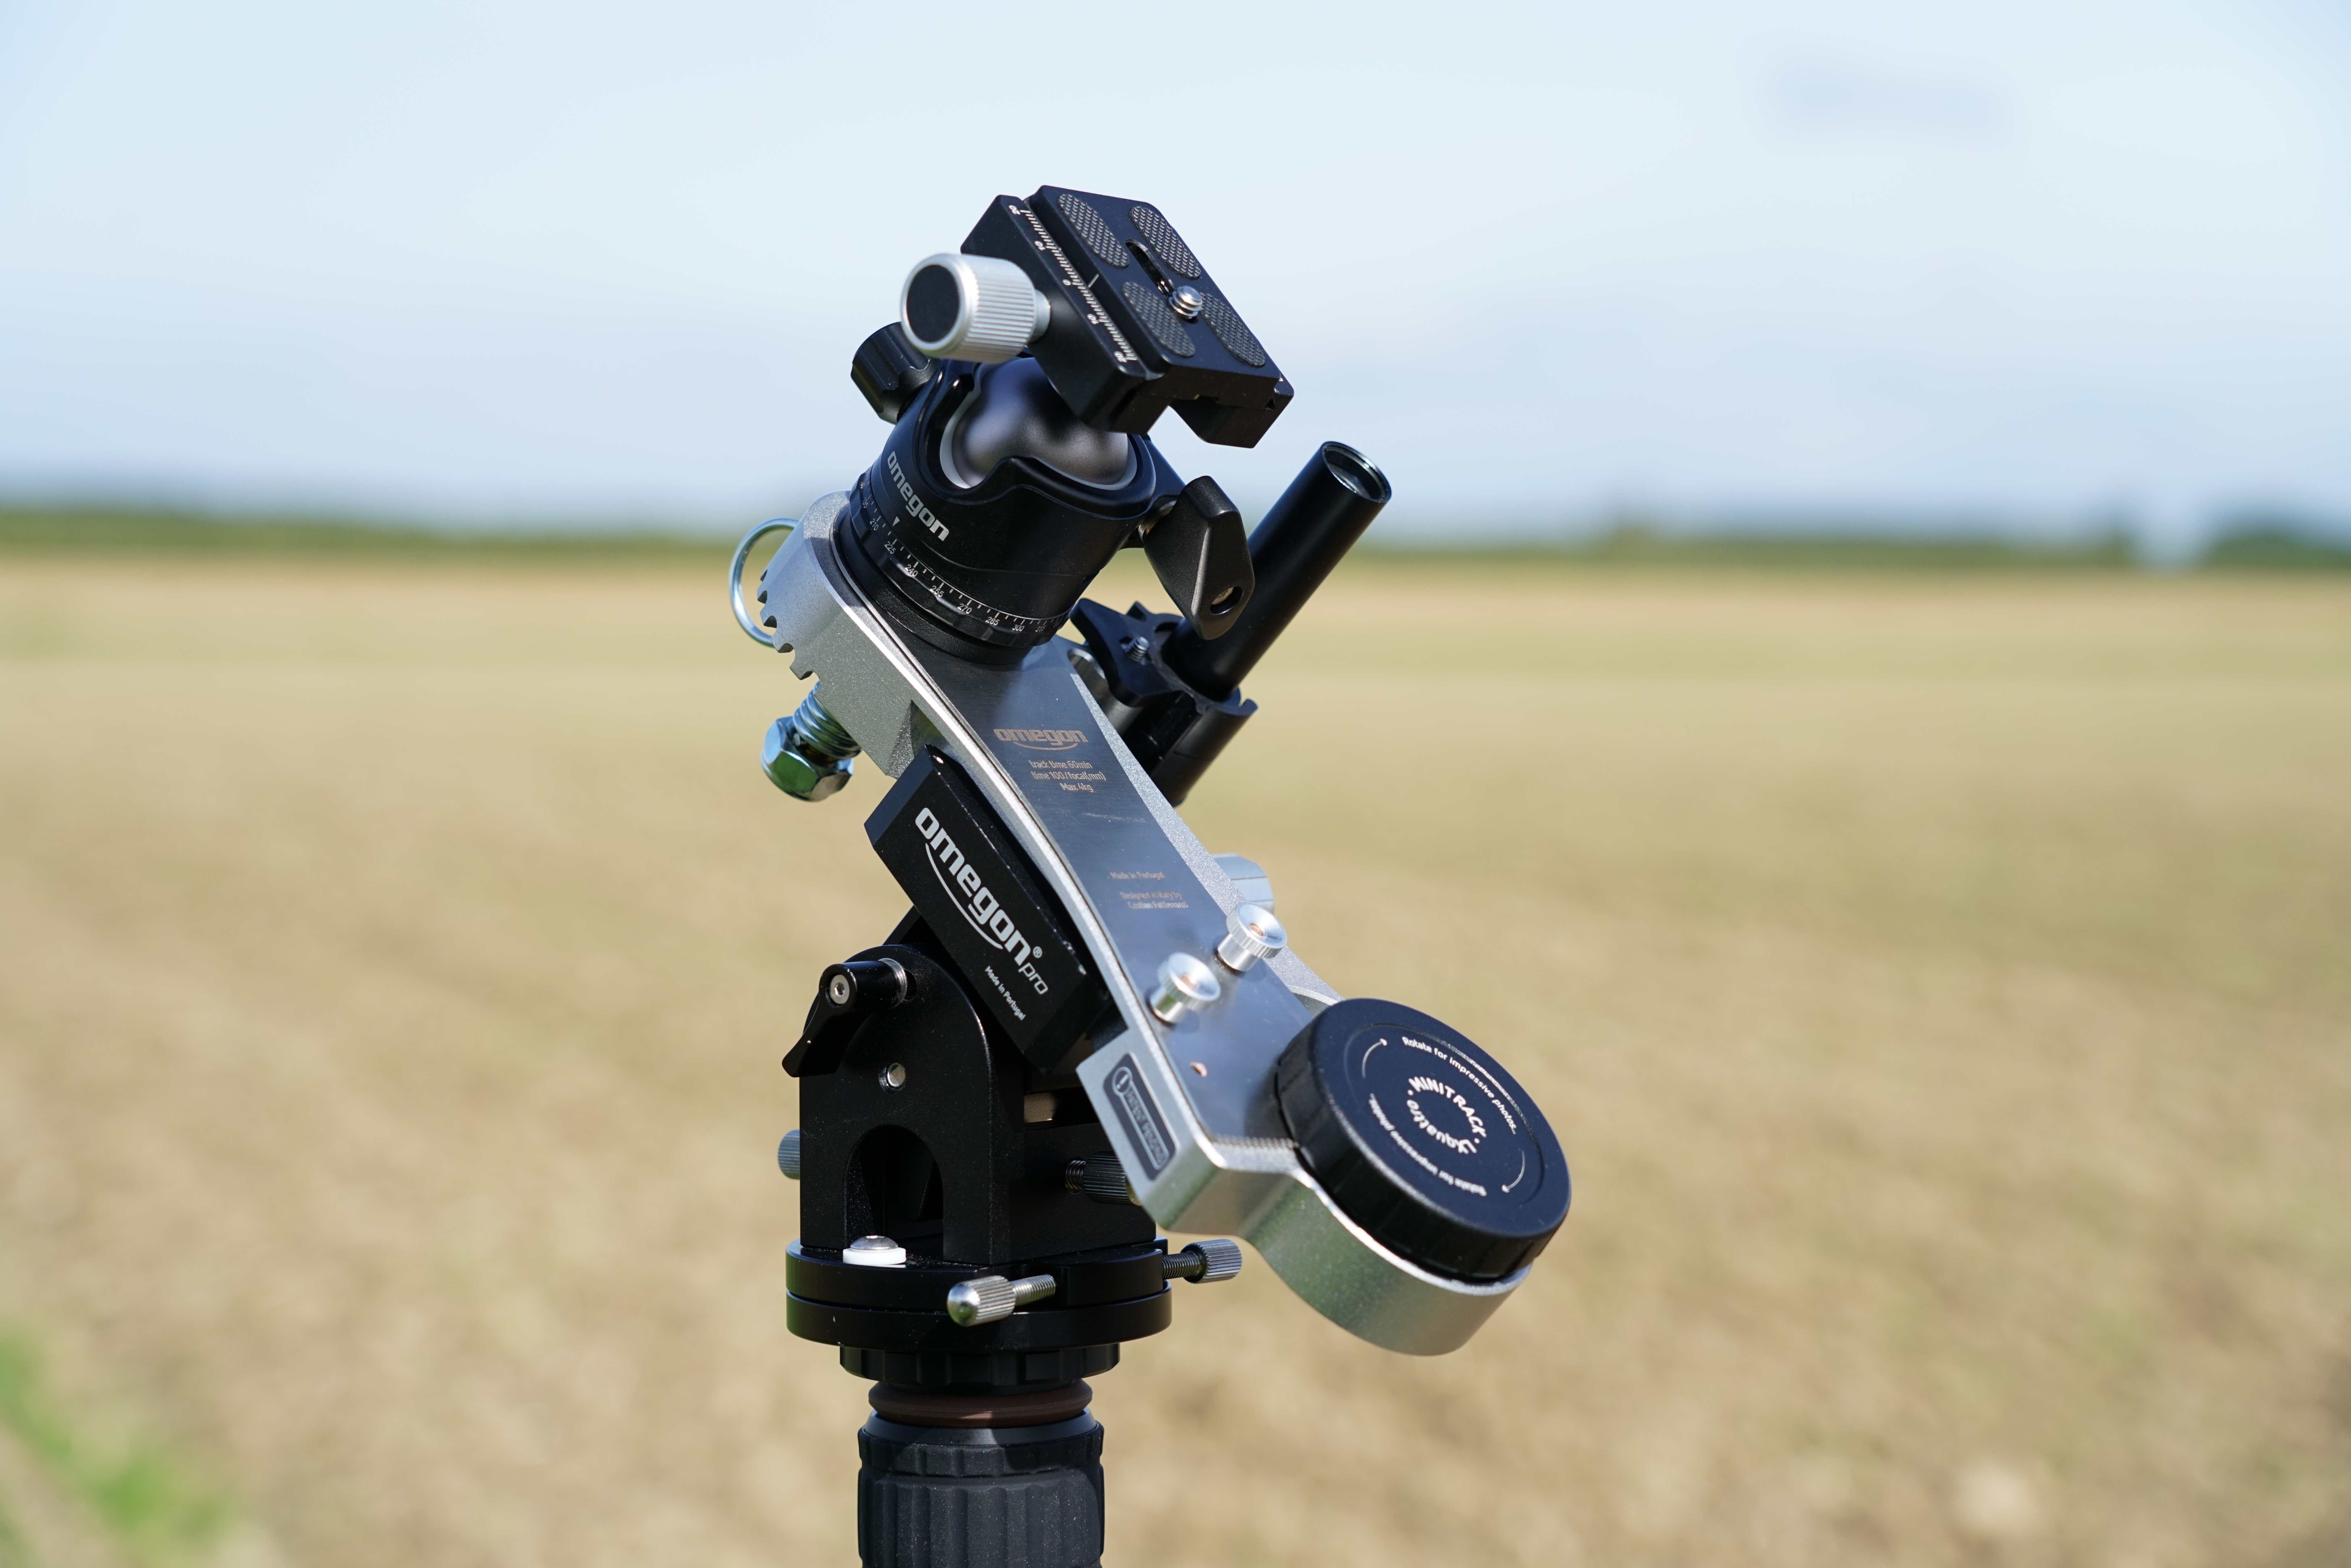
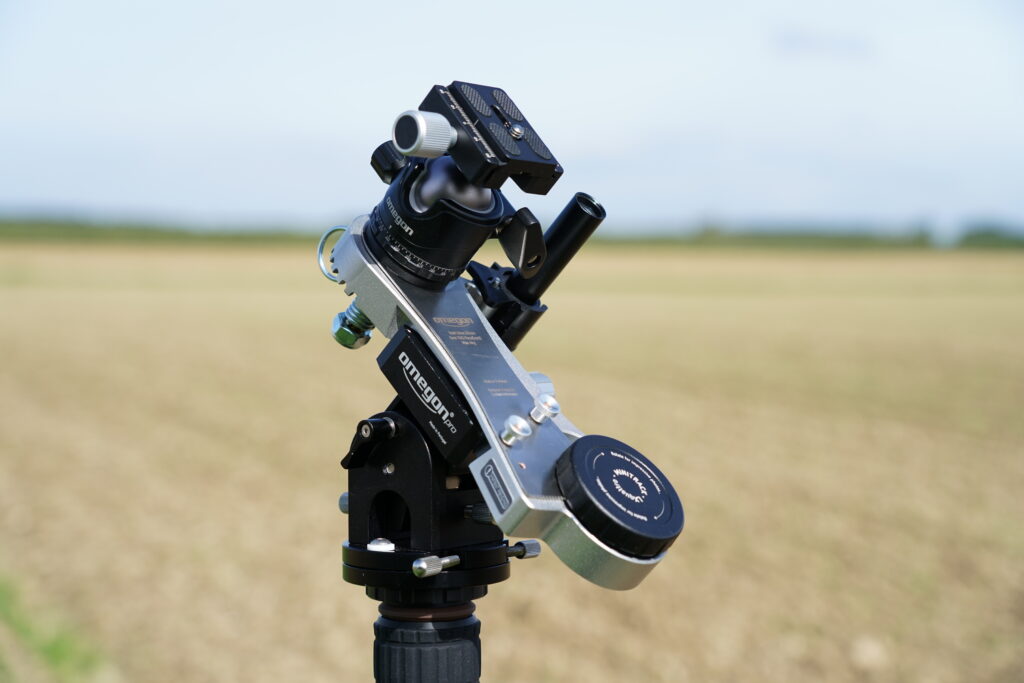
LX Quattro stands for precision, increased power and a four-kilogram load capacity. The new MiniTrack combines all of this in one. Compared to the LX3, the load capacity is even higher. This means that you no longer need to avoid using your favourite lens, which was previously too heavy. Even with longer lenses, the MiniTrack takes things easily in its stride.

Tracking with the Quattro is extremely precise as a newly constructed needle bearing provides greatly improves this. This step was necessary to guarantee smooth tracking with heavy weights.

A brand new spring bar design provides better draft to move the load even more precisely. There is no longer any unilateral strain within the mechanical system. Yep, the Quattro simply has more oomph. An attractive side effect is that the MiniTrack is significantly more elegant and more user-friendly.

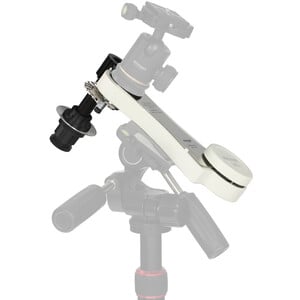
The MiniTrack LX Quattro is also a tracker for capturing the night sky using wide-angle and normal lenses. Anyone who has already gained a little experience can also treat themselves to a lightweight telephoto lens.

Overview of features:

  • 4kg load capacity for larger cameras or larger lenses
  • New and stronger spring system
  • Needle bearing for softer, precise movement
  • New, more stable CNC body – the Quattro should survive every night of observation with no scratches
  • Integrated Gp-style mounting as well as ¼“ und 3/8“ threads
  • Holiday anywhere now: usable beneath the northern and southern night skies.

You can find further information on the MiniTrack LX Quattro NS and its benefits on our product page. Furthermore,  this MiniTrack can be bought in a set with a ball head or with a ball head and polar wedge.


The other members of the MiniTrack family

What do you need to take beautiful photos? A MiniTrack alone is not quite enough. So we would like to introduce the other family members to you:


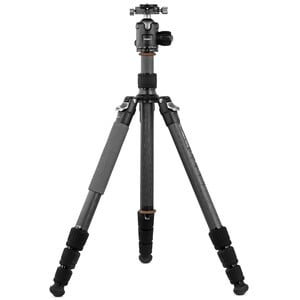
Omegon 32mm carbon tripod Thanks to the 32mm tripod legs, this tripod provides a sturdy foundation. Weighing only 2kg and with a length of 59cm, is it ideal for travel.

Stativ für die MiniTrack

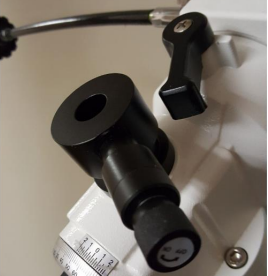
Deluxe polar wedge: You can simply secure your Astrotracker to the tripod head. However, this is easier and more precise using a polar wedge. This enables you to precisely align the north celestial pole. The provides the benefit of providing a stable north orientation.

Polhöhenwiege Deluxe

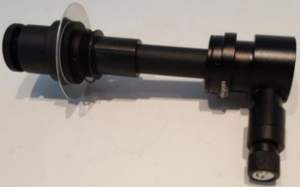
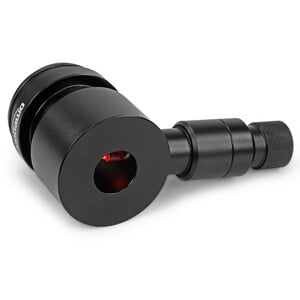
Pole finder light: Being able to see the pole finder’s images in the night sky is a priceless advantage. At night you tend to have your hands full. It is good when you don’t need to use a lamp to complicatedly light up the polarscope. The pole finder light is convenient and evenly illuminates the images using a red LED.

Polsucherbeleuchtung MiniTrack

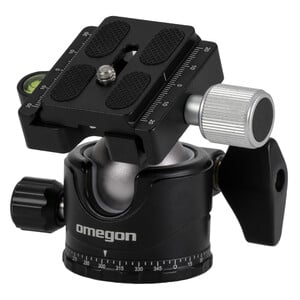
OM10 ball head Still don’t have a ball head? You need one to align your camera with areas of the night sky. The Omegon OM10 fits perfectly on the MiniTrack.

Kugelkopf für MiniTrack

MiniTrack LX3: The white version holds cameras up to 3kg in weight and contains an optical polarscope. To mount the LX3 on a polar wedge, you require the 55mm MiniPrismRails.

MiniTrack LX3

MiniTrack Essentials: Exceptionally good value and sufficient for getting started with wide-angle lenses. The MiniTrack Essentials contains a small polarscope that can be used to align the tracker with the Pole Star. This basic model can be upgraded at a later date.

MiniTrack Basis Version

Interested in taking your first images with the MiniTrack? You can find out how to do this in our step-by-step video “Astrophotos with the MiniTrack – a how-to guide”. Have fun observing and photographing.

Video: astrophotography with the Omegon MiniTrack

November 3 2021, Marcus Schenk

In this video, you will get to know the Omegon MiniTrack astrotracker. What equipment do you need for good landscape astrophotography? And what do you need to watch out for, adjust or activate once you’re outdoors?
We’ll take a step-by-step look at everything from set-up to capturing an image.
After the video, you’ll be ready to create your own beautiful pictures with the MiniTrack.

Hot off the press: we are also introducing the new MiniTrack LX Quattro!

Products used in the video:

Omegon MiniTrack LX3 mount set Product no.: 62037

Omegon MiniTrack LX Quattro NS mount Product no.: 69307

Omegon Deluxe polar wedge Product no.: 69370

Omegon Pro 32mm carbon tripod incl. ball head Product no.: 60251

Omegon polar finder light for MiniTrack LX 2 + 3 and EQ mounts with light unit Product no.: 69568

Omegon 55mm prism rail with screw Product no.: 64965

MiniTrack with Polar Wedge: Photos made even easier.

May 6 2020, Marcus Schenk

Have you spent months marvelling at the photos of the night sky which your MiniTrack produces? Or have you often caught yourself thinking that you would like to take photos like these?

Today we would like to show you a combination which helps to make everything function even better.

MiniTrack mit Polhöhenwiege

A sample set-up for more professional photos: The Omegon MiniTrack with a camera and polarscope on the new polar wedge.


Picture this: It is dark, you can only just make out the outline of your MiniTrack and are kneeling in front of your tripod in order to line it up. You could say it is a bit of a test of your patience. Finally, you have to align the ball-head with the celestial pole. Ugh. If that doesn’t make you sweat at minus 5 degrees, nothing will.
Is there a simpler way? With more precision? Perhaps like you are accustomed to on big mounts?

A clever idea: now also for the MiniTrack.

Whether you have a MiniTrack LX2, an LX3 or the North and South variant: When combined with the compact Omegon pole height cradle, alignment with the north celestial pole is even more precise. Using adjusting screws for the azimuth and the polar height, you can set the required angle to the precise degree. This means you can work with your MiniTrack as easily as with any large mount. Due to the more precise setting, you can achieve exposures with fewer errors. This is indeed a clever addition which has been long awaited by many people.


How do you assemble your MiniTrack?

It’s simple: the polar wedge attaches to your tripod via a 3/8” thread. An integrated spirit level shows you when you have reached a level setting. Simply secure your MiniTrack using a standard Vixen-style dovetail bar. Your mount is then assembled and subsequently can be stowed away again in seconds, as usual.
Do you have a different manufacturer’s model instead of a MiniTrack? Of course, you can also use a different travel mount on the polar wedge.

Are you also inspired by the idea of creating better shots with the help of your MiniTrack? Then take a look at the Omegon Polar Wedge.

Lunar photography with a smartphone: the Omegon Easypic smartphone adapter

April 27 2017, Marcus Schenk

In the past, taking a photo of the Moon required quite some effort. Take the pictures, develop the film and hope for sharp images. And then came the disappointment if the Moon appeared blurred. This became considerably easier with digital and mobile phone cameras.

In the meantime, smartphone cameras have reached an outstanding level of quality. Which is a good tool for Moon photos, provided that we can tightly mount the phone to the telescope.

Let’s have a look to see how everyone can take a photo of the Moon through a telescope.

The Moon – shot with an Easypic adapter, an Omegon 8″ Dobson with Redline eyepiece and an iPhone.

Der Mond - aufgenommen mit einem Easypic Adapter, einem Omegon 8" Dobson und einem iPhone.

The difference to other adapters

The Easypic universal smartphone adapter follows a different route to his competitors. Most adapters have a clip that closes around a 1.25 inch eyepiece. The mobile phone is then separately held by a clamp and needs to be correctly positioned above the eyepiece. In itself this is a quite good system but needs quite a lot of experience on the part of the photographer. And in the end, everything must sit tightly in place.

Now the night is not always the right place for patience. And it is pitch black!

Is there no easier way? Yes, sure there is! With self-centring.

Here is how to prepare the adapter

With the Moon in the sky, you direct your telescope to Earth’s satellite. It is already nicely visible through the eyepiece. Now your smartphone and the Easypic adapter are going to play their role.

On the back of the adapter, loosen the small screw for the holding clamps. Pull the holding clamps fully to the outside. Then place your mobile phone with its camera lens directly over the central hole. Slide the holding clamps back against your phone and tighten the screw again. Check that the clamps fit tightly so that your mobile will not come loose.

Here is how to connect the adapter to the eyepiece

Now to the easy part! Hold the adapter with the smartphone to the eyepiece, making sure it has direct contact. Then turn the big screw on the side. This allows the movement of three bolts, which accurately clamp around the eyepiece at the same time. This way the adapter centres and fastens automatically around your eyepiece. The camera lens of the smartphone is perfectly aligned with the middle of the eyepiece.

For you this self-centring means: more focus on your object and less worry with technical details.

All done.

So sieht es aus: Das Smartphone am Teleskop und der Mond im Zentrum.

The photoshoot: The Moon in your smartphone

If your camera app has been switched on, you should now see the Moon in your display. Correct the focus once again and everything is ready for taking the photo.

These steps are necessary:
•    Switch off the flash
•    Activate the timer
•    Adapt the exposure time, if necessary and possible

Now press the trigger as usual and take a photo. This image of the Moon was taken with an Easypic universal smartphone adapter and an Omegon 8 inch Dobson telescope.

Using neutral density filters to reduce brightness

In most cases adjusting the correct exposure time is enough for successful Moon images. However, planets like Venus or Jupiter very often appear too bright in an image. They are over-exposed. The planet discs appear burned out. The solution: neutral density filters and variable polarising filters. This is our trick to be able to show the details of the planets.

Conclusion:

A smartphone in combination with an Easypic universal smartphone adapter allows you to take quick photos of the Moon and planets. You don’t have to be an expert: even connecting to the eyepiece is child’s play. All you need to do is position the adapter correctly. The smartphone takes photos of the Moon with outstanding sharpness. A fact that all of us could only dream about a few years ago.