
Astrophotography for beginners
Astrophotography sounds complicated, but it's not at all, and it’s great fun. But what is the best way to get started? You'll find the answer here!
Who hasn't seen them already: those beautiful pictures of celestial objects? The Sun, Moon, planets, galaxies and nebulae that shimmer in the most beautiful colours. Most of the time, these images come from large observatories or the Hubble Space Telescope. But in principle, many of the celestial objects depicted in magazines and in the internet can also be observed and photographed with an amateur telescope.
The human eye and visual observation
When observing visually, faint objects appear to be colourless. The eye’s photosensitive rods are activated, and they see the world in black and white. It looks very different in a photograph. Here, colour-sensitive sensors collect enough light on the chip over a long period of time that coloured images are the result.
That's one of the reasons why it's so interesting to take photographs of celestial objects. And it's fun to share a photo of the night sky that you've taken yourself. What are the challenges? On the one hand, apart from the Sun, the Moon and the planets, there is the very faint light emitted by the object. And on the other hand, the Earth's rotation. We address the first challenge with longer exposure times, but therefore we need to also deal with the second challenge: for this we need motorised tracking.
What's the best way to get started?
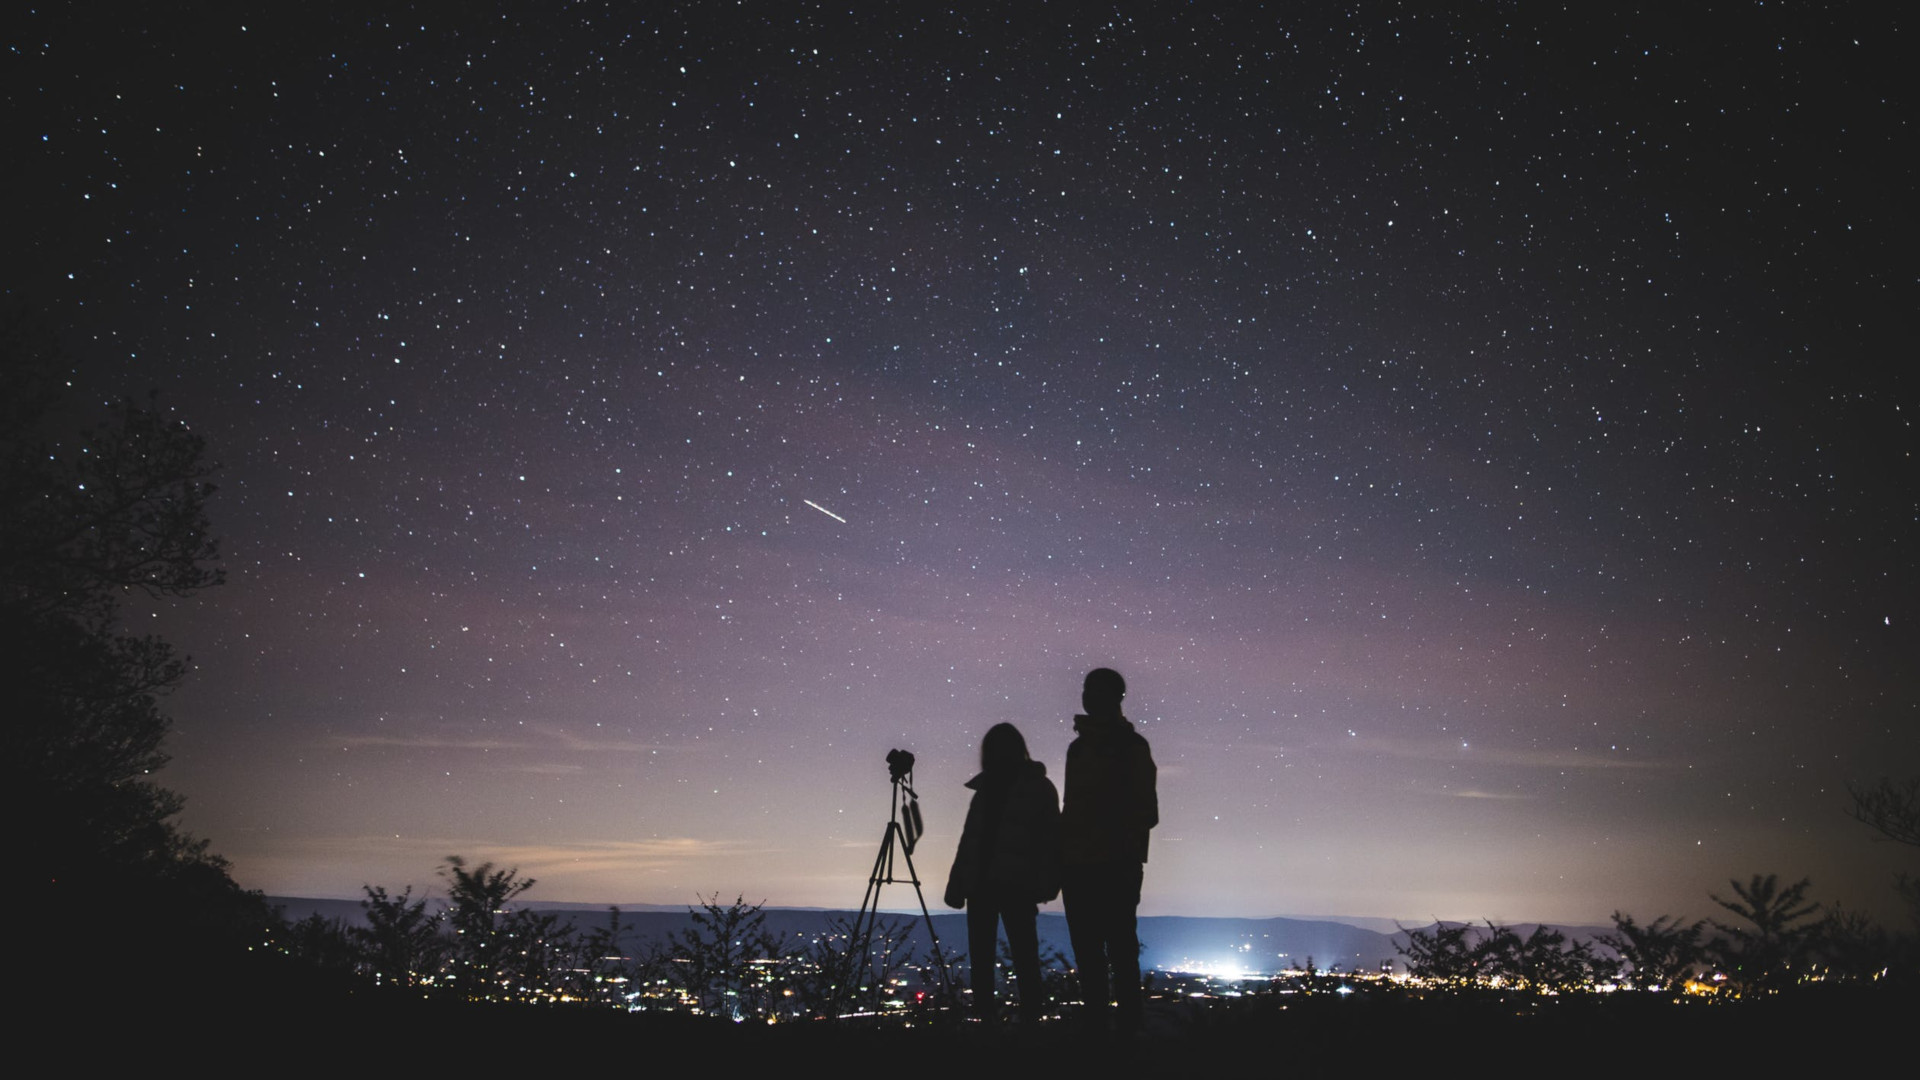
Start simply and build on your experience! The easiest way to take photographs of the night sky is to simply point a camera, without a telescope, directly at the sky. In order to ensure shake-free pictures, simply leave the lens attached to the camera body and screw the camera to a photographic tripod. The camera should be of the type that allows you to adjust lengthy exposure times.
What you’ll need:
- Smartphone, compact camera or single-lens reflex camera
- Remote shutter release
- Tripod with tilt head
- Uncompressed file format (for example RAW or TIFF)
What you can photograph:
- Constellations
- Star trail images
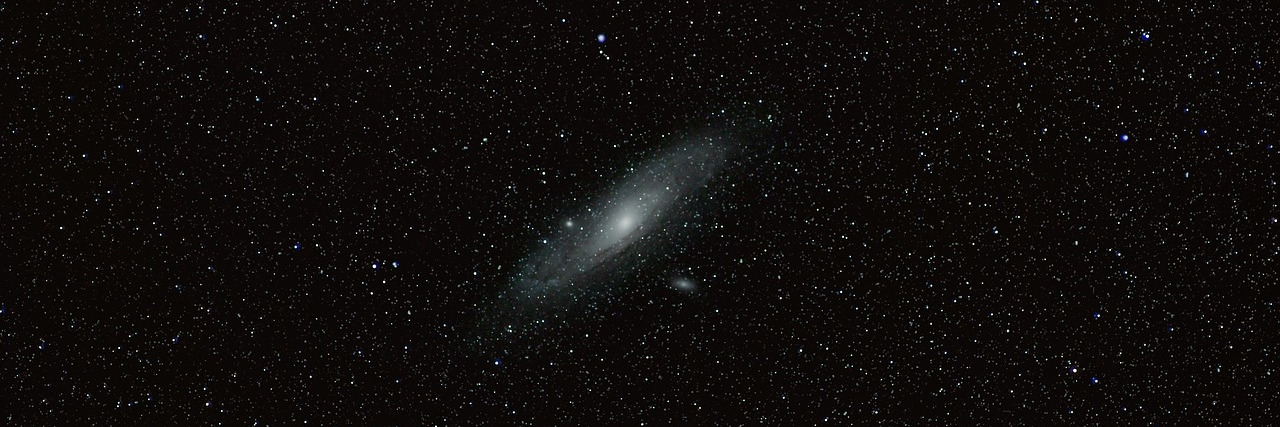
- The Milky Way
- Encounters between celestial bodies
Smartphone, compact camera or single-lens reflex – each camera type is fundamentally suitable for your first steps in astrophotography. Smartphones are quick to hand, compact cameras are easy to use and often cheaper than a single-lens reflex or a mirrorless system camera. These are more versatile and can produce good image quality.
Astrophotography with smartphones
Almost everyone has a smartphone, and so it is the quickest way to get started with astrophotography. However, they do have their limitations, which can be overcome with a few tricks as you often cannot set the exposure time, aperture or ISO speed in the in-built camera app. But a workaround is available in the internet: photography apps such as ProCamera for iOS or Open Camera for Android give you the necessary control. If you use a clamp to attach your smartphone to a tripod, you will find you can take impressive pictures of constellations and the Milky Way. The following settings can be used as an initial orientation: ISO 1,600, open aperture e.g. f/2.2 or lower and 20 seconds exposure time. Trial and error works best of all!
In order to connect a smartphone to a conventional camera tripod with a ¼ inch screw, we suggest the combination of:
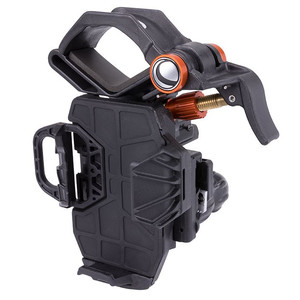
Smartphone holder for finder shoe and Finder shoe with ¼ inch photo tripod connection
If you want to attach a smartphone to a telescope mount, the smartphone holder with prism rail is suitable.
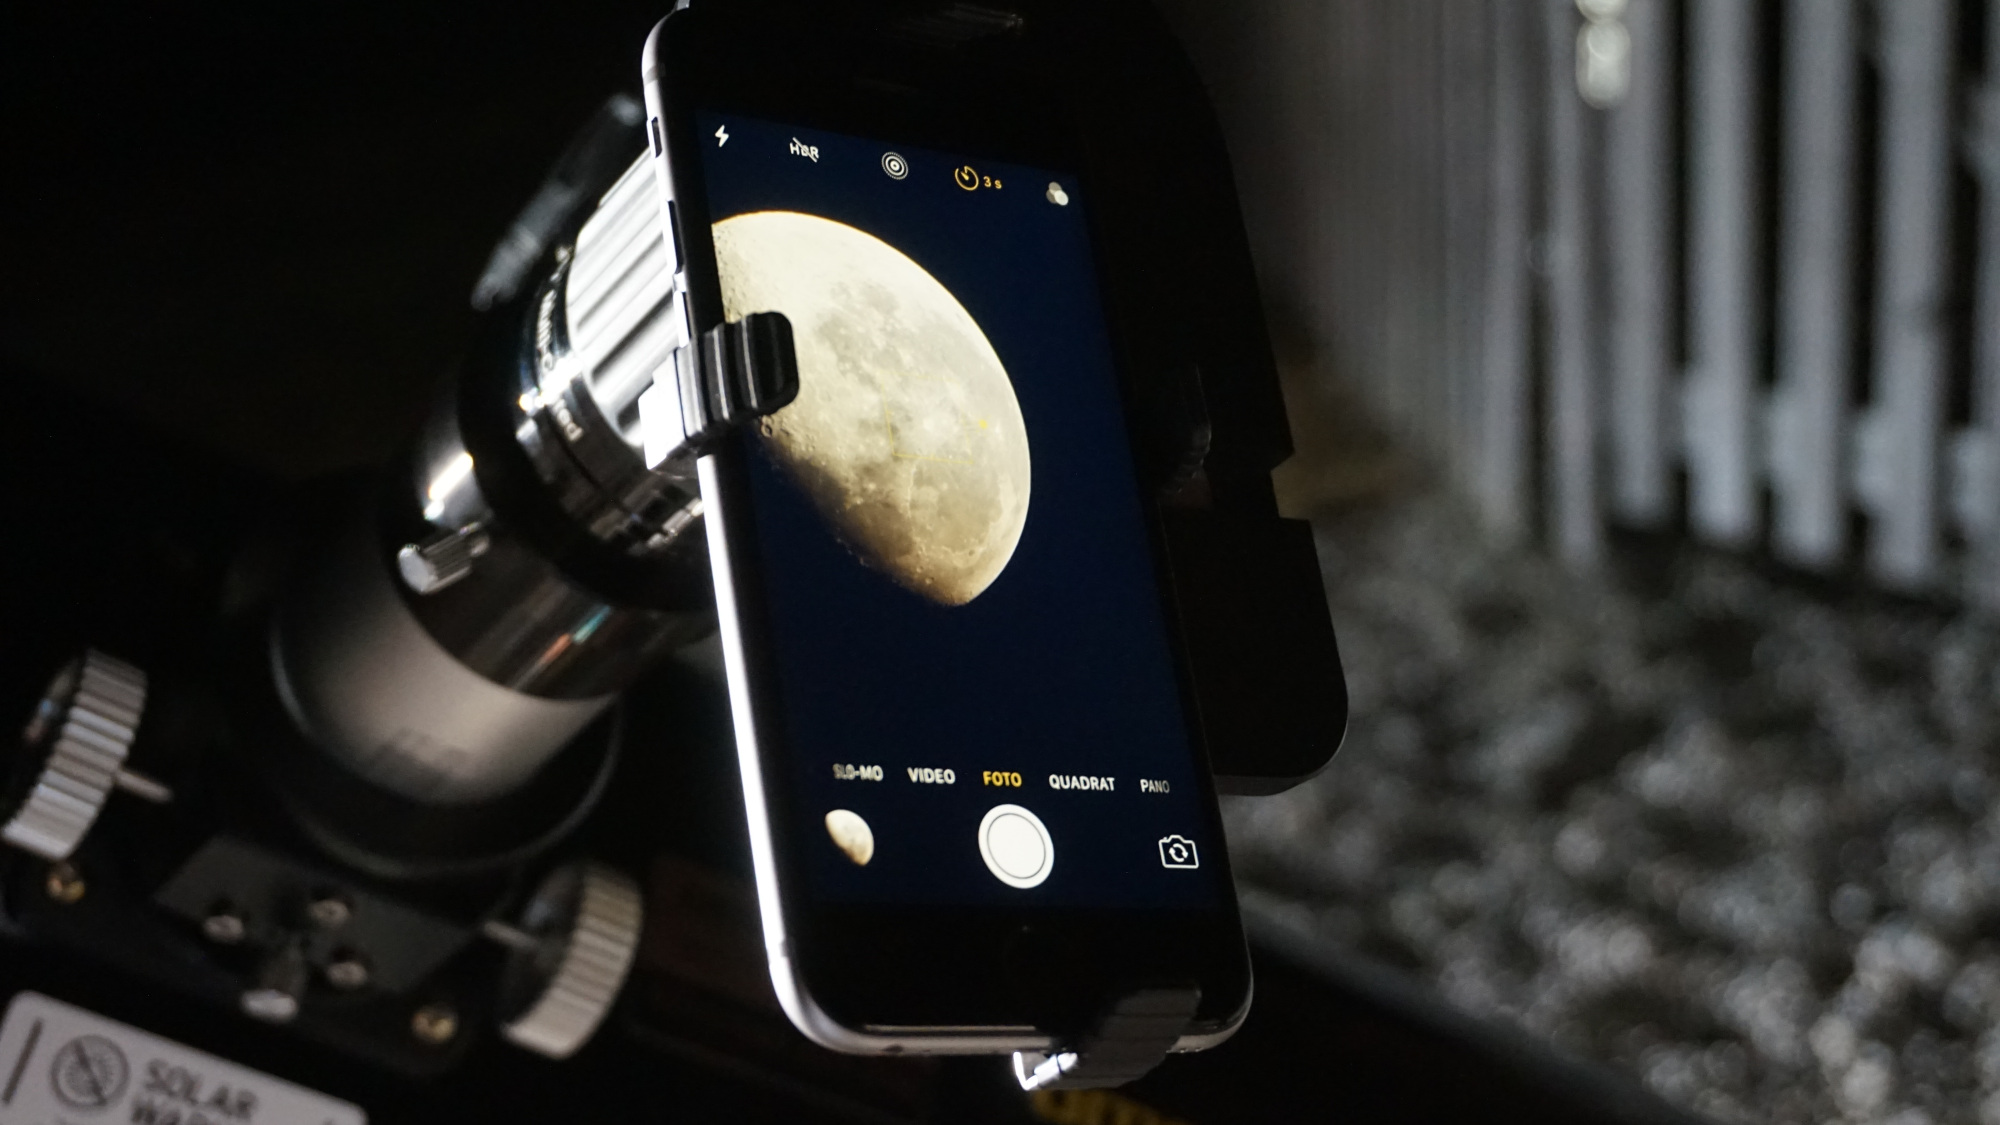
Smartphones can also be used with telescope and spotting scope eyepieces. You can get some quite usable results with the Moon, at least. The eyepieces should have the longest focal length possible.
These are the features a compact camera will need
You can only take pictures through the lens of a compact camera, as it cannot be separated from the camera body. Compact cameras are good for atmospheric shots and for photographing encounters between celestial bodies. In addition, you can photograph the Moon and the Sun and also, to a limited extent, planets with it.
A compact camera should also have the option of adjusting the following settings individually:
- Turn off the flash
- Auto focus off
- Manual exposure time setting
- Connection for a remote shutter release
- Activate the in-camera noise reduction, if available
You can find suitable eyepiece adapters for compact cameras here:
Smartphone & digicam clamps
Ideally, the eyepiece lens should be larger than the camera lens – this helps to avoid shadowing:
This adapter can also be used for many 2-inch eyepieces
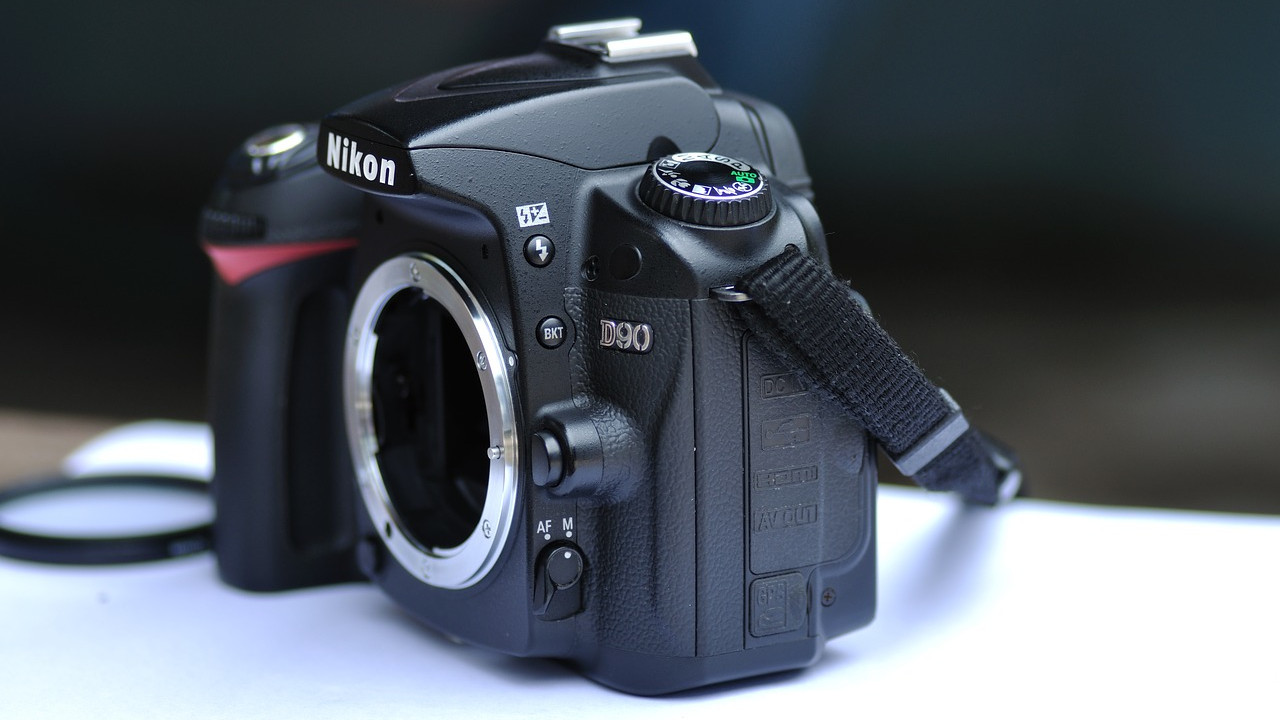
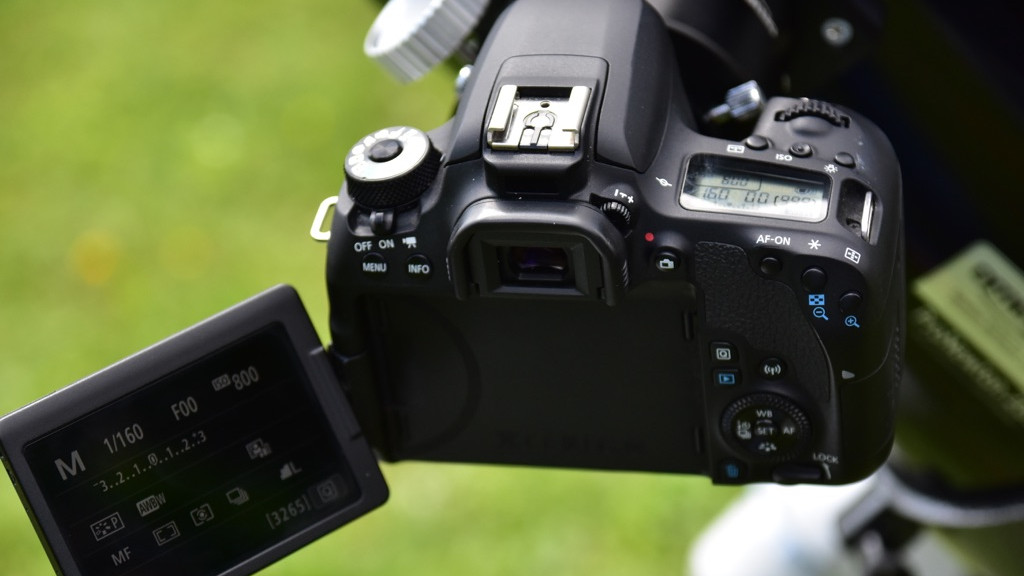
The advantages of single-lens reflex and system cameras
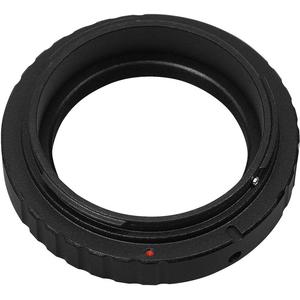
As a rule, single-lens reflex cameras (SLR), their digital successors (DSLR), and digital single-lens mirrorless cameras (DSLM) all have individual setting options. When purchasing a DSLR camera, you should ensure that the camera has mirror lock-up to avoid camera vibration caused by mirror slap, which will result in blurred images. In contrast to compact cameras and smartphones, with a DLSR camera you can photograph with or without a lens. If you want to take pictures directly through the telescope, you do not usually use the lens. Instead, you use an adapter, called a T2-ring, which is available for every camera model. The camera is connected to the telescope using another adapter. In this way, the telescope optics are used as a telephoto-lens.
Longer exposures: from tripods to tracking mounts
Because every object in the sky moves west by ¼ degree per minute due to the rotation of the Earth, if you don’t want to see star trails in your final picture, you need to use tracking. With a 50-mm lens, you can expose for about 10 seconds before a star is no longer point-shaped. The longer the focal length, the shorter the exposure time must be.
If you have a non-motorised equatorial mount, tracking can be enabled by retrofitting a motor to the right ascension axis. A GoTo mount is not absolutely necessary. Alternatively, a special compact motorised equatorial travel mount can be used. This is attached between the photo tripod and the camera. The built-in motor compensates, in the right ascension axis, for the rotation of the Earth. You can photograph constellations very nicely with focal lengths of around 80 mm. Try shooting multiple pictures, one after another, with exposure times of a few minutes.
It should be noted that with altazimuth mounts which track in both axes, field rotation occurs when using long focal lengths and long exposure times. This effect can be partly corrected later during image processing.
Here’s how the camera is attached to the mount and to the telescope
There are three different ways to attach a camera to a telescope:
- On the telescope tube
- On the counterweight bar
- On the focuser
Certain adapters are available for all three methods. A camera can be mounted on the telescope tube using a second prism rail with a photo thread. This prism rail connects the two tube clamps on the opposite side of the mount. Then the camera can be securely fastened with a standard photo screw.
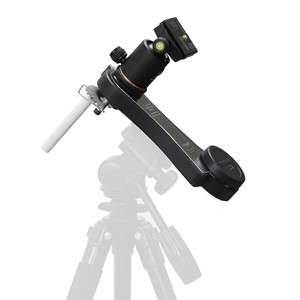
For the counterweight bar method, there are camera mounts that clamp to the bar. The mount has a photo screw and it's easy to attach the camera. If the telescope mount together with its optics is already close to its load limit, then this method should be preferred to mounting the camera directly on the tube. Experience proves that this results in more stable tracking.
This set-up enables you to create beautiful, long-exposure images of star fields, constellations and the Milky Way.

Which cameras are best for photography using a telescope?
Smartphones, compact digital cameras, and DSLRs and DSLMs can be connected to the telescope's focuser using an appropriate adapter to take photos or videos through the telescope. Smartphones and compact cameras are most suitable for brighter subjects such as the Sun, Moon and planets. In the case of the Sun, precautions must be taken to reduce light, e.g. by means of a solar filter or a Herschel wedge.
Photography through a telescope with compact cameras and smartphones
The compact camera or smartphone is attached with its lens close to the telescope’s eyepiece. An eyepiece is always needed if you want to photograph using a camera where the lens cannot be removed, otherwise no image will be produced. This type of photography is called afocal photography.
The easiest way to connect a compact camera to the telescope eyepiece is to use a universal camera adapter. These adapters can be connected to almost all generally available camera models. The camera body is first connected to a plate or rail and locked into place with an integrated ¼ inch screw. You can usually move the camera back and forth using adjusting screws. This combination must now be connected to the telescope. The adapter has a clamping device for this purpose, which closes around the eyepiece.
A smartphone, on the other hand, is clamped into a universal mount, attached to the eyepiece and then the camera lens is positioned over the eyepiece.
Vignetting may occur with afocal photography through the eyepiece. This refers to a shadowing effect at the edges of the image. To avoid this, do not use an eyepiece with a short focal length. If you use Plössl eyepieces, focal lengths below 12.5 mm are not recommended. A digital zoom should be used with caution, as it usually affects the image quality.
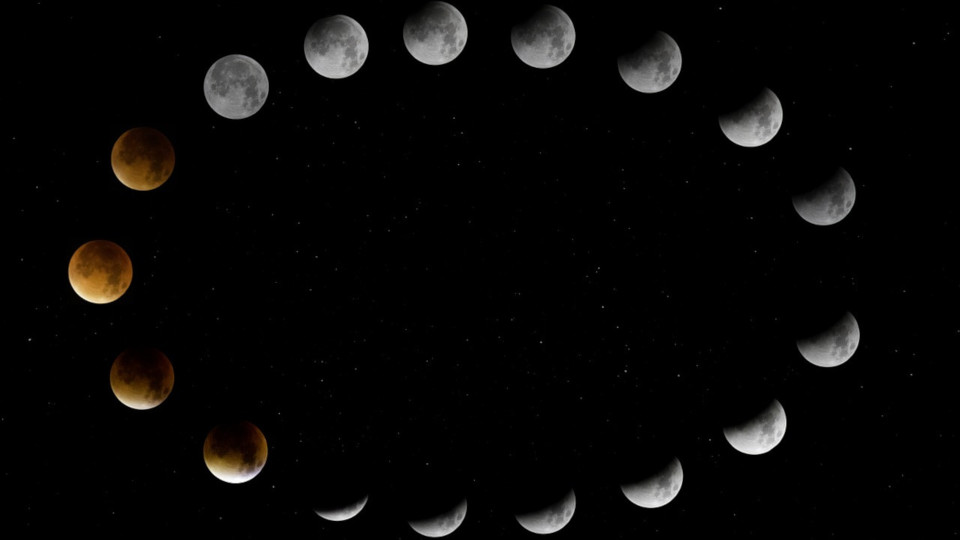
If you want to start afocal astrophotography with a smartphone or with a compact camera, the Moon is a good object to choose as your first, as it will deliver some very pleasing results. To do this, it is best to photograph the Moon when it's in its crescent phase. The Sun illuminates the surface from one side and creates a beautiful, almost three-dimensional effect with the craters’ shadows. You need to experiment a little with the exposure times. Therefore, it is best to take a whole series of images with shorter and longer exposures. In this way, you will find out which exposure time works best. Focusing is always a challenge for photography through the telescope. However, with a compact camera, you can focus using the live (and ideally enlarged) image on the LCD screen, which is very helpful. The optimal focus is reached at a specific point, which, especially with an object as bright as the Moon, you can find by adjusting the eyepiece.
You can also try out planetary photography. To do this, a short focal length eyepiece must be used in order to be able to enlarge the image to such an extent that it is possible to see details. Shadowing problems are not significant for planetary observation, since the planet is anyway relatively small compared to the field of view. So you can use the camera's zoom as much as possible. However, here too, you should not use the digital zoom, because it offers no improvement in image quality, just a section with fewer pixels.
When taking the shot, it is important to remember that you cannot simply press the button. The best results are obtained where a remote shutter release can be connected to the camera. This is because you do not touch the camera and the telescope, so there are no vibrations that would blur the image. If you cannot attach a remote shutter release, you can instead use the timer.
Suitable products in our shop:
Smartphone & digicam clamps
Capturing images through a telescope with DSLR and DSLM cameras
If you have a single-lens reflex or a mirrorless system camera, besides for wide-field shots, you can use it for astrophotography through the telescope and achieve some excellent results.
There are many different camera models on the market, so it can be difficult to choose the right one. If you already have a camera, you should go ahead and use it to get started. However, if you plan to buy a camera for astrophotography, you should put some thought to the model you choose.
What is important is that the chip allows longer exposure times. A useful function is internal noise reduction. If you want to photograph fainter deep sky objects as well as brighter objects such as the Moon or planets, you usually need quite long exposure times. In addition, it is sometimes necessary to take several pictures of your chosen object over several nights and to stack them and further process them later on the computer.
What you need to consider when using a DSLR or DSLM camera:
- Select manual mode
- Set white balance to daylight
- Switch off automatic and autofocus
- Set the shutter speed to B
- Use remote or delayed shutter release
- Use the lowest file compression
- Activate mirror lock-up if available
- Activate internal noise reduction
- Select sensitivity of ISO 400-800, in some cases up to ISO 1,600
If you select the RAW format, it is not absolutely necessary to also set the white balance to daylight, because the image can be processed easily later. However, if you want to see how the image will look in terms of colour using the preview image or the unprocessed image, then this setting is useful.
After you have adjusted the settings and attached the appropriate adapter (see below), you’re ready to get going. Make sure that the batteries are fully charged and that you also have spare batteries to hand.
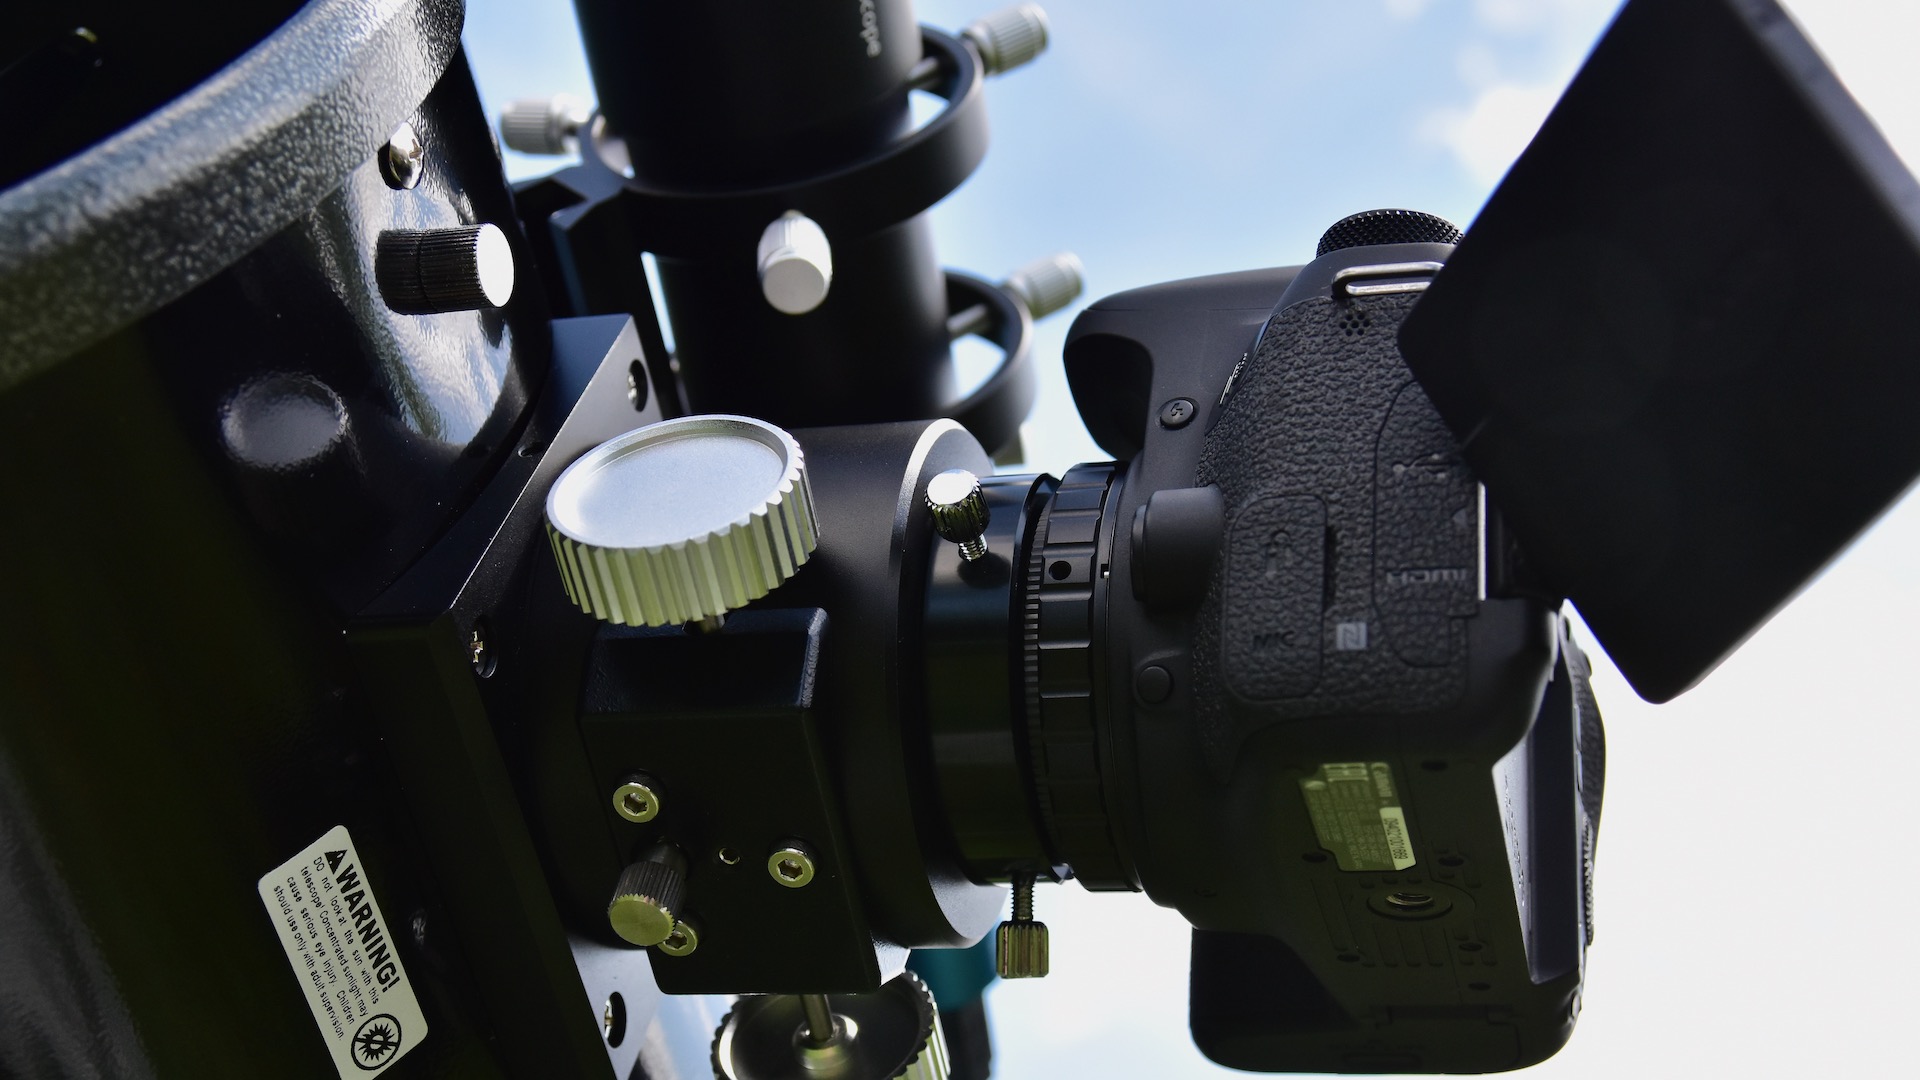
How do you attach the DSLR or DSLM camera to the telescope?
With a single-lens reflex camera, you can use the telescope for prime focus astrophotography. With a telescope focal length of 1,000 mm, you are also capturing images with a 1,000 mm focal length. Your telescope becomes a super-telephoto lens.
After removing the camera lens, attach a T2-ring to your camera bayonet. Since each camera has its own system, there is also a T2-ring for just about every camera. On the other side of this ring is a T2-thread. Either a 1.25" or a 2" eyepiece tube is screwed into this thread. On the camera side you have a suitable thread and on the focuser side you have a plug-in adapter.
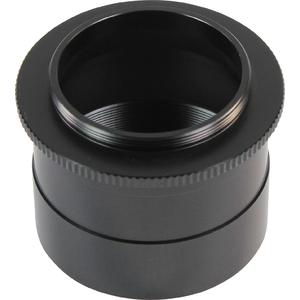
For planetary photography with a DSLR or DSLM camera, use eyepiece projection. To do this you need a special adapter in the form of a longer sleeve into which an eyepiece can be inserted. The enlarged eyepiece image is projected onto the camera chip. Here, too, the magnification of the image can also be varied depending on the focal length of the eyepiece. Generally, you won't get much better results than with a compact camera. Before you start, you should also check whether the focuser has sufficient load-bearing capacity and stability for the camera and accessories.
In order to mount a DSLR or DSLM camera onto a telescope, there are different adapter solutions depending on the telescope, camera and target object. A T2-ring is always required:
T2-rings & bayonet adapter
For a simple beginner’s telescope like a 114/900 Newtonian, a Barlow lens with a T2-thread will work. Without a Barlow lens, you cannot reach the focal point with these instruments.
ASToptics Barlow lens with T2-thread
Vixen Barlow lens with T2-thread
For all other telescopes with a 1.25" connection, these 1.25" projection adapters will work.
For telescopes with a 2-inch connection, you should also use a 2-inch adapter:
2-inch projection adapter with T2-connection
Finding objects and making test pictures
It makes sense to first find the target with a long focal length eyepiece before attaching the camera. The target object will not be as easy to see through the camera viewfinder as through an eyepiece. Now it will be relatively difficult to find the perfect focus, especially since most targets also appear very faint.
To focus, we recommend to first point the telescope at the Moon or a very bright star, which is nicely displayed on the LCD screen – not too faint, but also not overexposed. Since it is not yet possible to accurately judge whether you have found the perfect focus, it is advisable to carry out test exposures of around ten to fifteen seconds. With this exposure time, you should already have enough stars on the image. Now it is best to zoom into the picture (digitally). If the star remains point-shaped, then you have found the optimum focus. If not, a star will appear as a small disc with a black centre. You should simply keep trying until you've got it right. Now you can also try out some longer exposure times.
In terms of accuracy: you can precisely align a motorised equatorial mount, but without tracking control you can only use short exposure times of around 20 seconds, because no mount is exact over a long period of time. Manual or automatic guiding is a must-have!
Guiding
You have captured some short-exposure images, maybe even a whole series of them, and stacked and processed these images on your PC. Maybe you've got some really nice images among them, and the stars are point-shaped.
Then congratulations! But perhaps you are planning some even longer exposure times in order to photograph fainter objects. Without guiding, you will notice trails on the picture because you cannot control the mount’s movement.
The solution: you need to guide your telescope. Simply put, you must help your mount to accurately track the object. You must look "over the shoulder", so to speak, of your mount by checking its course using a second control optic.
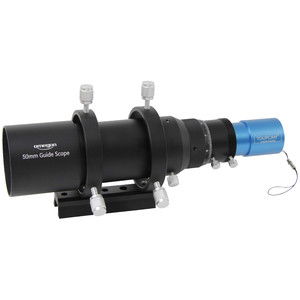
For this, you need a small, long focal length refractor, which you should mount parallel to your main tube. Then you can use a reticle eyepiece to check the tracking. If it becomes necessary, you can make manual corrections with your motorised tracking control.
It is important that you first determine where in the eyepiece the right ascension direction lies. To do this, simply press the two right ascension (hour axis) direction buttons and watch in which direction the star moves. Then turn your reticle eyepiece in the focuser until the crosshair points in the same (east-west) direction. By doing this you have a good orientation and know which buttons you need to press when your chosen guide star starts to drift. You should react immediately so that the consequences are not visible in the image later. It is helpful to defocus the guide star a little, because then it will appear larger.
Normal pipe clamps can be used to attach the guidescope. But it is even better if you use tube clamps specified for guidescopes, because with these you can adjust the guidescope more precisely, and readjust it a little if there is no star suitable for tracking in the field of view.
While tracking, it is difficult to also keep an eye on your exposure time. The timer on your smartphone can be used tell you when to end the exposure.
Tracking can also be mastered in a completely different way. You don’t need a guidescope and therefore no additional load on your mount, but instead you use a so-called off-axis guider. This is a device that is inserted between the focuser and the camera. A small mirror tilted by 45° directs a little light into a second focuser, which has a reticle eyepiece. If you are working with this type of guider, you will always need a bright star, which is located in close vicinity of your target.
The guidescope is attached using guidescope rings or a dovetail bar. As there are many different telescopes, there is a wide range of solutions. For specific questions, our telephone support can help you.
Reticle eyepieces and guidescopes in our shop
Manual tracking control with a reticle eyepiece has gone out of fashion in recent years. The standard today is the more reliable autoguiding. You can find tips about this topic at:
Webcams and astronomical cameras
With the cameras described previously, it is possible to create individual photographs. In the case of the Sun, Moon and planets, for example, you are always dependent on the moment when doing so. If you have a great deal of air turbulence, your picture will be blurred and lacking in detail. You need a lot of patience to get reasonably sharp pictures.
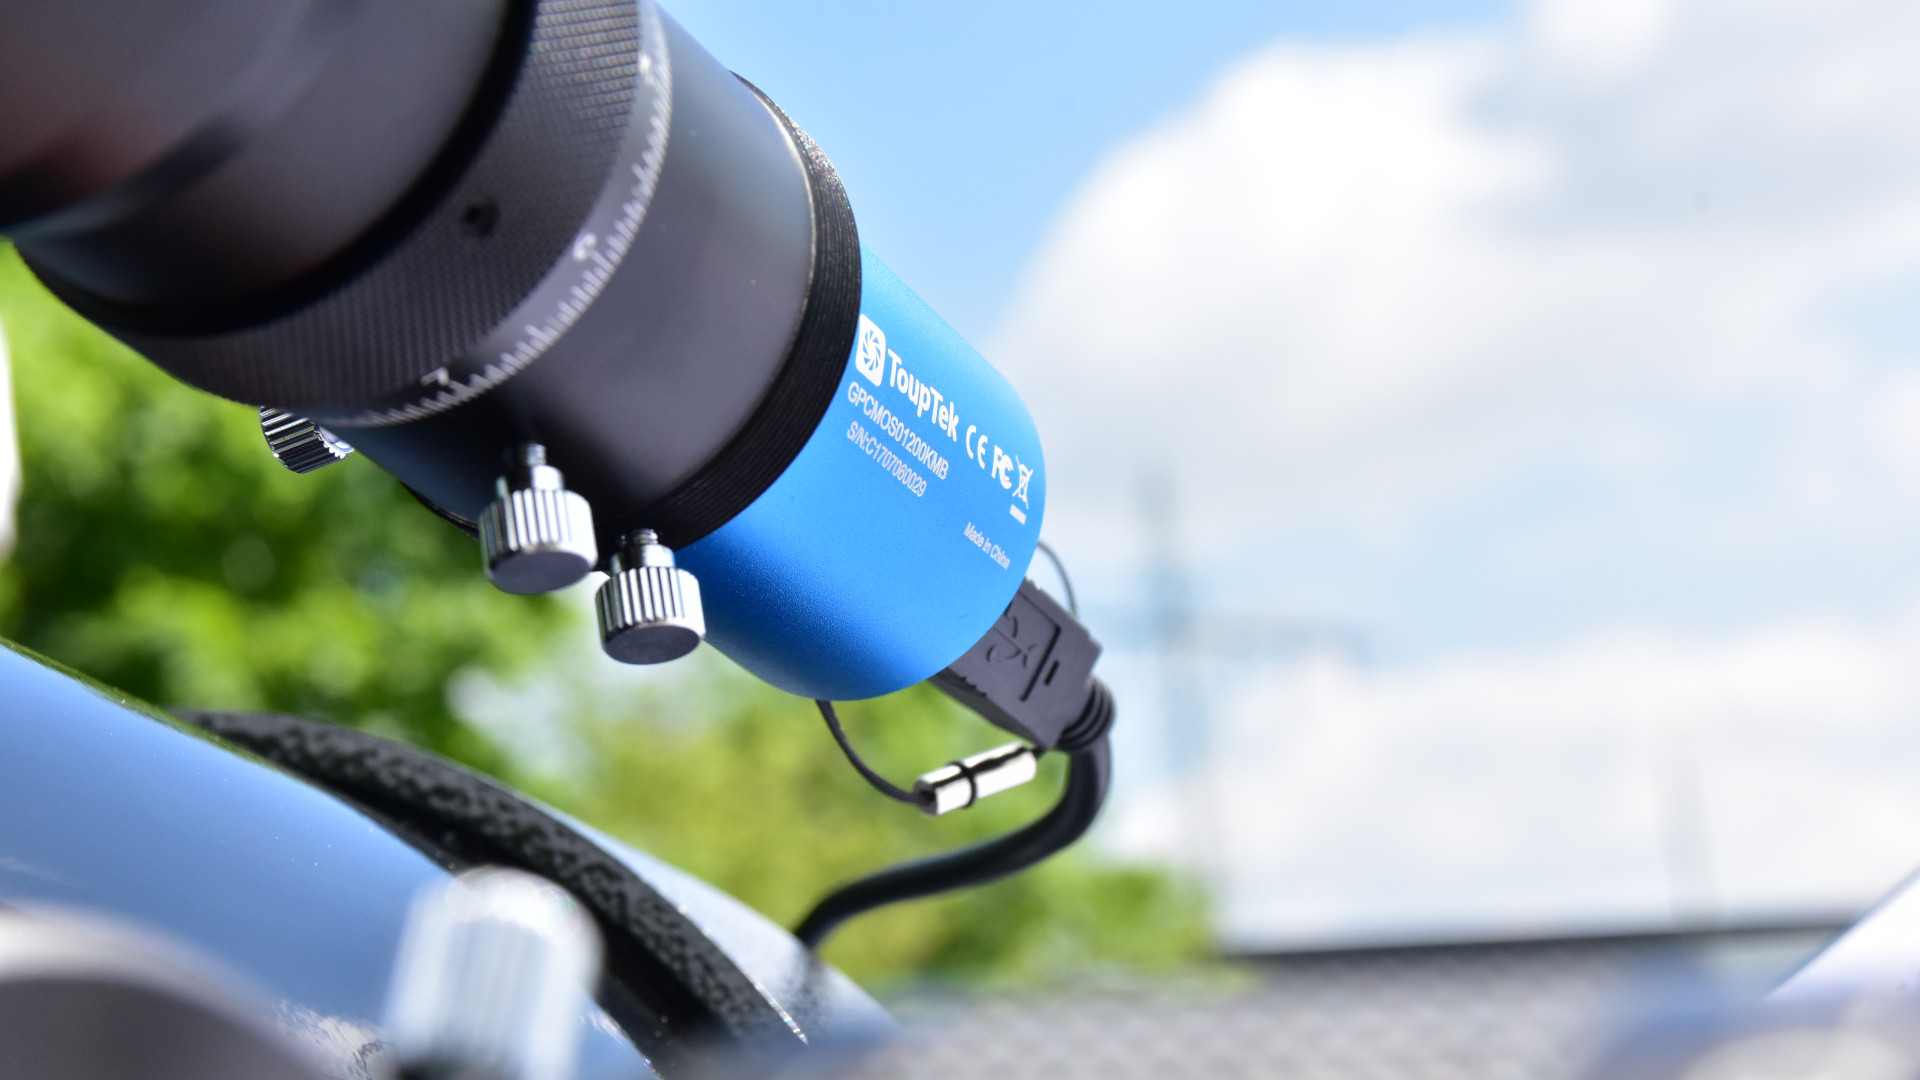
Photography by means of a webcam or astronomical camera uses a completely different technique. This method - known as lucky imaging - has not only revolutionized planetary photography in recent years: deep sky images using highly-sensitive CCD or CMOS cameras are also possible with this technology. Unlike with "normal" cameras, you can create a whole series of images with a webcam. Thanks to its high sensitivity and short exposure times, it is possible to get hundreds of images of a planet in a short period of time. 30-100 frames per second (fps) are recommended. The advantage is that you’re not relying on a single moment of good seeing. When you start a series of images, there will always be moments of good and bad seeing. Using special software, you can make an automatic selection of the "good" images as they are evaluated, which can then be added together to create a single combined picture. The "bad" images are simply ignored. In this way, you can create sharp pictures.
By further processing the image with suitable filters, it is possible to get a really sharp picture from a moderately good image. However, a webcam or astronomical camera does not have an integrated screen, so it is always necessary to have a PC or laptop connected to the telescope to which the camera is connected, for example by using a USB port. The exposure times can then be set using suitable software on the computer. On the screen, you have a live image that is often rather blurred. After very carefully focusing, you can start recording.
Depending on the focal length of your telescope, you will be able to see a larger or smaller image of your planet on the screen. As a rule, the telescope's primary focal length is not sufficient to photograph a planet on a satisfactory scale. For this reason, Barlow lenses are usually used, which extend the focal length 2-fold, 3-fold or even 5-fold to a few metres. However, the larger the effective focal length, the smaller the field of view, which requires greater accuracy when locating the planet. After you have centred the planet in the eyepiece, you should use the eyepiece together with the Barlow lens. Then centre the object exactly in the middle. Now you can attach the camera to the Barlow lens. If you now take a look at the screen, you should be able to see the planet somewhere, but it is not yet focused. This means that you will probably only see a blurred speck. Now you should focus carefully. The object will become smaller. Focus until you think that the planet looks sharp. A focus motor is a useful tool for focusing. With one, you don't have to touch the telescope and the planet won't swing back and forth so wildly. With the hand-held control box of your tracker, you can bring the planet to the centre of the live image. Do this at a very low speed. After the necessary settings have been made in the imaging program, your imaging session can begin. Often you can record your film for several minutes, which you can save as a video file.
You should consider one issue in this context: if lenses are present in the optical path, we recommend that you use an infrared blocking filter. This ensures a sharp, sound image of the planet in the visible spectral range. The reason: lenses are only optimally corrected for the visible light spectrum, usually at 550 nm in the green range. However, as soon as a CCD or CMOS chip is used, the invisible and thus unfocused light is also reproduced, as the chip is also sensitive in this range.
The best Barlow lens to use depends on the camera’s resolution. The Nyquist criterion is relevant here, according to which there should be 2 pixels per resolvable unit. With a rule of thumb, you can calculate the appropriate aperture ratio and thereby identify which Barlow is suitable. The calculation is as follows:
Optimal aperture ratio = pixel size in microns x 5
For example:
We have a Newtonian with f/5 and a camera with a 3µ pixel size. In this case:
15 = 3 x 5
The optimum aperture ratio is therefore f/15. On a Newtonian with f/5 this can be achieved with a 3x Barlow lens.
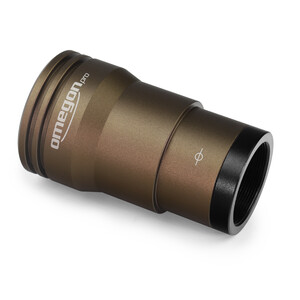
Good astronomy webcams cost between €200 and €500 depending on the chip size. There is a wide range available:
Astronomical cameras in our shop
Apochromatic 4-lens products such as the Omegon Premium are often used as Barlow lenses. TeleVue Barlows and the Hyperion screw-in Barlow in the lower price segment also have a good reputation:
Barlow lenses in our shop
Better planetary photographs with an ADC
The bright planets in particular are often close to the horizon and cannot be seen clearly, a consequence of the extended path of the light through the layers of air above the Earth’s surface. In addition, the atmospheric refraction in the vicinity of the horizon creates unattractive colour fringing. This refraction of the light in the atmosphere can be corrected with an atmospheric dispersion corrector or ADC: two rotatable prisms produce their own colour defect, which compensates that caused by atmospheric dispersion.
For the ADC to best function, the telescope should have an aperture ratio less than f/10. This is automatically the case for Schmidt-Cassegrain telescopes, for other optics it may make sense to use a Barlow lens. In order to achieve the same focus on a Newtonian telescope, we recommend that you place the Barlow lens in front of the ADC.
Pictures and videos completed – what now?
If you have taken multiple images or have recorded a video with short exposure times, you can stack the frames later on your computer. This reduces noise and intensifies the object image. For stacking and further editing you will need a suitable program, such as RegiStax, Giotto or Photoshop. You can find more information here.
Recommended products for astrophotography