

Your first astronomy photo in 7 easy steps using the MiniTrack
Do you need a lot of experience, an expensive mount or a fully equipped observatory to take a great astronomy photo?
For many, astrophotography is a high mountain with sharp rocks, deep gorges and difficult climbing routes. Only those who reach the summit will be rewarded with wisdom and glittering mountain crystal – in other words, with beautiful astronomy photos.
But couldn't you just jump into a cable car and take a ride to the summit? But of course! In this article, you will learn:
- How to be successful in astrophotography without a great deal of effort
- How to get to your first images step by step, even if you're a beginner
- Which equipment you’ll need to do it
Getting started is the only hurdle, the rest will take care of itself.
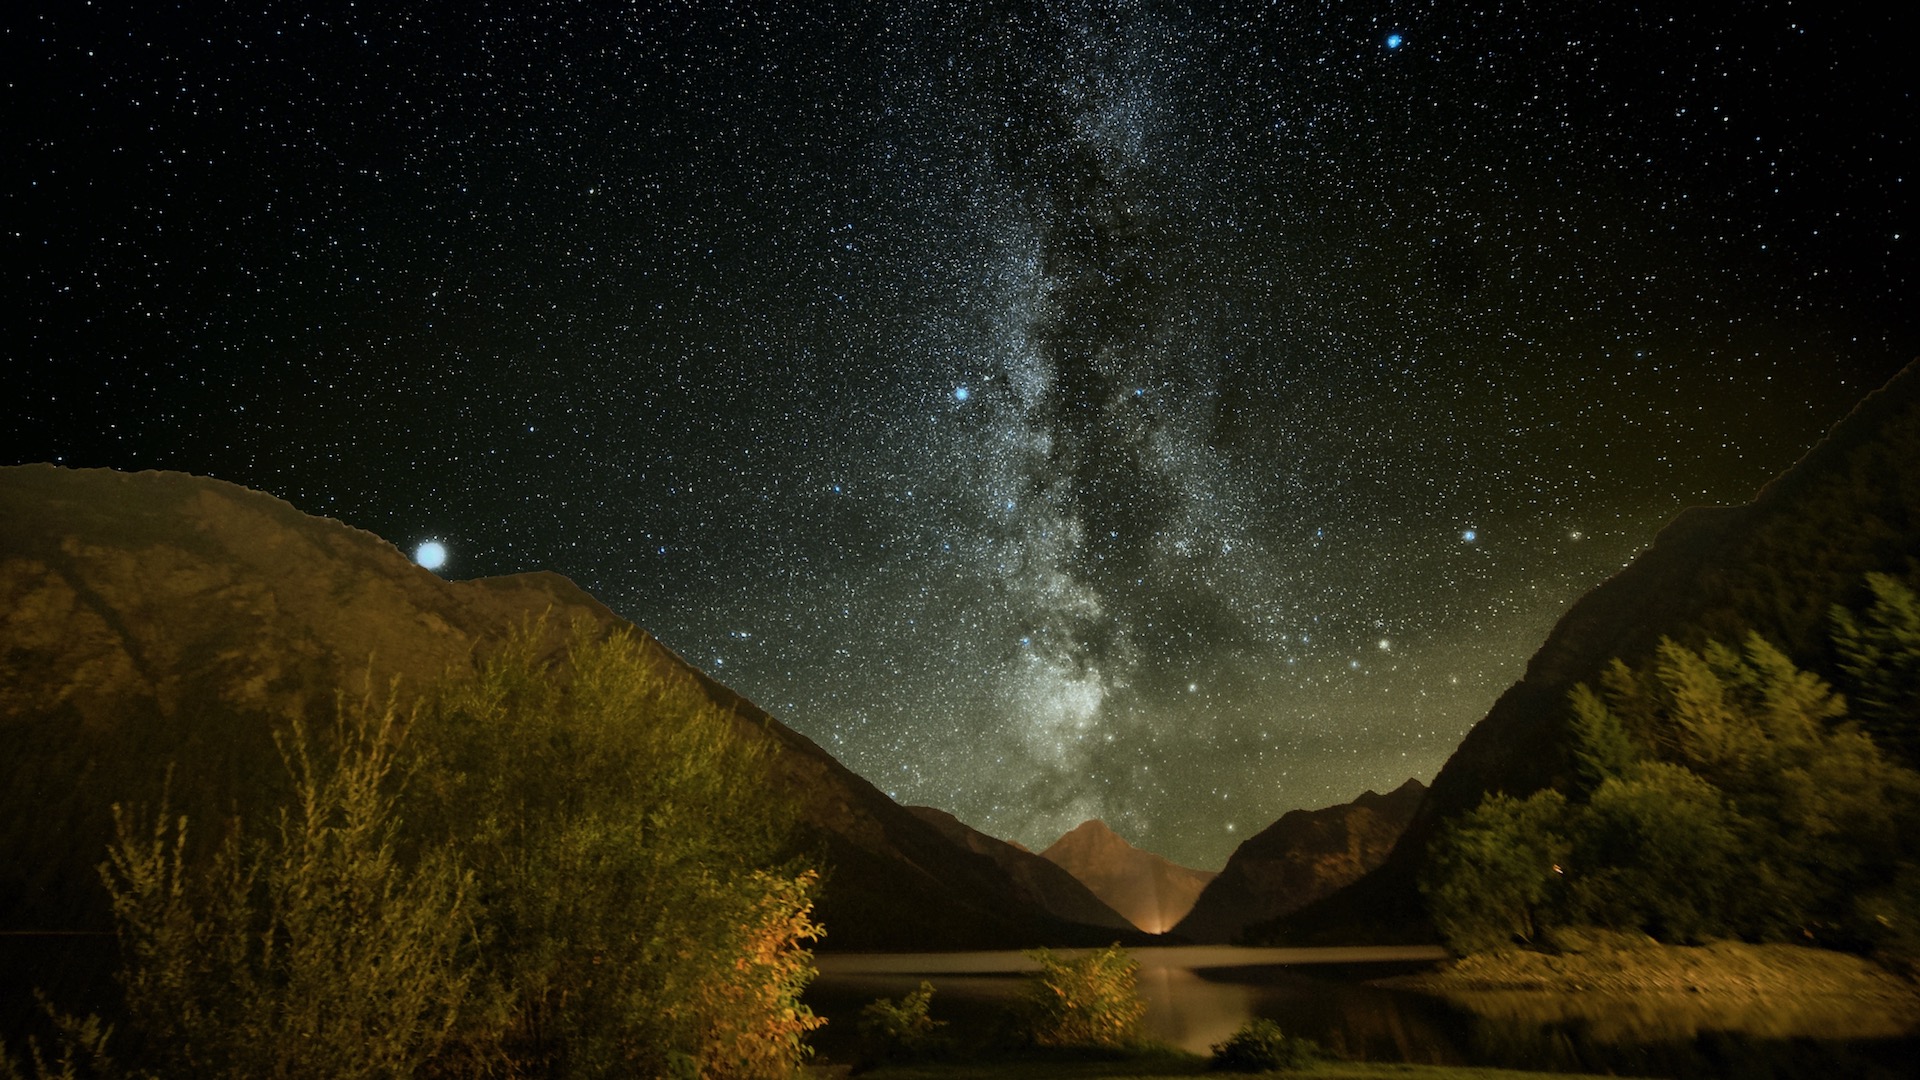 The Milky Way in the constellation Aquila above lake Plansee. Exposure 50x60 seconds at ISO 1,200, Jupiter is in the left of the picture. Photo: Marcus Schenk
What is nightscape photography?
Astrophotography is not always easy. The classic way, using large mounts and special astronomy cameras, can be both technically difficult and time-consuming. It all requires experience.
But that is not what we are looking for here. This is about astrophotography in simple steps, but with beautiful results. How can this be achieved? With nightscape photography! This is defined as photography of the night sky using wide-angle and standard lenses, without a telescope. Instead of faint nebulae and galaxies, you photograph constellations and the Milky Way. It looks particularly visually appealing when the picture includes a combination of the night sky together with the landscape.
Camera mount or static camera?
Will this work with a camera attached to a tripod? In principle: yes, but there are limitations. The advantage: photography with a static camera is easy; besides the camera and tripod, you don’t need any other equipment. The disadvantage: you have to keep to short focal lengths and short exposure times of up to around 15 seconds. This is often not enough to capture the beautiful Milky Way or deep sky objects.
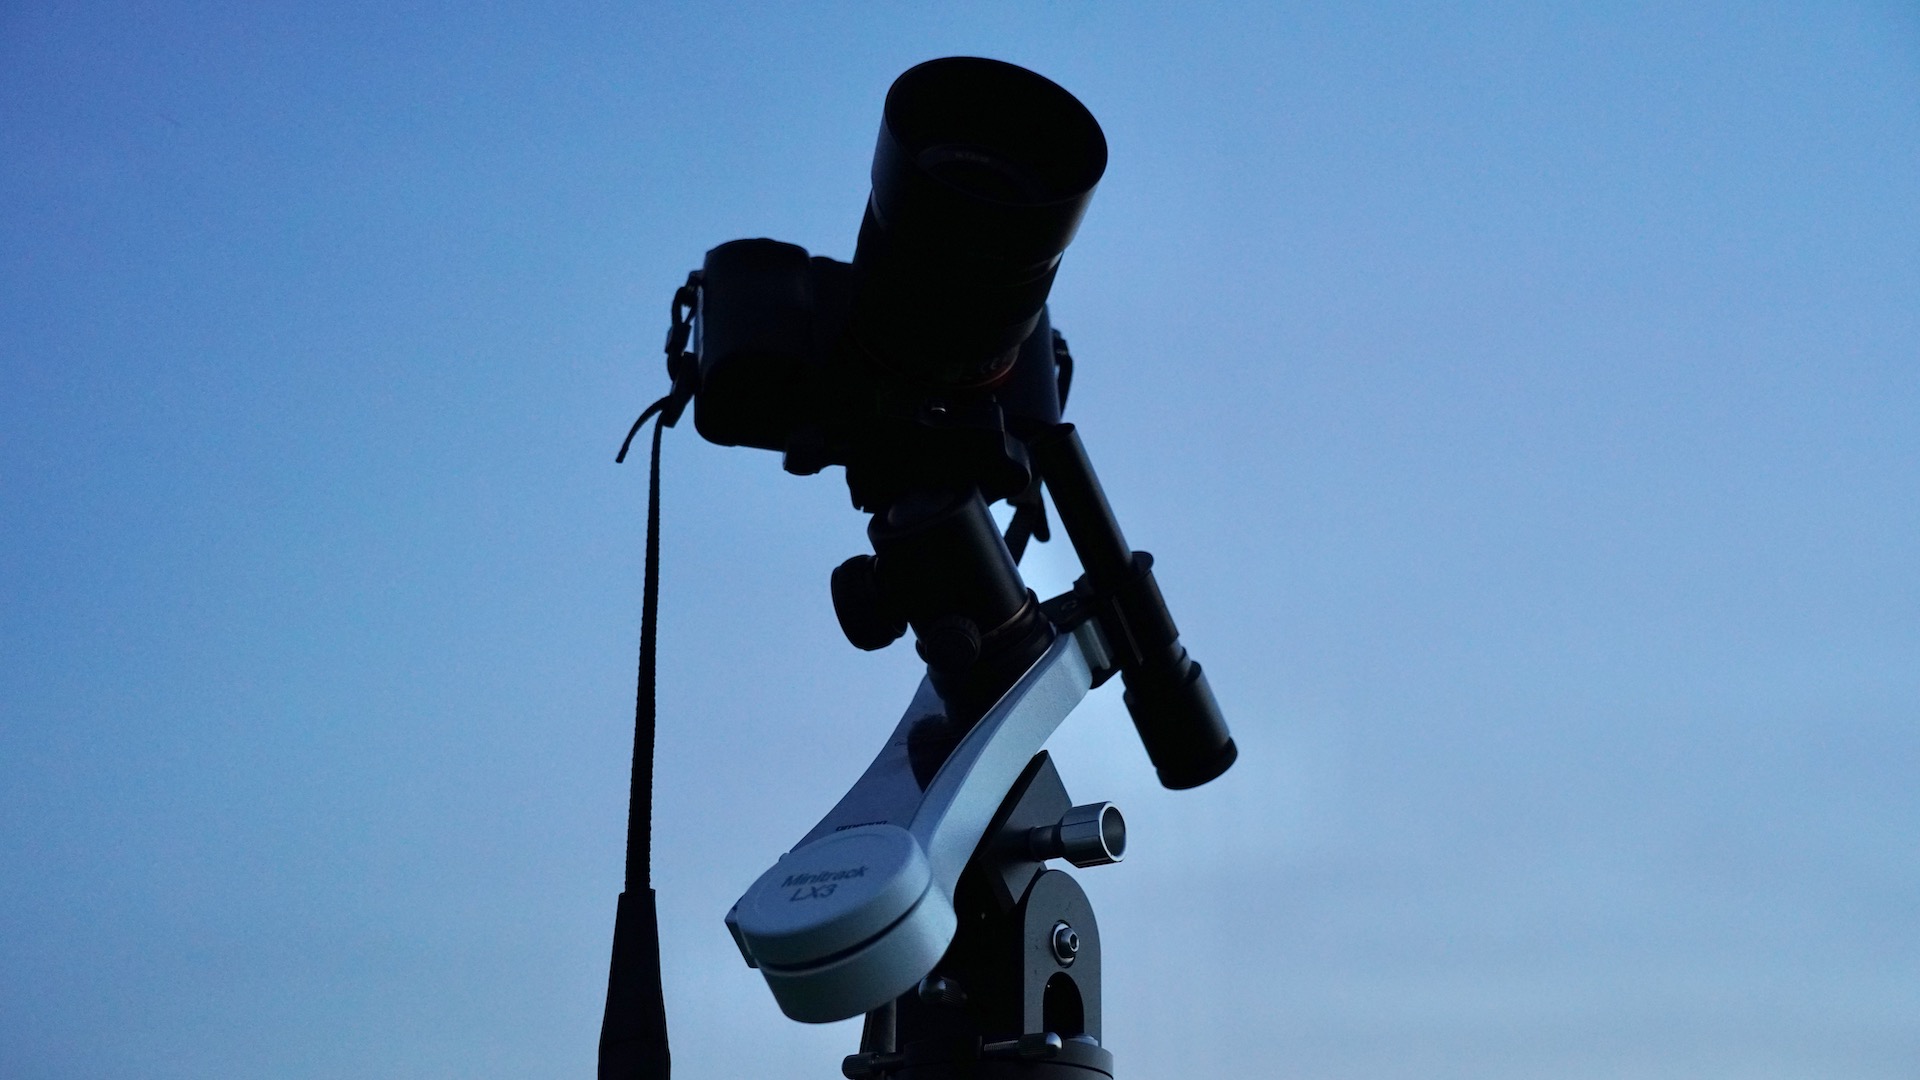
A camera mount (also called a star tracker) allows your camera to track the movement of the stars. And that movement is not small; within an hour a star will have moved 15 degrees or 30 full diameters of the Moon across the night sky. Exposure times of up to several minutes are possible with a star tracker. Stars remains point-shaped in your pictures and the camera has time to collect more light and thus capture more depth of detail.
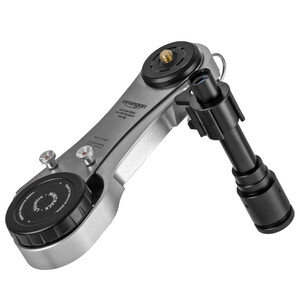
Following the stars: the MiniTrack family
The MiniTrack camera mount is the ideal introduction to astrophotography using tracking. You don't have to be Harry Potter to wave the MiniTrack wand. It's perfect for Muggles – that is, for the not-yet-professional astrophotographers.
Almost 4,000 MiniTrack fans share their pictures on the MiniTrack Facebook group. Indeed, one beautiful subject follows the other. Why is that? It’s all down to the almost intuitively simple handling, and reliable mechanics.
The MiniTrack is:
- Affordable and robust
- Quick to set up and easy to use
- Fully mechanical, works without batteries
- Suitable for travel, it's lightweight and fits in every backpack
- Also suitable for beginners, visual observers and anyone interested in the night sky
What do you want to photograph?
The sky should be clear. This sounds banal, but it's really important. Even thin cloud cover can spoil your images. In addition, there may be problems when you later come to automatically process a series of exposures. Therefore, make sure that the sky is clear and that there is as little light pollution as possible at your chosen location.
Which part of the sky do you want to photograph? It's best to think about this before you get started. In summer, the band of the Milky Way looks amazing, so you should choose an observation place with a good southerly view towards the horizon. In winter, the area around the constellation of Orion is an attractive region.
 The constellation of Cassiopeia. Unprocessed single image with 30 seconds exposure at ISO 800. The double cluster h & chi, the Andromeda Galaxy and many other deep sky objects are visible. Photo: Marcus Schenk
Got everything?
Do you love lists? No matter what you say, a ticked checklist - even if they are just mental ticks - is important before you start. I can remember an observation night when I forgot half of the things I needed because I didn't have enough time to prepare beforehand. Make sure you have everything readily laid out before you start to pack it away, so you can keep track of what you’ve got.
Checklist for the night:
- Camera with lens, SD card and charged battery
- Cable shutter release (if you’re not using your camera's self-timer)
- Ball head for attaching the camera to the MiniTrack
- MiniTrack with sight tube or optical polar finder
- Video tilt head or polar wedge for attaching the MiniTrack to the tripod
- Tripod, if possible, with bubble level
- Red light lamp
- Small prism rail and Allen keys (only for polar wedge)
- Polar finder illumination (only for optical finder)
Now it’s time to get outside, the stars are waiting.
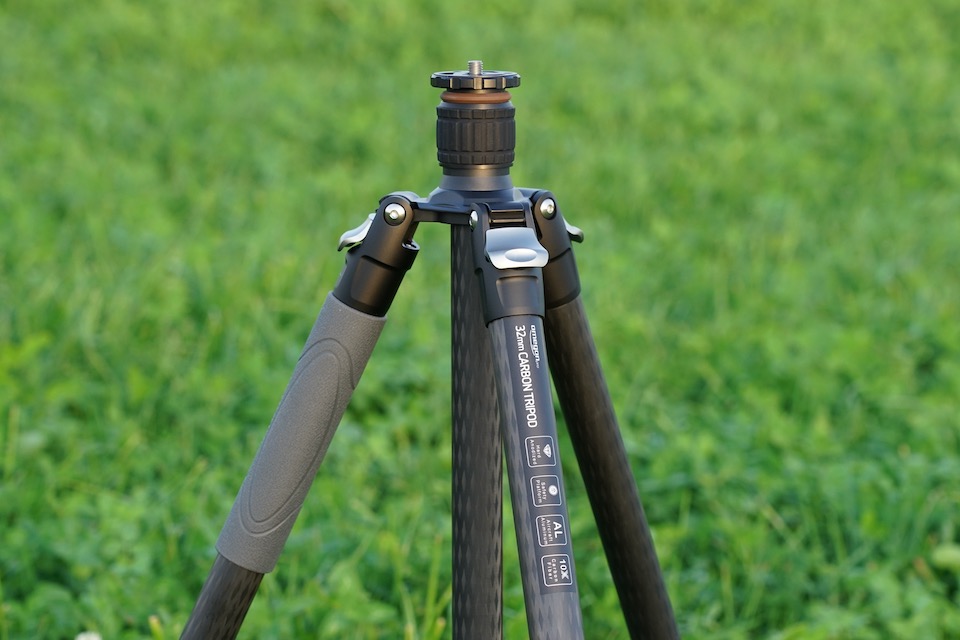
Step 1: Set up the tripod
So, you've arrived at your observation location and unpacked everything? Perfect. It's best to set your equipment up for the first time unhurriedly in twilight while you can still see what you're doing.
Find a firm and level spot for your tripod. Extend the legs so that you can comfortably look into the polar finder from below. After all, you don't want to be face-to-face with earthworms, when you should be photographing the night sky.
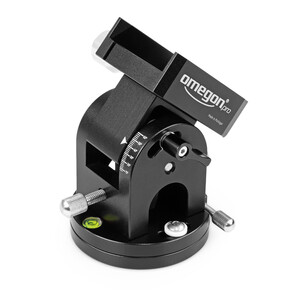
Step 2: Fit the video tilt head or polar wedge
Attach the video tilt head or the polar wedge. It's easy to do this using the 3/8 inch thread that’s provided. Do you have a built-in bubble level on the tripod or tilt head? This allows you to easily level the tripod, so you’ll benefit from better tracking.
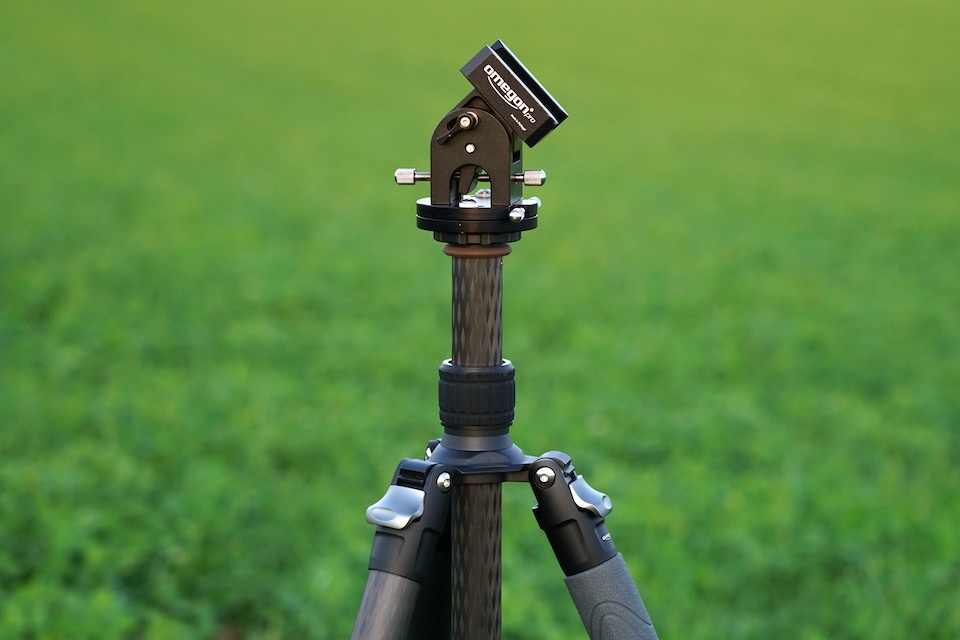
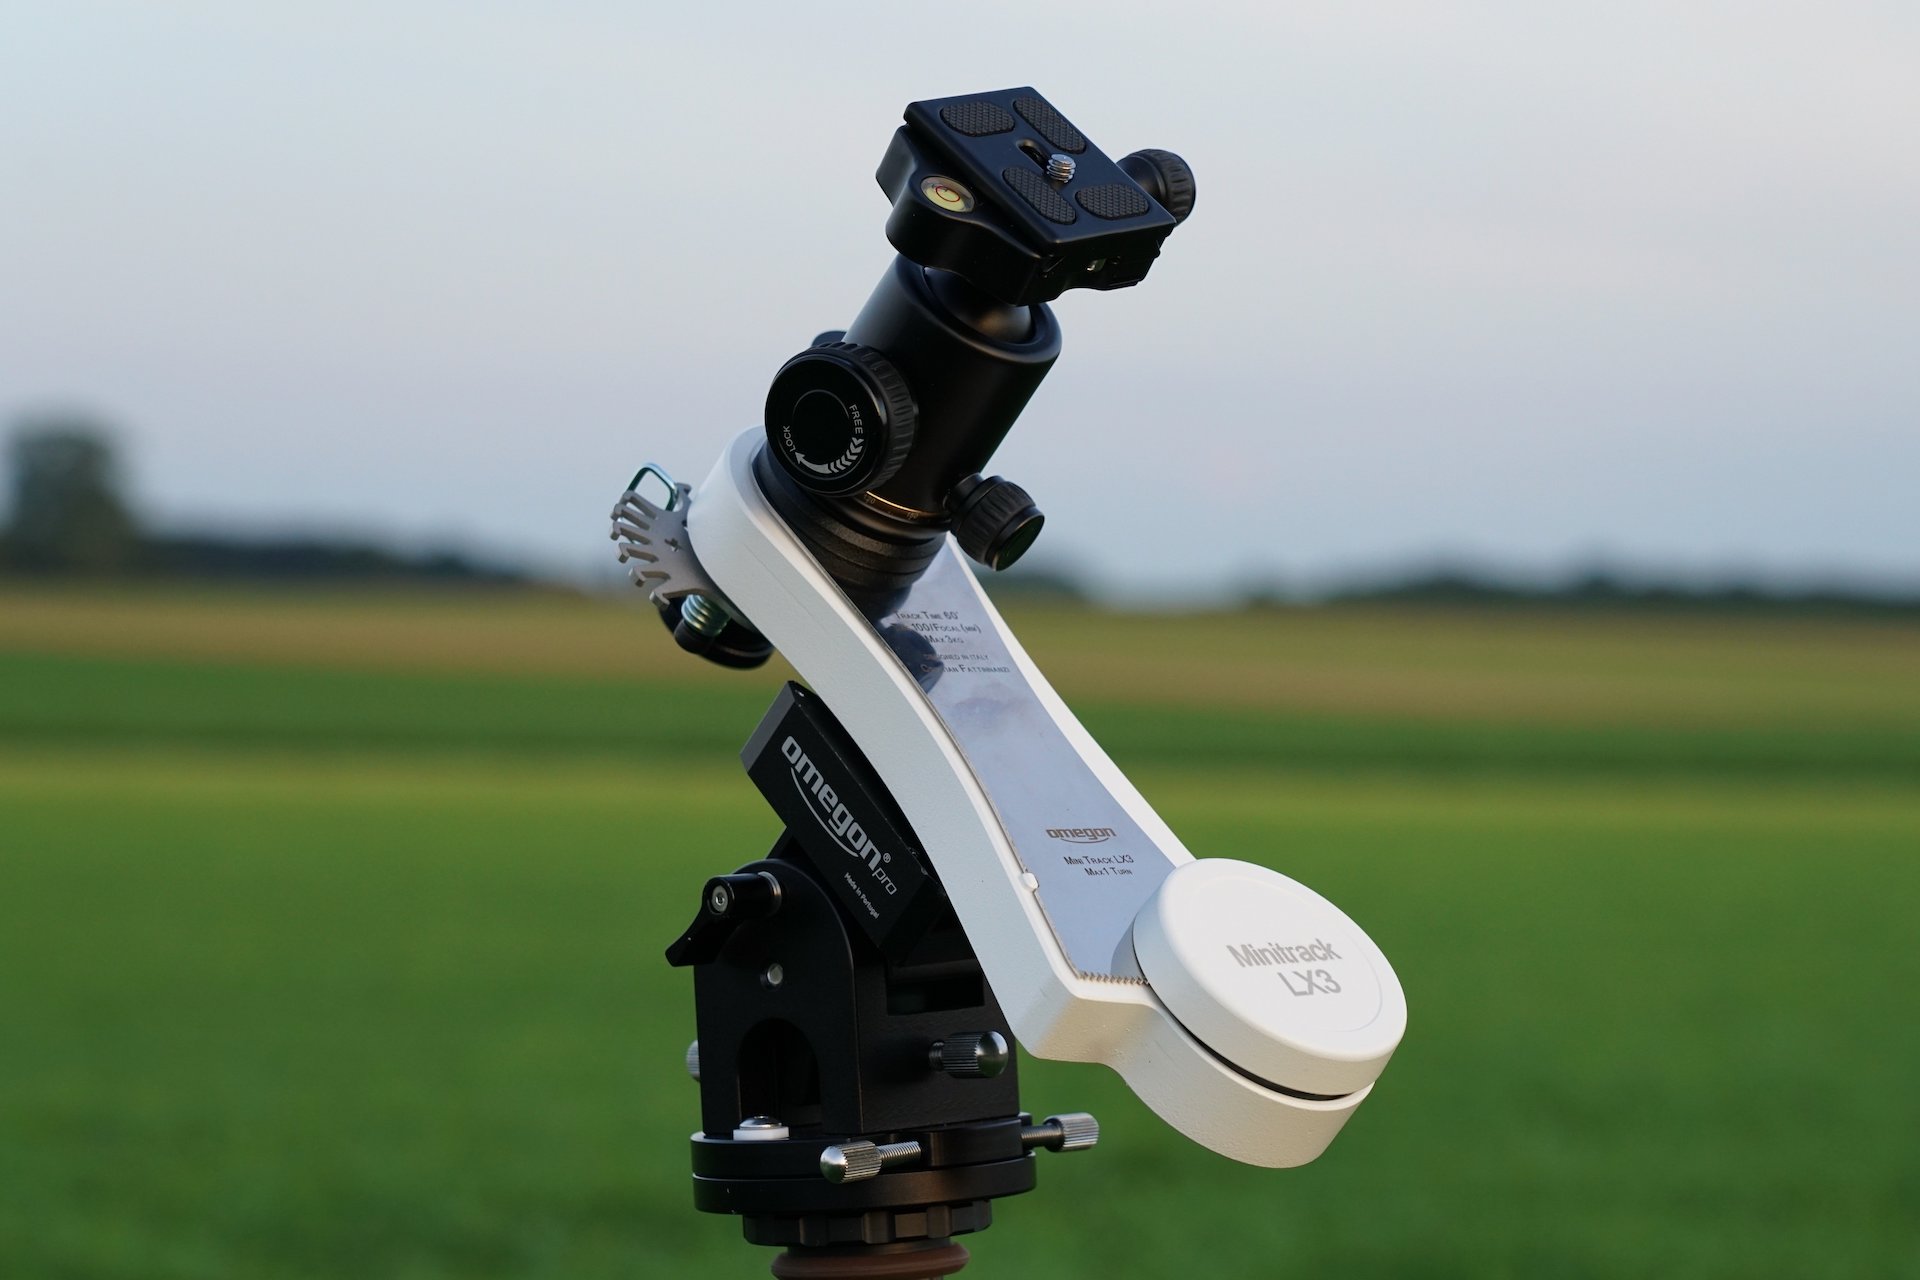
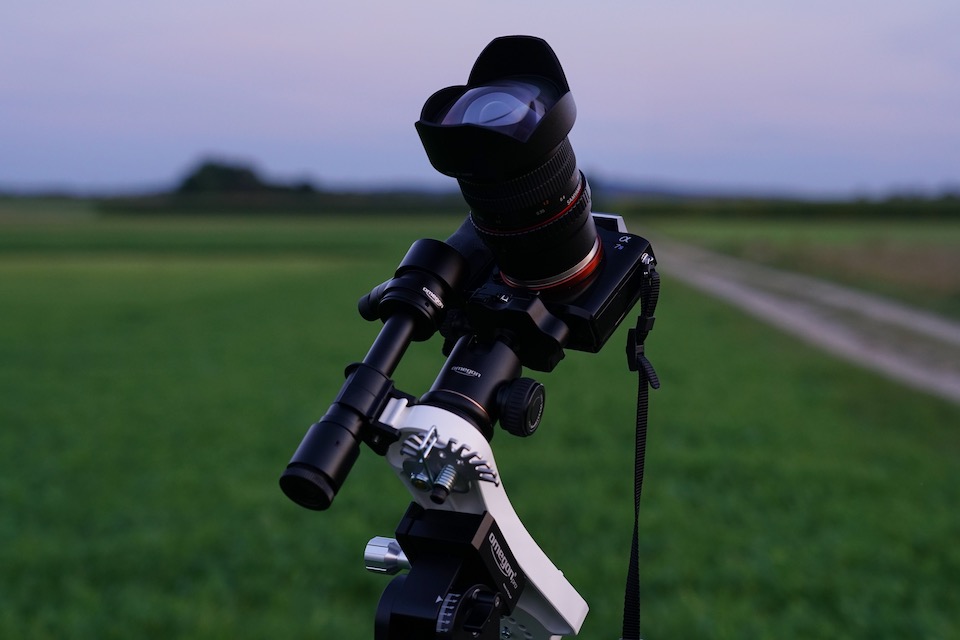
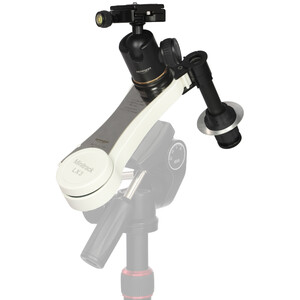
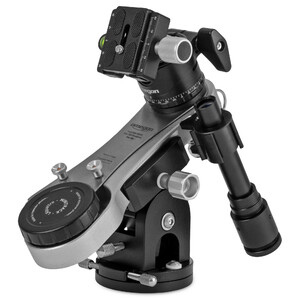
Step 3: Attach MiniTrack and camera
Now comes tonight's centrepiece: the MiniTrack. Set the star tracker on the video tilt head or the polar wedge. To do this, connect the video tilt head’s quick-release plate or the polar wedge’s small prism rail to the 1/4 inch thread on the underside of the MiniTrack. Then attach the camera to the MiniTrack’s ball head using a quick-release plate.
Insert the polar finder or the sight tube. If you are using the Omegon polar finder illumination, now is a good time to set that up too.
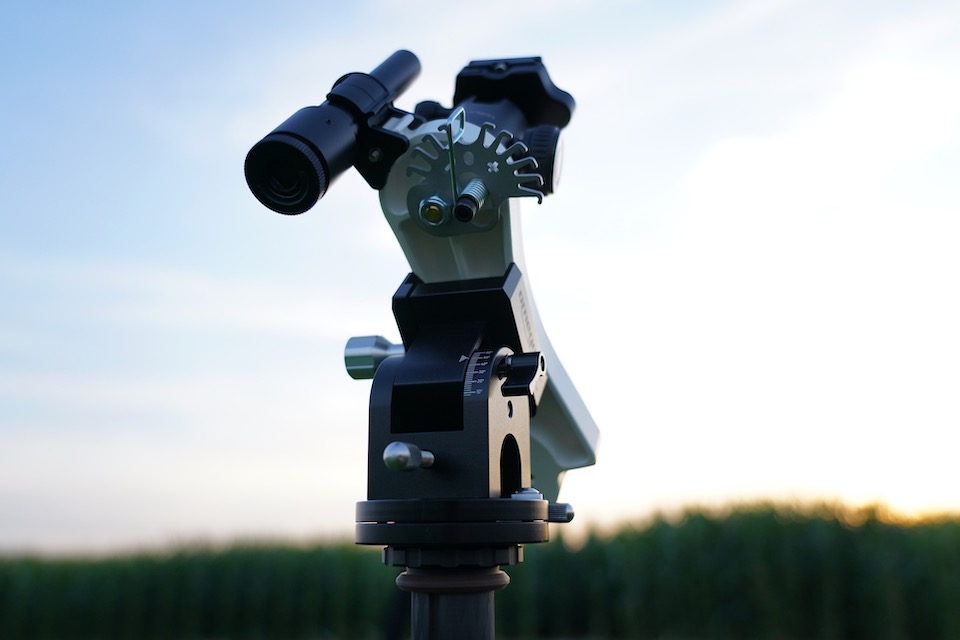
Step 4: Polar-align MiniTrack
Have you already aligned the MiniTrack to the north? If everything is correct, the sight tube or polar finder will point to the celestial pole.
Polar-alignment with sight tube
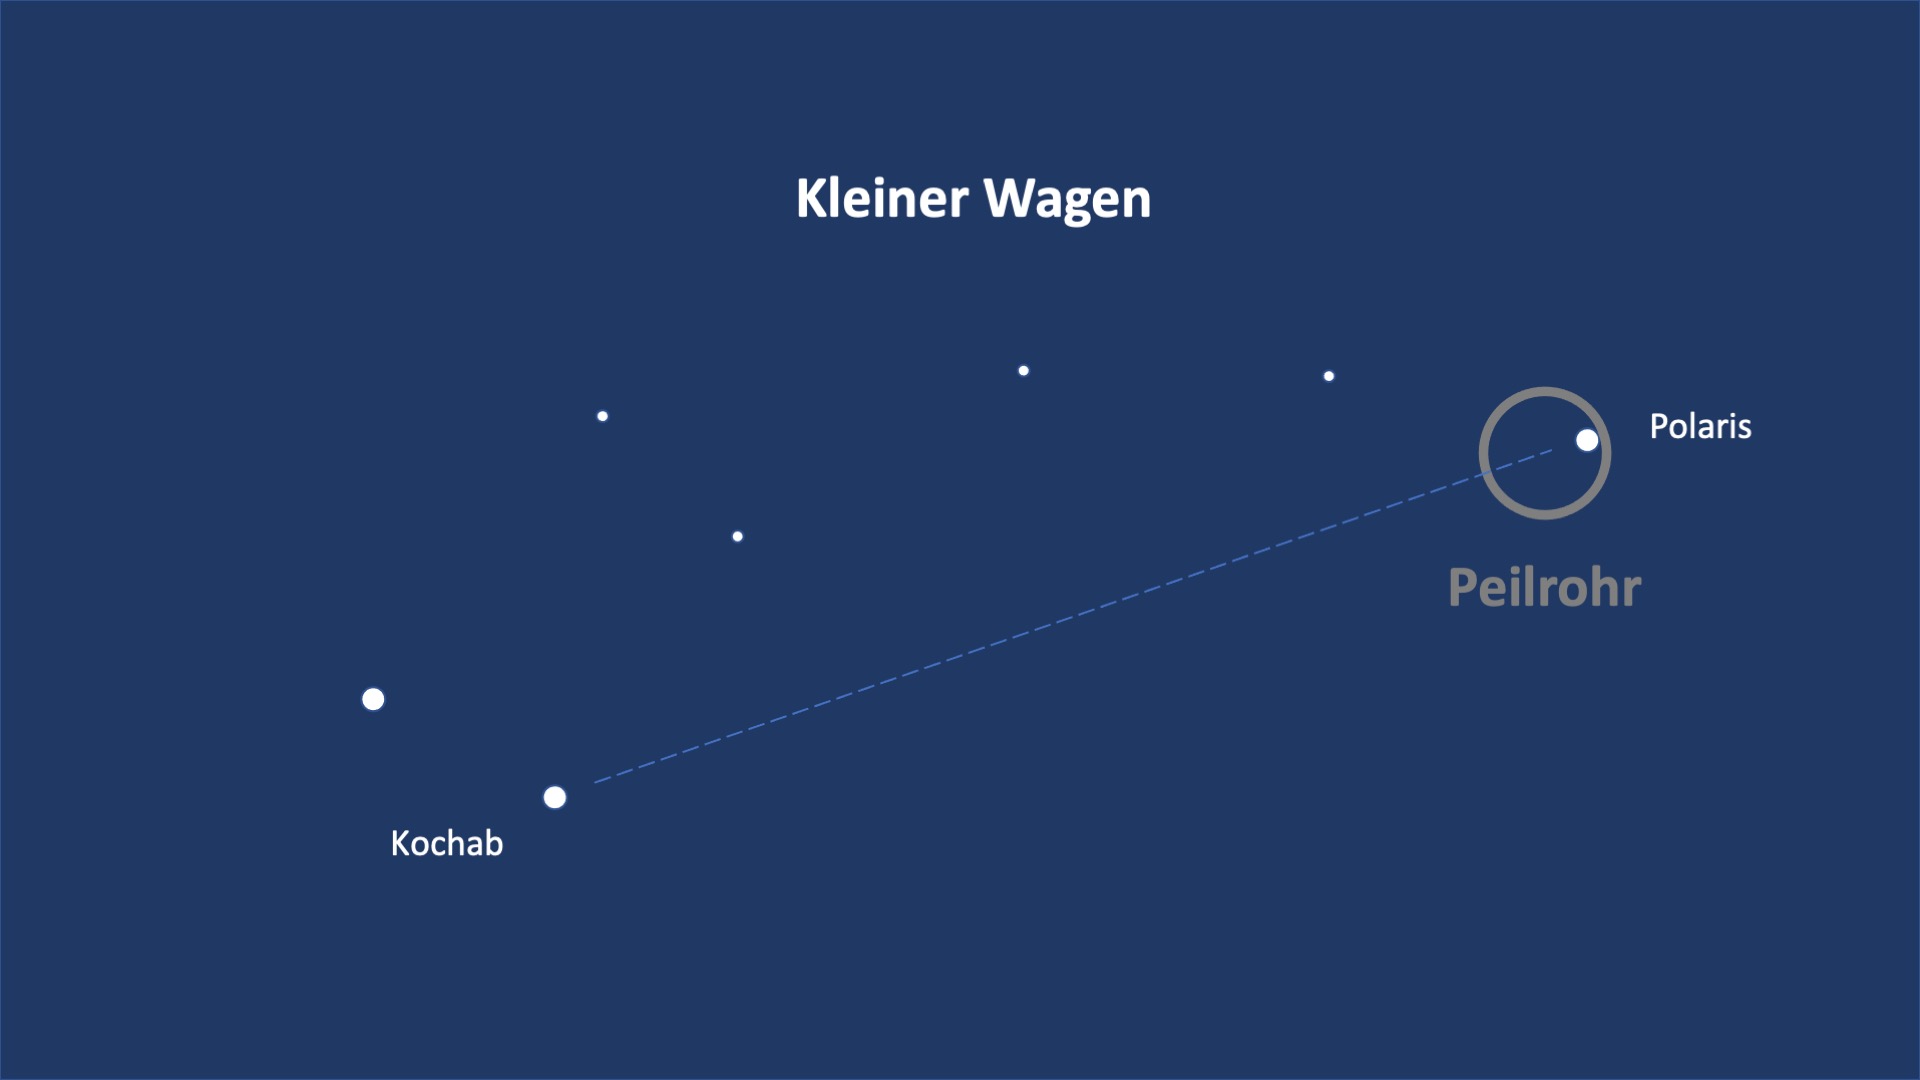
Look through the sight tube: if Polaris is already visible, you'll only need to make fine corrections. If not, you must roughly align the mount again. For shorter exposures, it is sufficient to be able to see Polaris in the sight tube.
For longer exposures, it's even better to do the following: adjust the mount so that Polaris is positioned at the edge of the field of view in the sight tube – opposite the star Kochab in the Little Dipper. The sketch shows how it should appear.
Polar-alignment with polar finder
I like to use a polar finder app that shows me the current position of the pole and the Pole Star. Apps are available in Google Play or the App Store. Rotate the polar finder in its holder until the view through the polar finder matches the representation in the app. Now comes the fine adjustment: correct the azimuth and altitude until the Pole Star is visible in the small circle of the polar finder.
Tip: attach the camera before polar-aligning the MiniTrack. If the camera blocks your view of the Pole Star, use the ball head to turn its body slightly to the side.
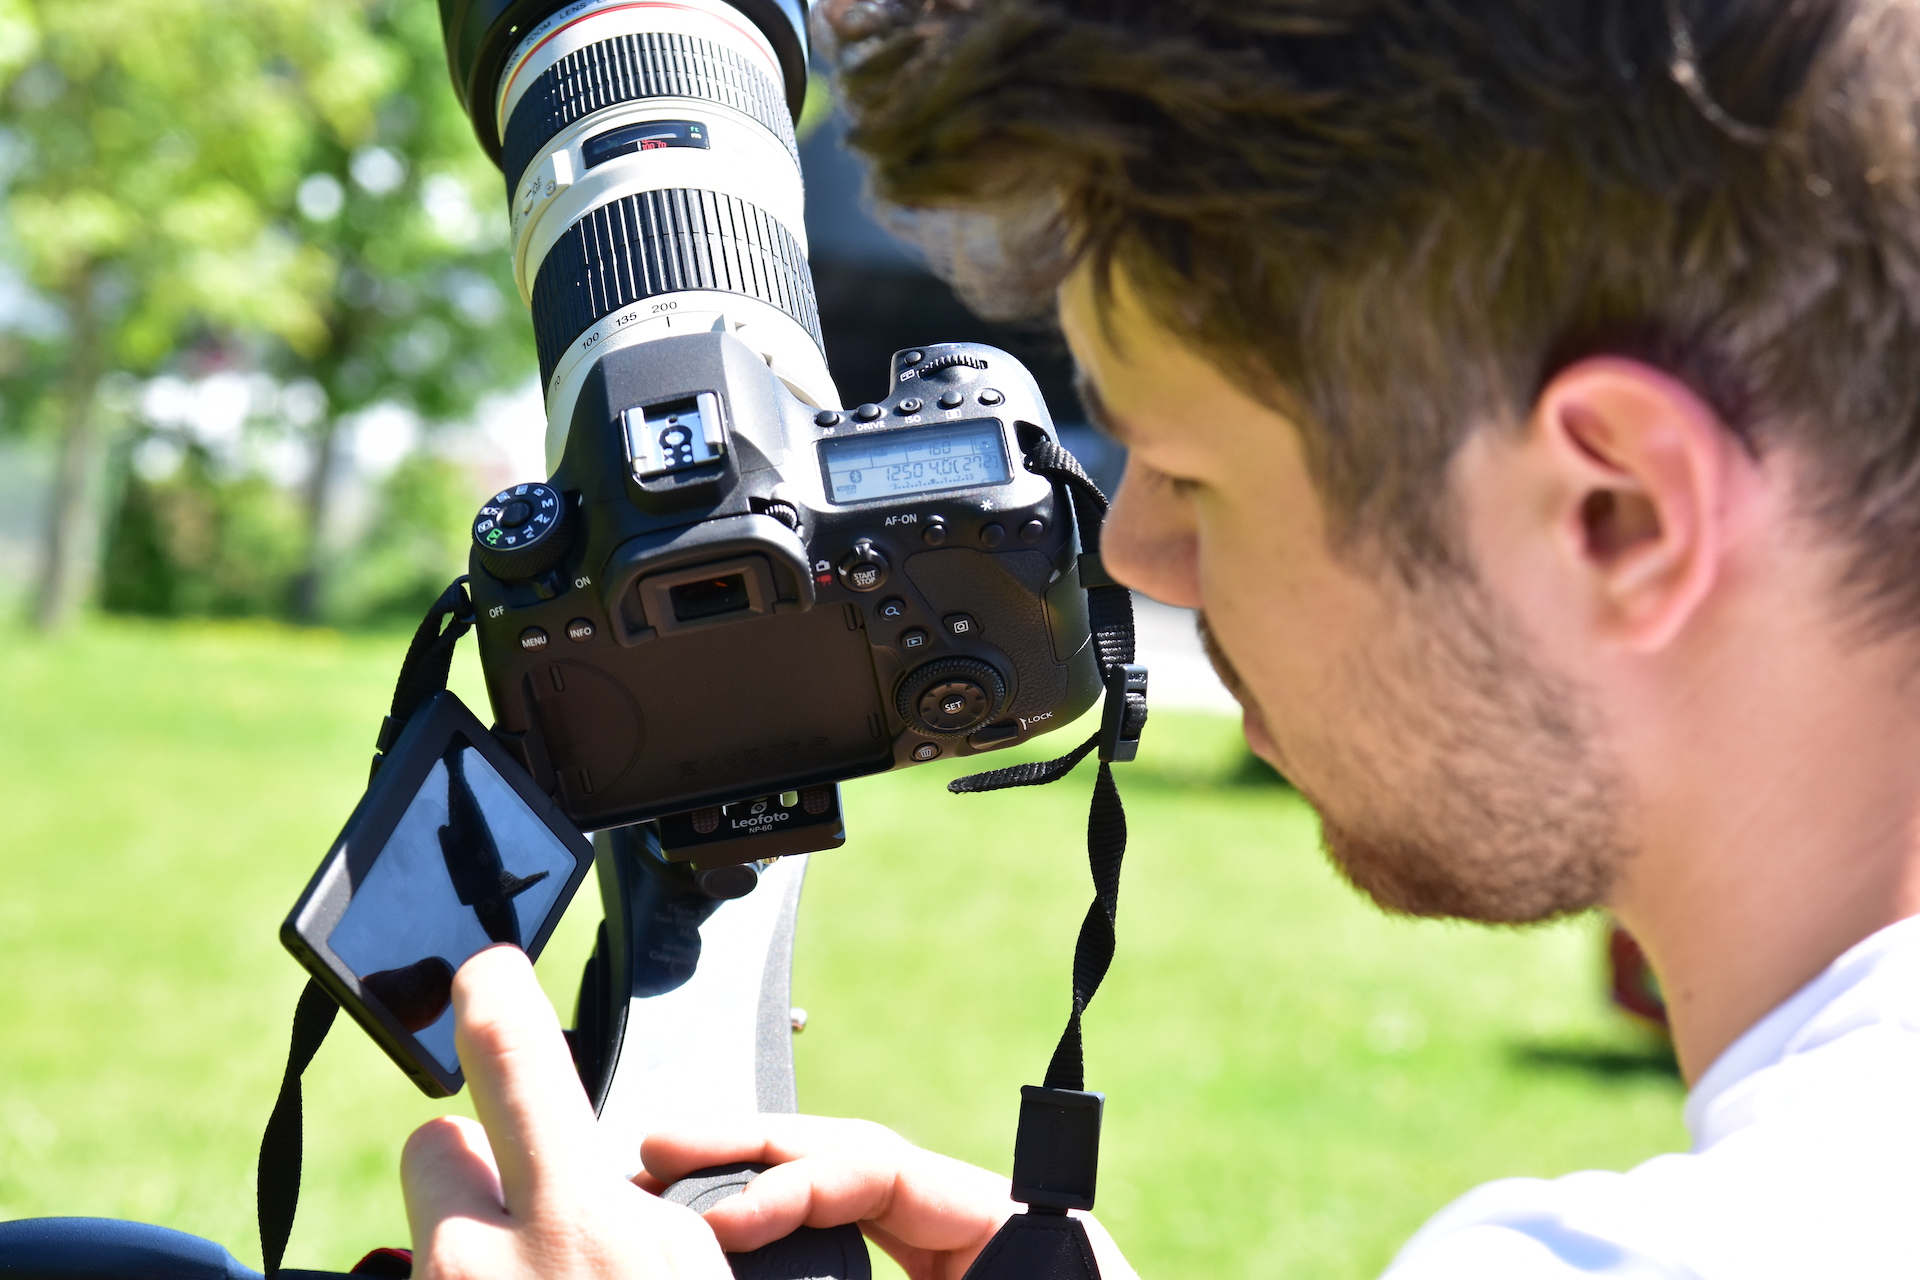
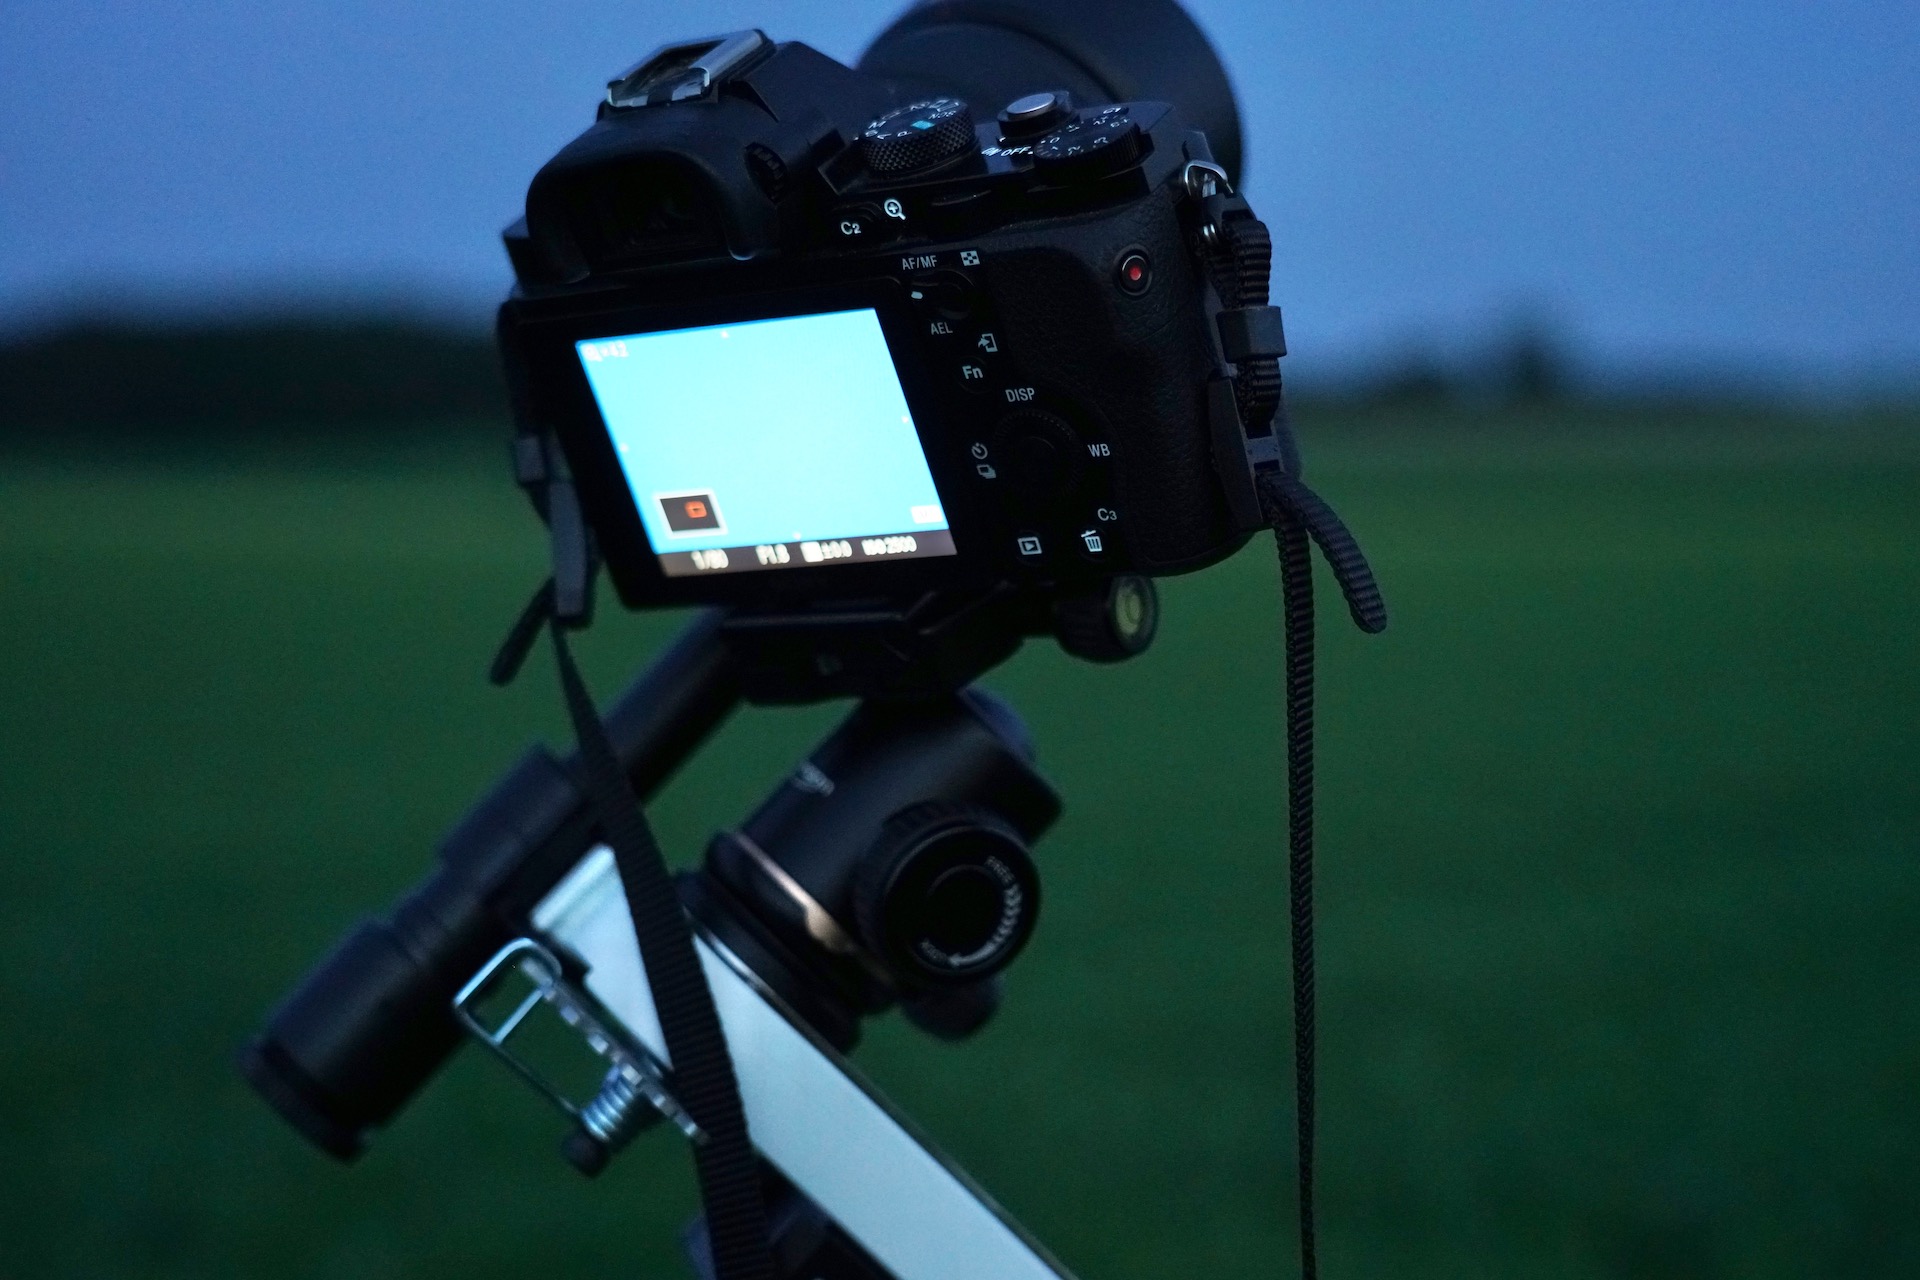
Step 5: Focus the camera
Point your camera at a bright star or planet. Select a high ISO setting and a short exposure time. The image doesn't have to be good; it's just about finding the sharpest focus.
To do this, use the camera’s zoom lens and rotate the lens (manual focus adjustment) until the star looks pin-sharp. Take a first picture and zoom into the image. Is the star sharp? If not, try again until you are satisfied.
Checklist: these are the correct camera settings:
- ISO: 400-1000
- Aperture wide open
- Exposure time: approx. 15-60 seconds
- White balance set to daylight
- Best image quality, probably uncompressed RAW format
Step 6: Wind up and align MiniTrack, test exposure
Wind up the MiniTrack and point the camera at the area you want to photograph. Take a test image if you are not sure whether the object is already in the image field. A short exposure time of around 2–3 seconds is usually sufficient to assess this. Now you can adjust the position of the camera again if necessary.
Everything well aligned? Perfect! Then we can get going.
Step 7: Start exposure or series of exposures
In practice, you'll reach step 7 quicker than you think. Check once more that your camera settings are correct.
The fine stars in an astronomy photograph will mercilessly reveal every wobble. Do you have a remote shutter release with you? If not, no problem. Then use your camera's self-timer. This gives the tripod time to settle.
Click. Your first picture is in the can. It doesn't look bad at all. Play a little bit with the image section (if you have a zoom lens) and the exposure time.
Can this still be improved? When you combine multiple images, you'll see ever more detail. With free software, you can use your computer to combine the individual images into a composite picture.
To get started, you can try a series of about 20 exposures, each with 30–40 seconds of exposure time. With a programmable cable shutter release, you can preset the entire series of exposures. All you have to do is press the start button and wait.
Tip: If you want to combine an astronomy image with a section of landscape, take the landscape image separately and independently of the MiniTrack.
The exposures are finished – what now?
Well, did you manage to stay awake? If so, you've probably already taken a quick peek at your pictures. It’s amazing how much there is to see, don't you think?
Using a MiniTrack, beautiful results are possible in a short time. The first photo will probably not (yet) be perfect, and it doesn't have to be. Let's put it this way: the journey is the destination - and Rome wasn't built in a day, either. The next step is to process your images with a stacking program, such as Deep Sky Stacker or one of many others.
You can be proud of what you've achieved in just one night or a handful of nights. Just give it a go and have some fun.
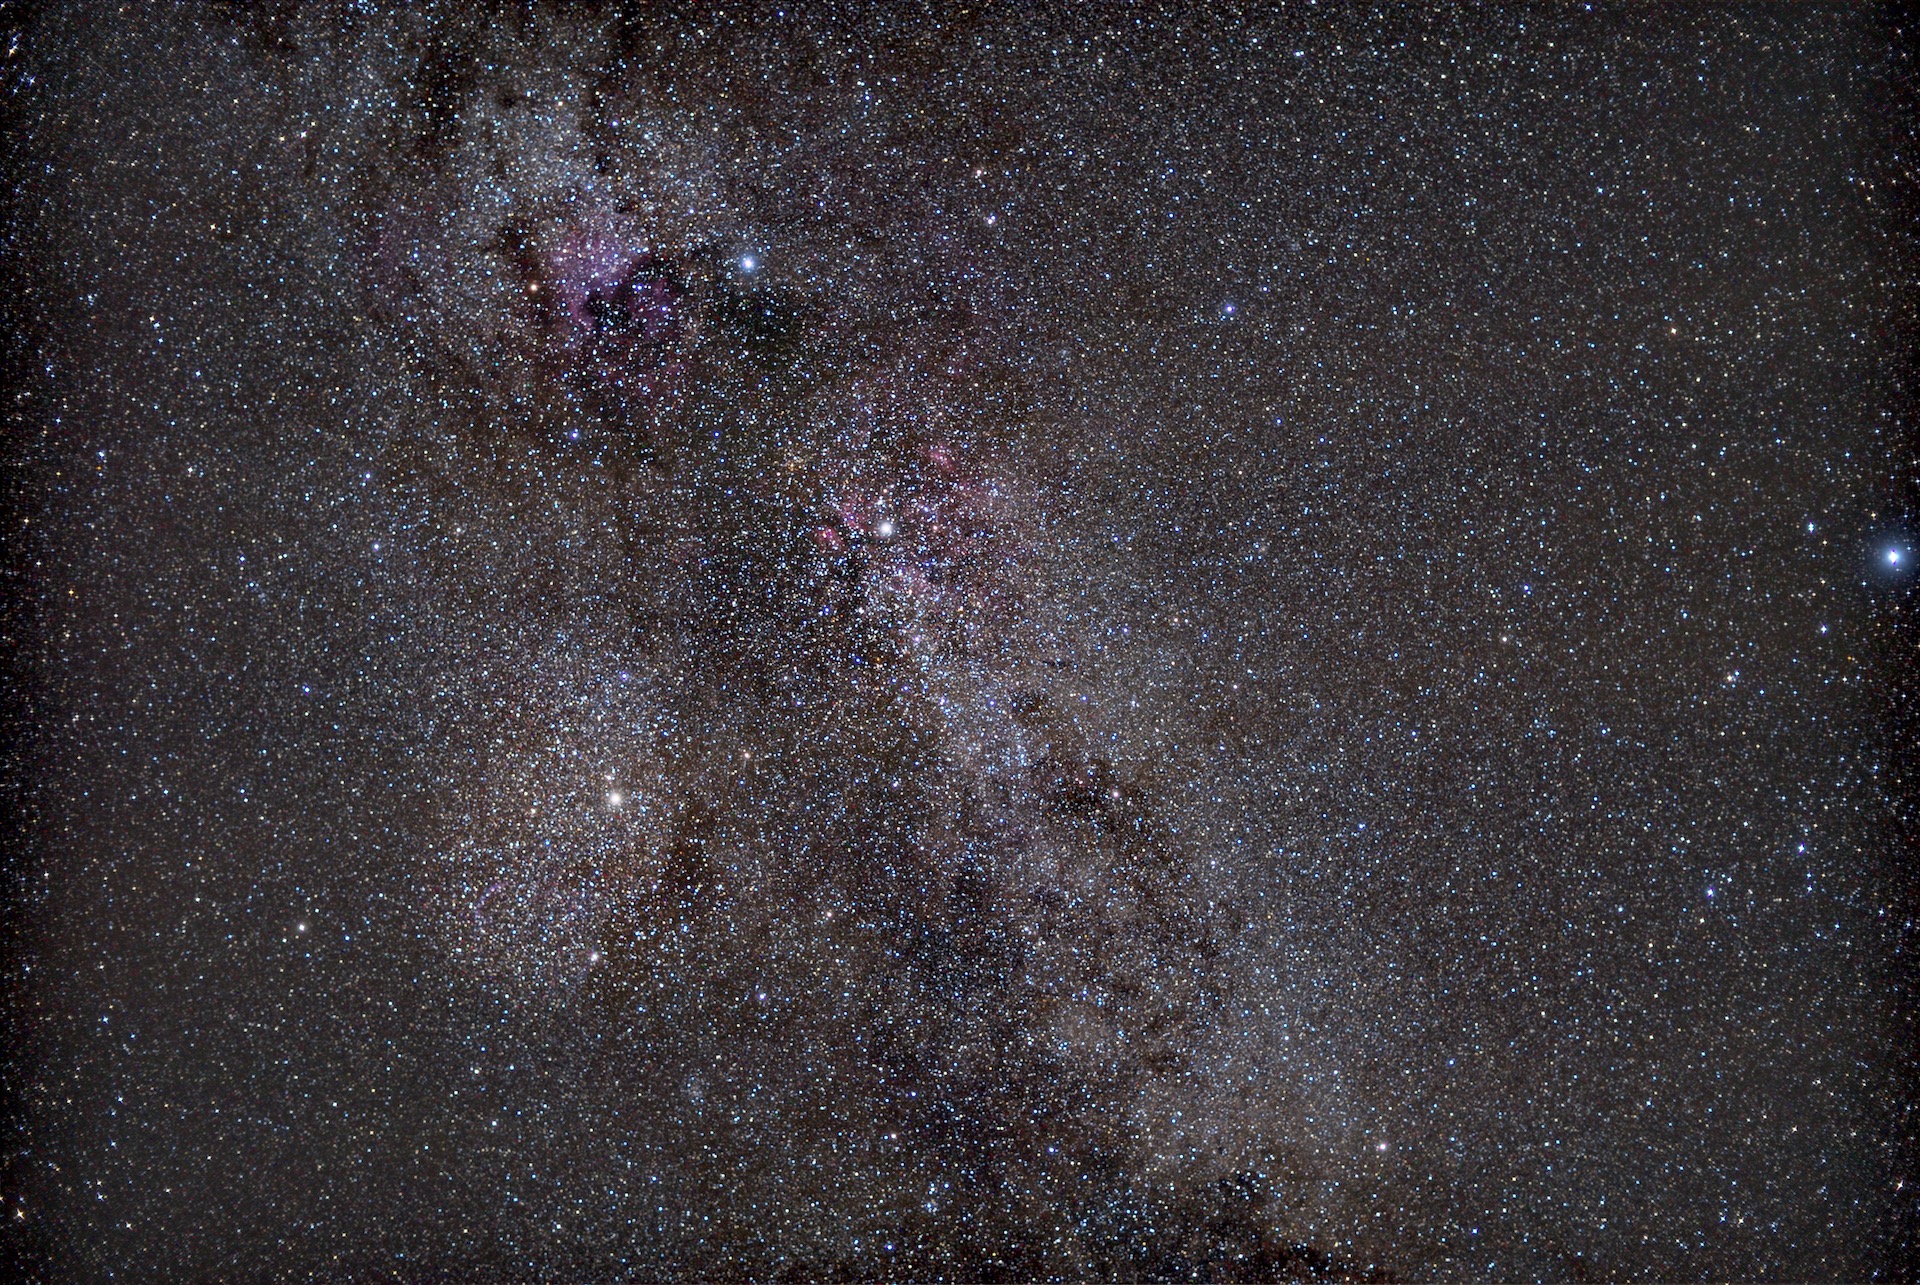 Summer Milky Way in the constellation of Cygnus with countless deep sky objects. Exposure 50x60 seconds, stacking with Sequator, and image editing with Adobe Photoshop. Photo: Marcus Schenk and Sebastian Brummer
Which MiniTrack is the right one for you?
The MiniTrack mount is available in three versions:
- MiniTrack Essentials: the lowest-priced MiniTrack with 3 kg load capacity and sight tube, with which you can roughly polar-align the mount
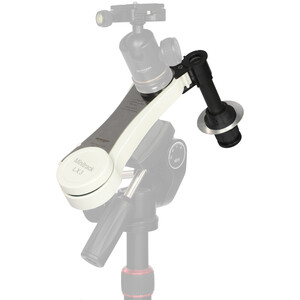
- MiniTrack LX3: the MiniTrack for everyone with a load capacity of 3 kilograms and optical polar finder for precise alignment to the north celestial pole
- MiniTrack LX Quattro: the best MiniTrack with 4 kg load capacity, precise needle roller bearings and the ability to use the mount in the northern and southern hemispheres
.jpg)
Author: Marcus Schenk
Marcus is a stargazer, content creator and book author. He has been helping people to find the right telescope since 2006, nowadays through his writing and his videos. His book "Mein Weg zu den Sternen für dummies Junior" advises young people, and those who are still young at heart, what they can discover in the sky.
As a coffee junkie, he would love to have his high-end espresso machine by his side under the starry sky.