
Webcam photography
A mini-guide to beautiful planetary photos: what you absolutely need to keep in mind.
Planetary photography with a webcam
With the cameras described previously, you can create individual photographs of planets. However, you are always dependent on the moment. If you have a lot of air turbulence at that instant, your photograph will be quite blurred and lacking in detail. In some situations, you will need a lot of patience to get reasonably sharp images.
The advantages of a planetary camera
Photography with a webcam uses a completely different technique, and it is a method that has revolutionised planetary photography in recent years. This means that amateurs can create sharp planetary images, of a quality that they could only have dreamed of in the past. This may sound a little exaggerated, but it is not at all.
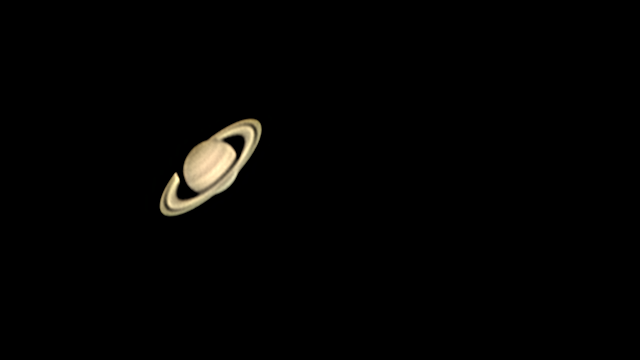
Unlike with "normal" cameras, you can create a whole series of images with a webcam. Thanks to its high sensitivity and short exposure times, it is possible to get hundreds of images of a planet in a short period of time. The secret is that you’re not relying on a single moment of good seeing.
Only the best ones make the final cut
When you start recording a series of images, there will always be moments of good and also poor air quality that will be mercilessly reflected on the image, including on a webcam image. So where is the advantage? I hear you ask. It's very simple. Using a special PC program, you can make an automatic selection of the good images, which can then be combined to create a single composite picture. The bad images are simply ignored. In this way, you can create sharp pictures. By further processing the image with suitable filters, it is possible to produce something that’s really sharp.
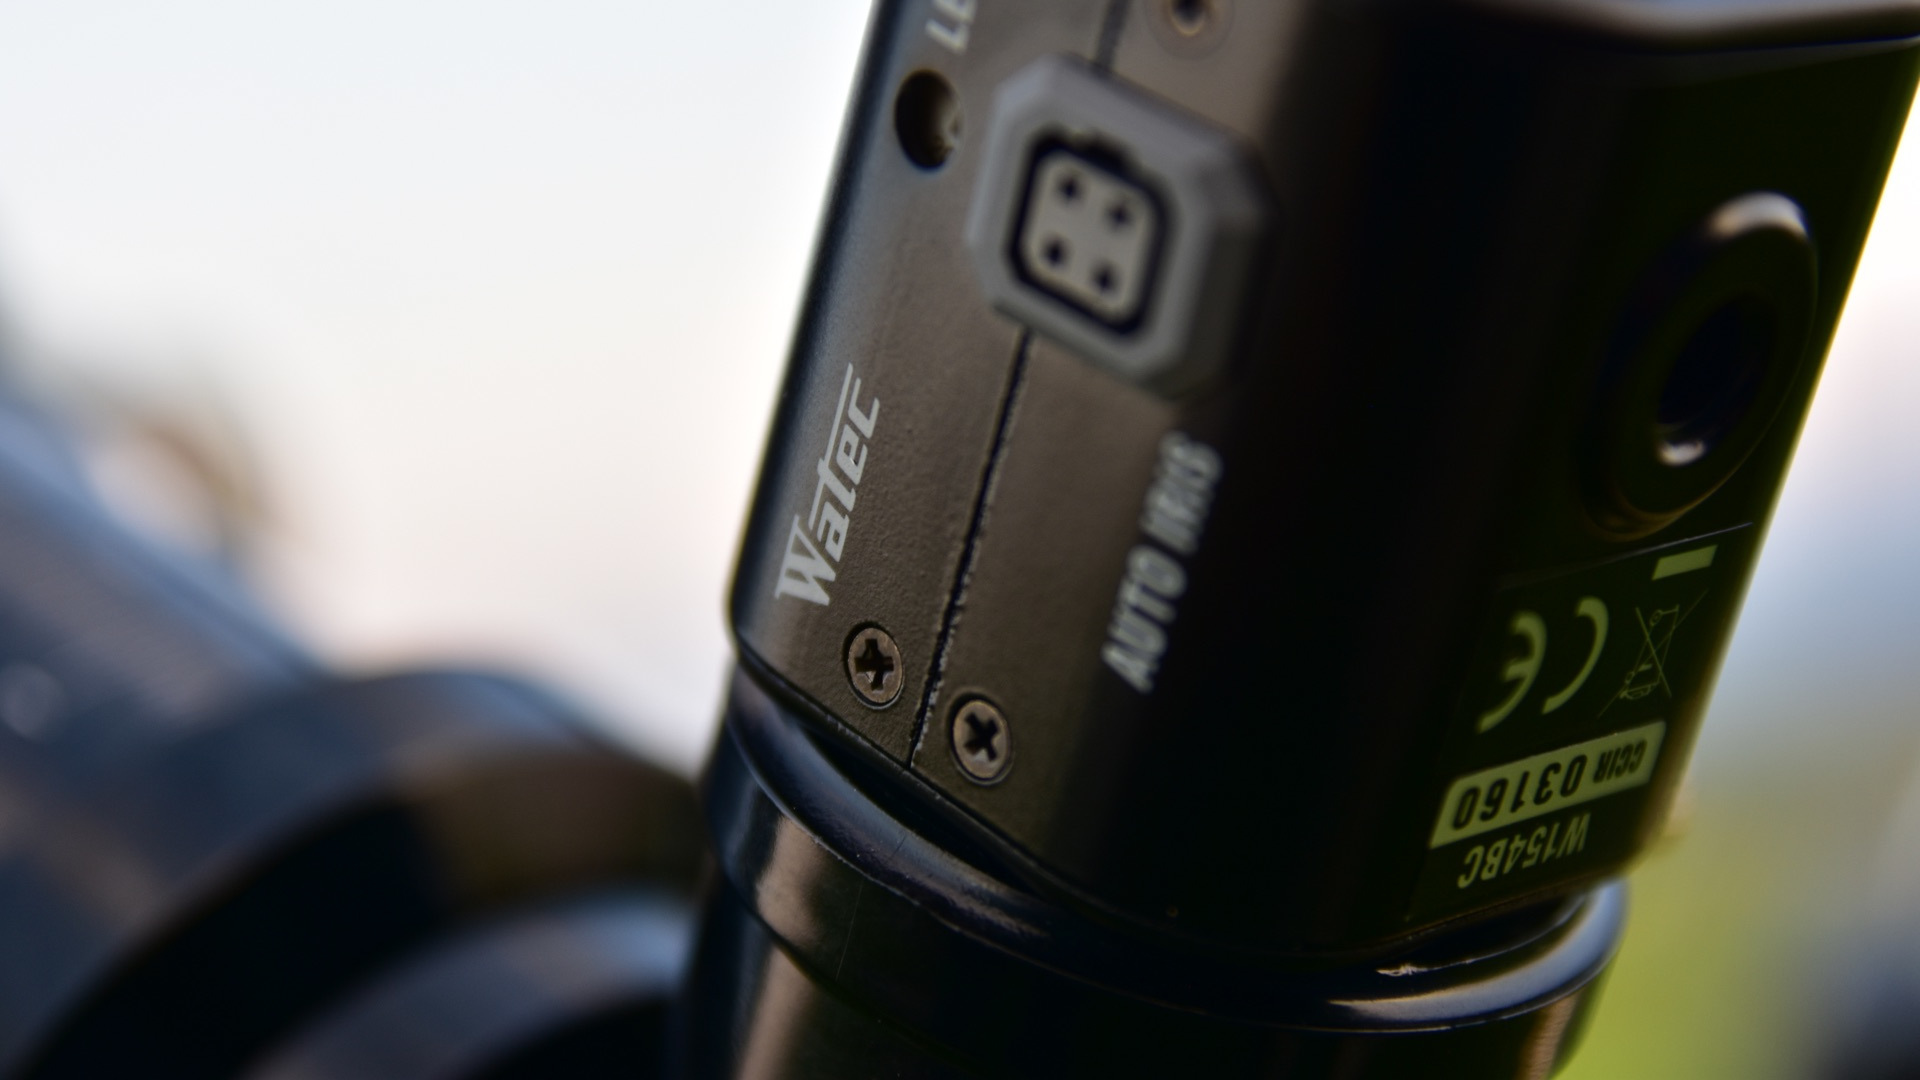
However, a webcam does not have a built-in screen, so you always need a PC or a laptop that you can set up close to the telescope. The camera is connected via a USB port. You can then set the exposure times and other parameters using the laptop. On the screen, you have a live picture that is usually rather blurred. After very carefully focusing, you can start recording.
Planetary photography only with a motor
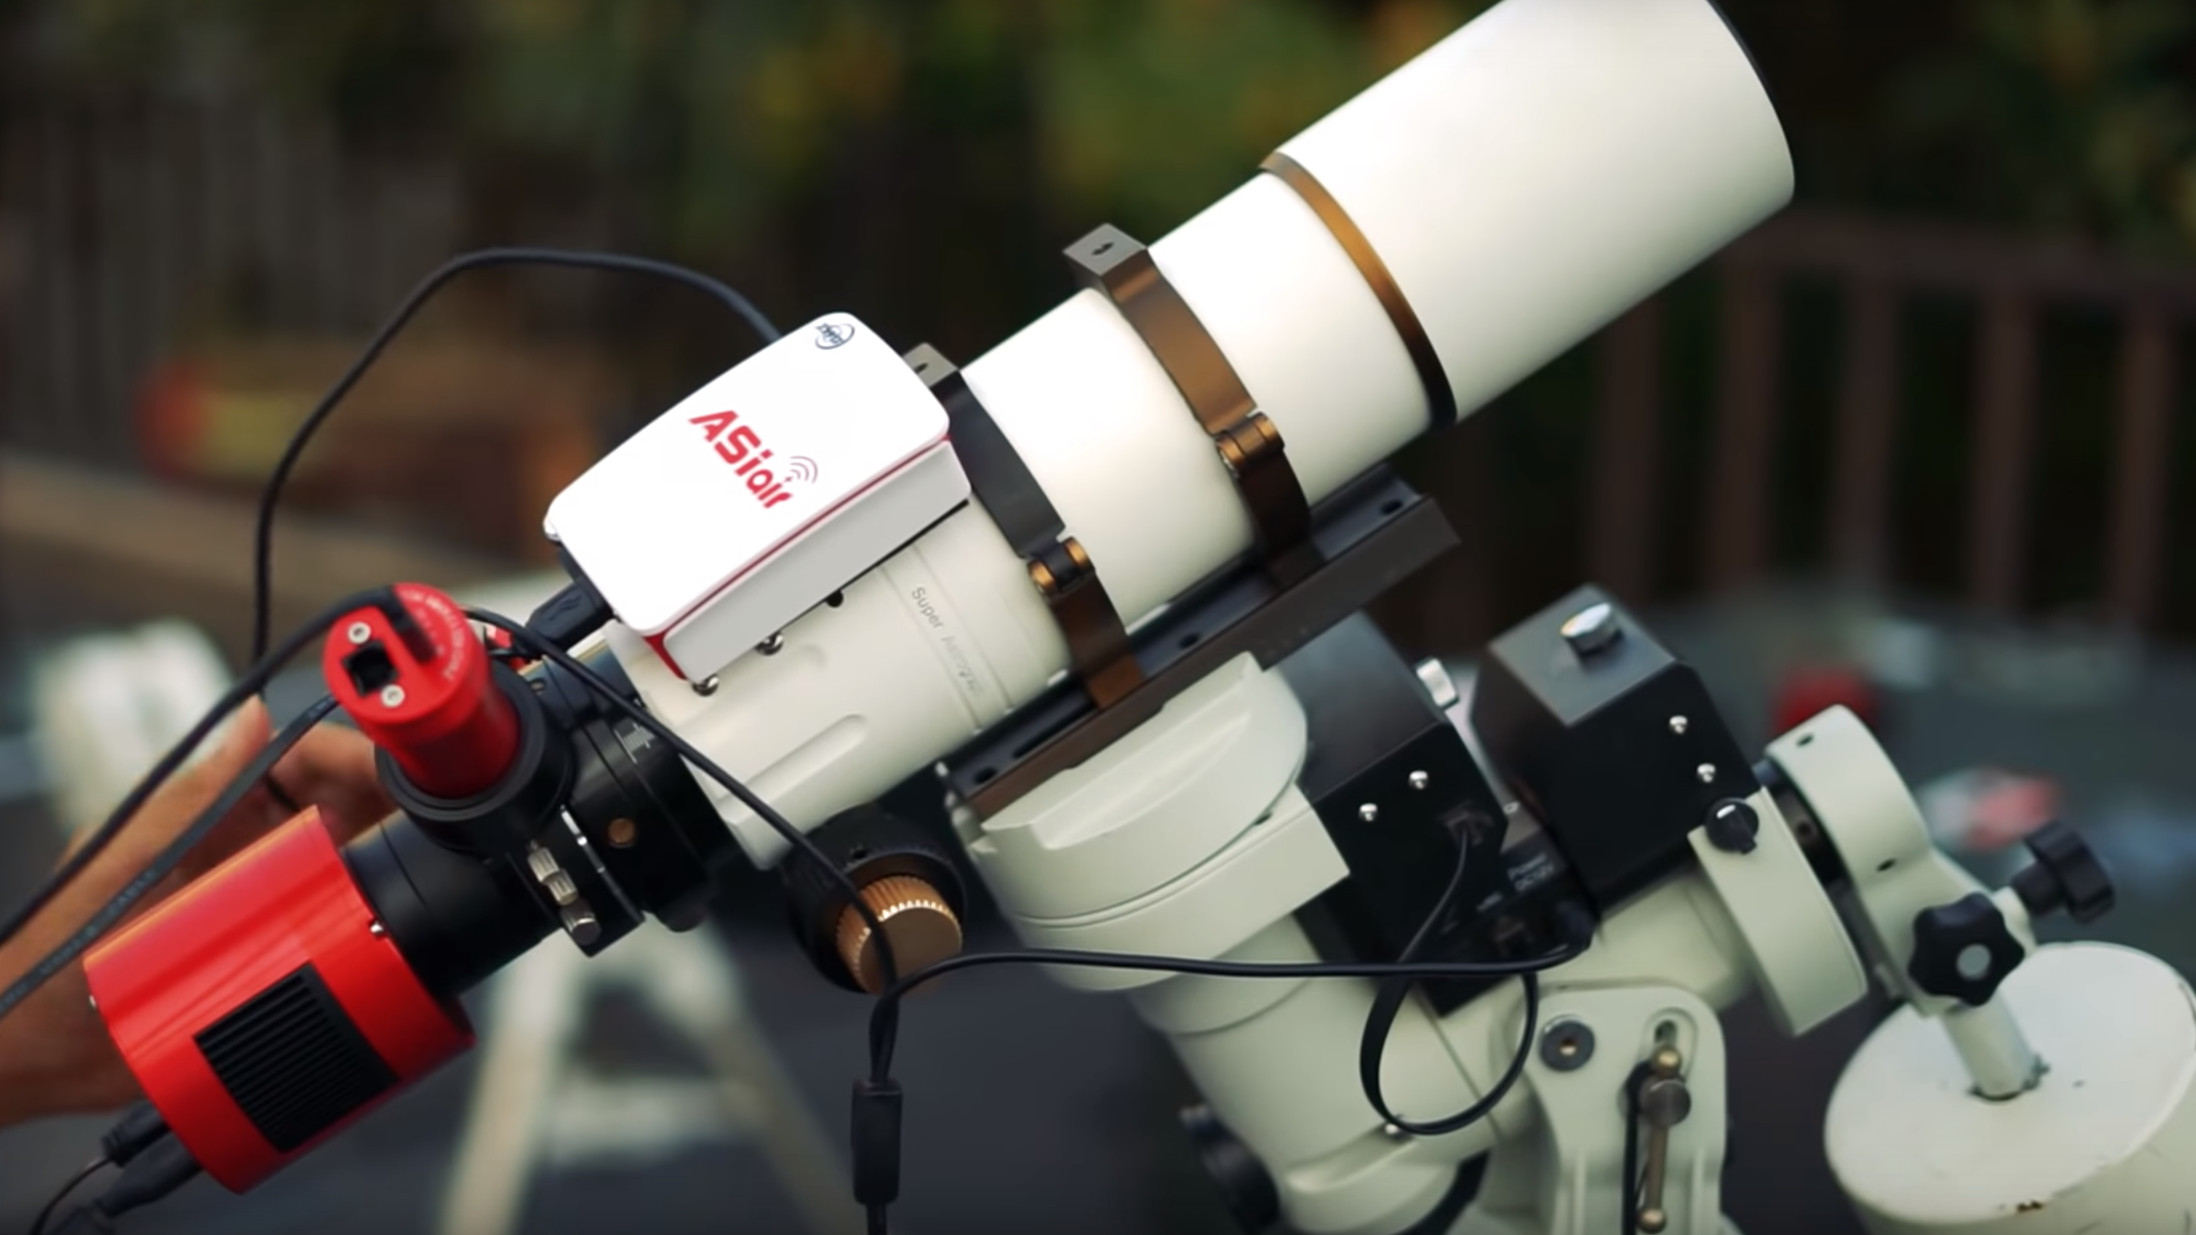
So how does that work exactly? First, we recommend that you get a motor for your equatorial mount. You won’t get far without a tracking motor, because otherwise you will not be able to keep your chosen planet in your field of view. Once you have found the planet in your eyepiece and it is precisely centred, then you can attach the camera to the telescope.
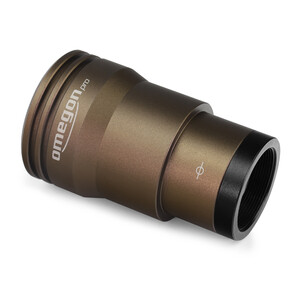
This is done by unscrewing the small lens and replacing it with a special 1.25" adapter, which then fits into the eyepiece of your telescope. Before you insert the adapter, you will notice the small recording chip.
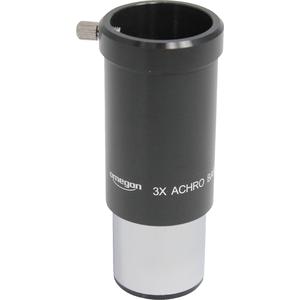
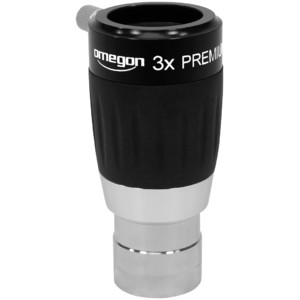
Barlow lens for planetary photography
Depending on the focal length of your telescope, you will be able to see a larger or smaller image of the planet on the screen. As a rule, the telescope's primary focal length is not sufficient to photograph a planet on a satisfactory scale. For this reason, Barlow lenses are usually used, which extend the focal length 2x, 3x or even 5x to a few metres.
However, the longer the effective focal length, the smaller the field of view, which requires greater accuracy when locating the planet. We recommend an aperture ratio of between f/20 and f/30 for planetary photography. For a Schmidt Cassegrain with f/10, a 2x or 3x Barlow will be sufficient. For fast Newtonian systems, it may make sense to buy a 5x Barlow, or to extend the Barlow backwards with an adapter to further increase the focal length via the projection distance.
How to get your planet in focus
After you have centred the planet in the eyepiece, you should next use the eyepiece together with the Barlow lens. Again, centre the object exactly in the middle. Now you can attach the camera to the Barlow lens. If you now take a look at the screen, you should be able to see the planet somewhere, but it is not yet focused. You will probably see only a blurred speck, so you will need to focus carefully. The object will become smaller. Continue to focus until you think that the planet looks sharp. A focus motor is a useful tool for focusing. Using one, you don't have to touch the telescope and so the planet won't swing back and forth so wildly as the telescope is undisturbed.
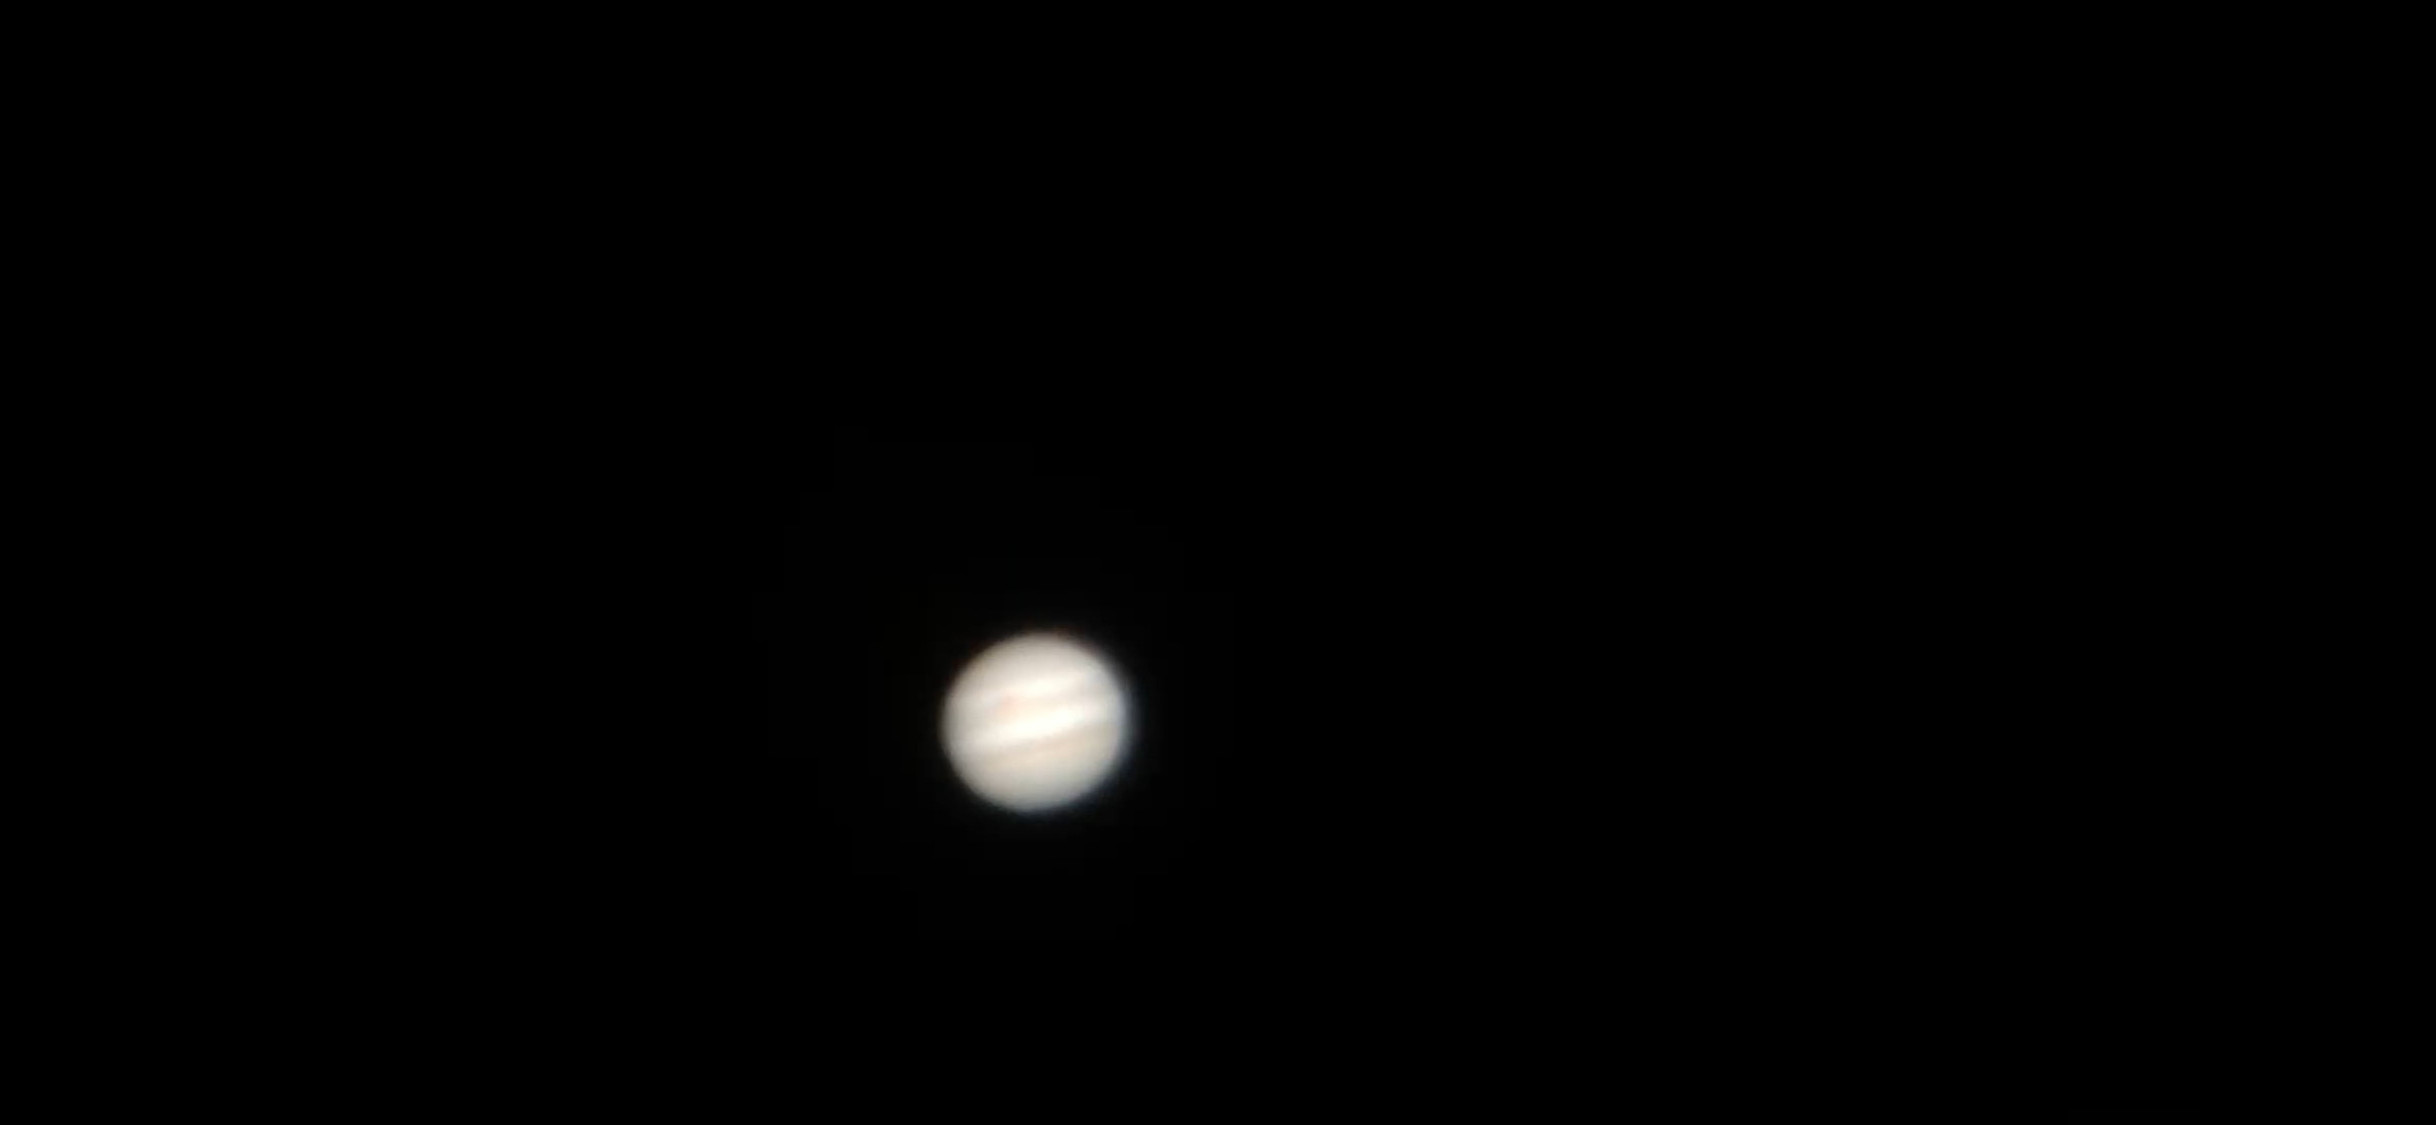
You can bring the planet into the centre of the live image using your tracker’s hand-held control. Do this at a very low speed. After the necessary settings have been made in the imaging program, your imaging session can begin. Often you can record regular video for several minutes, which you can then save as a video file. However, you will also need to take the rotation of the object into account. With Jupiter, the recording time is limited to a few minutes before the rotation becomes noticeable. However, a webcam can record more than 2000 raw images in 2 minutes, which is usually enough.
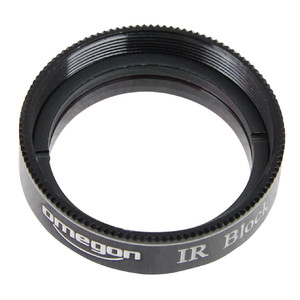
IR blocking filter for sharp planetary photographs
An IR blocking filter should be used whenever lenses are positioned in the light path. This ensures a sharp, clear image of the planet in the visible spectral range. As soon as a CCD chip is used, as is the case with a webcam, invisible and unfocused light is also captured, since the chip is also sensitive in this range.
After you have captured your images, you have enough time during the day to process the pictures.
A planetary webcam is the easiest and cheapest way to create your first successful astronomy photographs. Of course you need time to familiarise yourself with the process, but there are numerous freeware programs on the Internet together with full instructions.
Software
Webcams can be used to create some really usable images of bright astronomical objects. The best standard software for webcam astronomy applications is probably GIOTTO by Georg Ditie. A short guide to this program is available at silvia-kowollik.de. Using GIOTTO, hundreds of images from the video stream can be digitised and stacked.
This largely filters out the noise. Stacking is automatic. In addition, the settings can be changed to only use a predetermined percentage of the best images. GIOTTO also offers extensive sharpening algorithms that are specifically designed for astronomical applications.
Recommended products