

Deep sky photography with a DSLR
You can photograph faint nebular regions with a digital SLR camera, but the technique is critical.
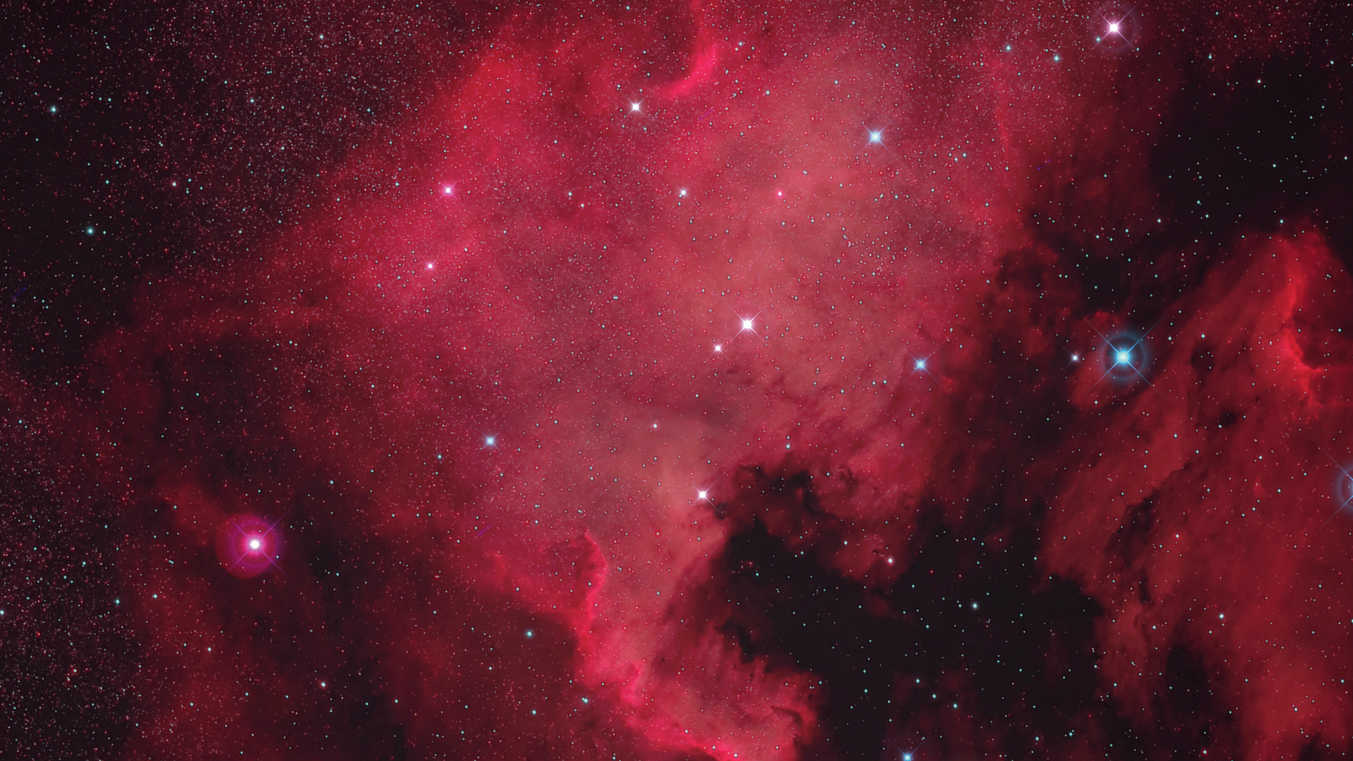 Image of the North America Nebula (NGC 7000). Composite image consisting of 16 exposures with an exposure time of 450 seconds each (ISO 800, total exposure time: 120 minutes). Captured with a Canon 6D Hα-modified full-frame DSLR on a 530-mm apo refractor with a 106-mm aperture. Processed with DeepSkyStacker and Photoshop; spikes added for aesthetic reasons only. U. Dittler
A digital SLR camera is all you need to photograph large faint nebular regions
For many amateur astronomers, deep sky photography is the pinnacle of astrophotography: structures and objects become visible that would otherwise be invisible to the human eye – either because they are too faint, or because they emit a light that we cannot sufficiently perceive. A digital single lens reflex camera (DSLR) is all you need to get you started.
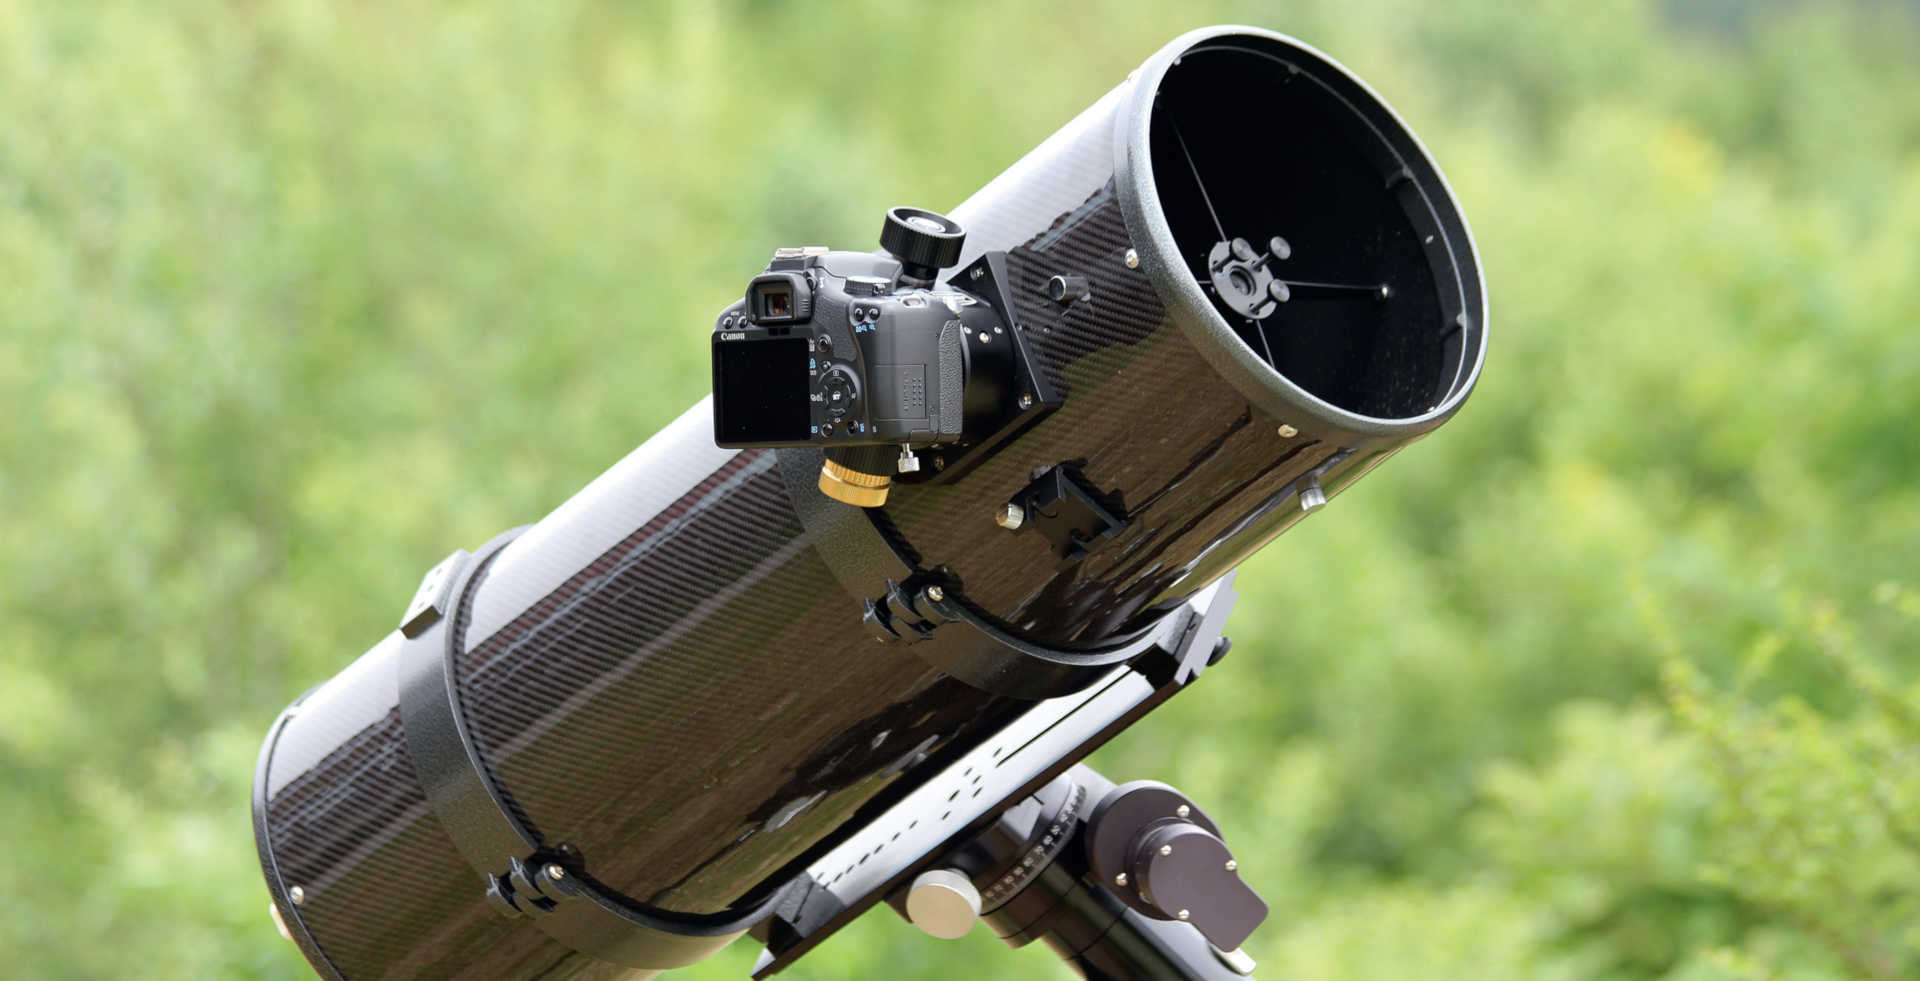 With the aid of a T2 camera adapter, your digital SLR camera can be attached directly to the telescope focuser. Alternatively, you could also use a 2-inch plug-in connection. To ensure that you can reliably track your telescope/camera combination during the long exposure time, you’ll also need an equatorial mount. U. Dittler
To get started with deep sky photography, besides a DSLR that allows long exposure times, you’ll also need a telescope to which the camera can be attached (focal length is less important at first), and an equatorial mount with motorised tracking. In order to control your camera’s exposure times, a (programmable) remote shutter release is usually sufficient to get started. Alternatively, the camera can be controlled during deep sky photography using the software that was supplied with the DSLR. While a notebook running the camera control software requires an adequate power supply, a remote or continuous shutter release (with batteries) can operate autonomously and requires significantly less attention, maintenance and care.
It all depends on the light-gathering power
The DSLR should be attached to your telescope using an appropriate (focal) adapter for deep sky photography. Telescopes with a relatively short focal length of just 300 mm, 400 mm or 500 mm are useful if you concentrate first on photographing relatively large objects such as the Andromeda Galaxy (Messier 31), the Orion Nebula (Messier 42), the North America Nebula (NGC 7000), the Rosette Nebula (NGC 2244) or the Hercules Globular Cluster (Messier 13).
More important than the focal length for deep sky photography is the light-gathering power and with it the telescope aperture, since this also determines the resolution of the structures you photograph and the exposure time. In recent years, astrophotography has shown a trend toward high light-gathering, but relatively short focal length, photography-optimised telescopes (astrographs) with a focal length of less than 1,000 mm. Such telescopes are also perfect, for example, for imaging emission nebulae through various (narrow band) filters.
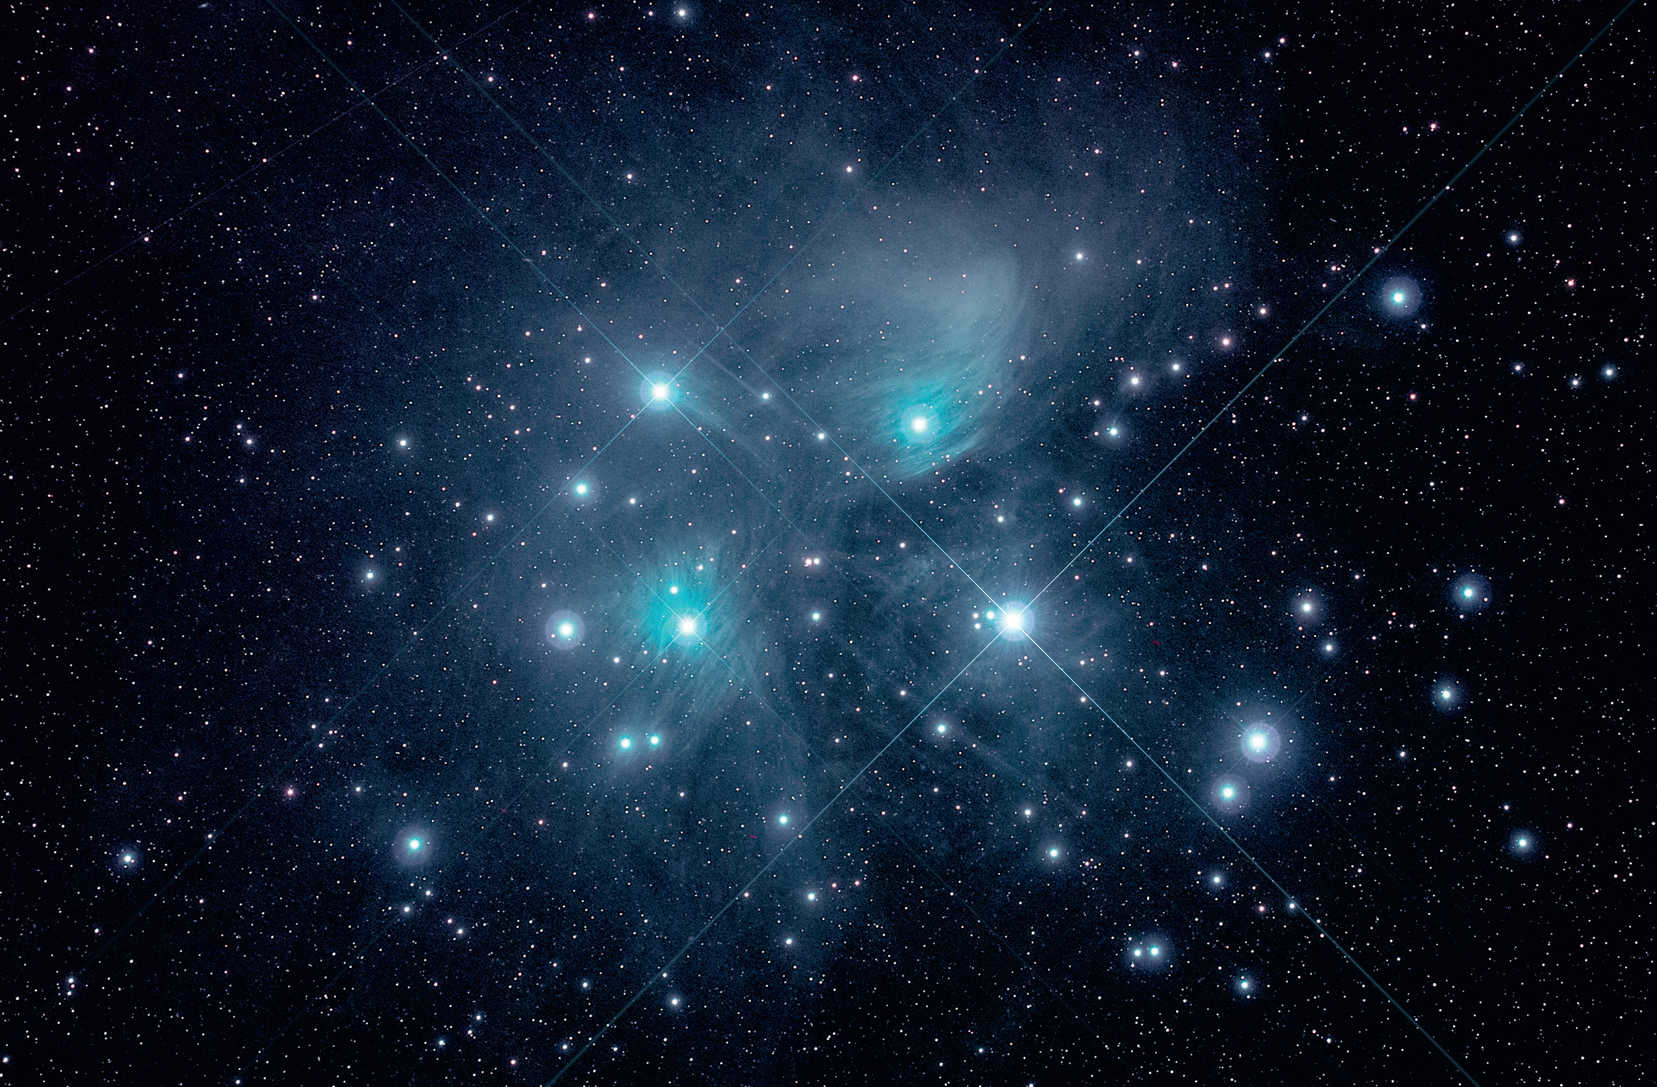 Image of the Pleiades cluster. Composite picture consisting of 12 exposures, each with an exposure time of 300 seconds (ISO 1600, total exposure time: 60 minutes). Further data as shown in the first picture above. U. Dittler
Precise tracking
For deep sky photography, the camera and telescope must be supported by a stable equatorial mount which can track the course of the stars. With its long exposure times, no area of astrophotography places such high demands on the accuracy of the setup and alignment of the mount as deep sky photography. The requirements for tracking accuracy are equally exacting: to avoid frustration, beginners should consider using an autoguider (on a guidescope or off-axis guider) from the start.
As part of the preparations for your upcoming astrophotography evening, the sequence of the objects to be photographed should be decided on the basis of their rising and setting times, so that all objects can be photographed at the highest possible point above the horizon.
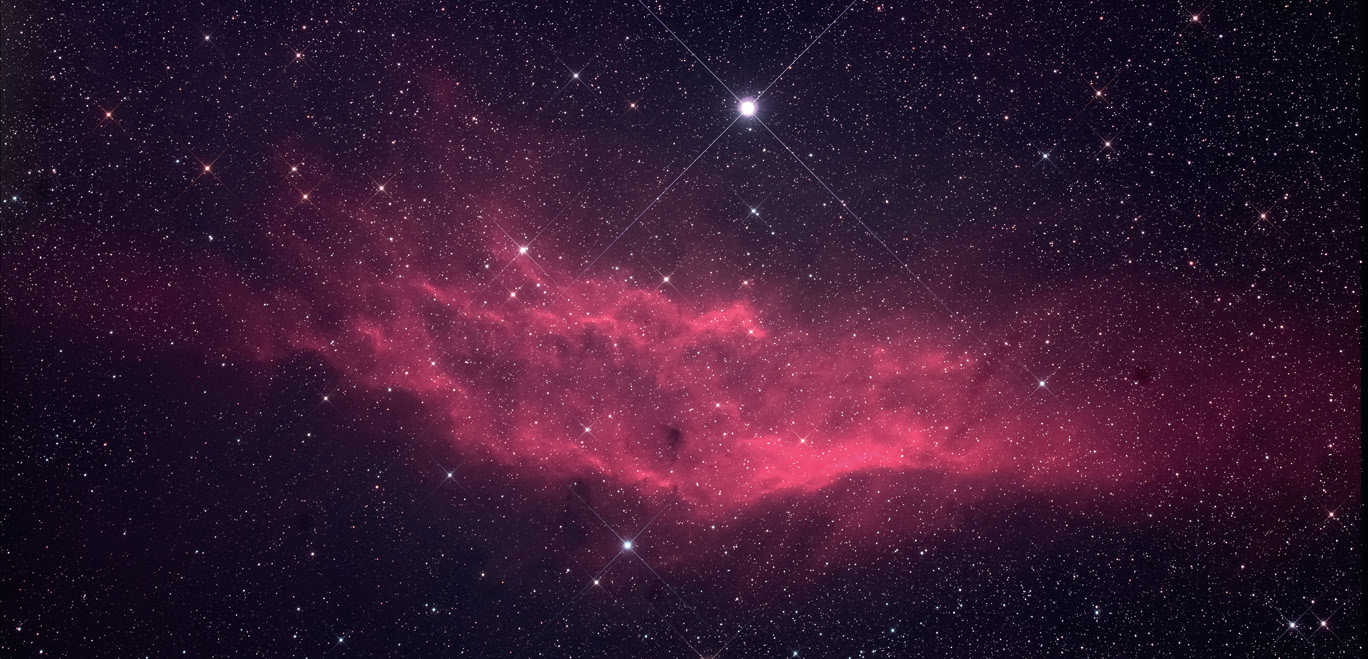 Picture of the California Nebula (NGC 1499). Composite image consisting of 12 exposures, each with an exposure time of 300 seconds (ISO 2400, total exposure time: 60 minutes). Further data as shown in the first picture above. U. Dittler
Many single images combined
In deep sky photography, choosing the right location is critical to success: a dark observation location with dry air above the telescope is the ideal location for which some astrophotographers will travel far from home to reach. But even in Central Europe, dark places can be found with little effort, which will offer considerably better observation conditions than the front garden or backyard at home. Deep sky objects can be photographed even from city locations – here, narrow band or line filters can reveal objects that have long been invisible to the human eye thanks to the light pollution created by our towns and cities.
Impressive deep sky pictures with their long exposure times are usually created by adding several – shorter exposed – individual images. The camera ISO settings should be selected so that there is as little as possible sensor noise. Depending on the camera, this can range from ISO 800 to ISO 6400. The timer should be used to create a series of four to 20 frames with exposure times of a few minutes. The histogram view shows very simply whether areas of the image are overexposed or underexposed. The series of images can then be combined using programs such as DeepSkyStacker and then finished off in Photoshop.
Since exposure times of several hours are not uncommon in deep sky photography, you should always take some binoculars with you to take a stroll around the starry sky, while the camera attached to the telescope works through the series of exposures.
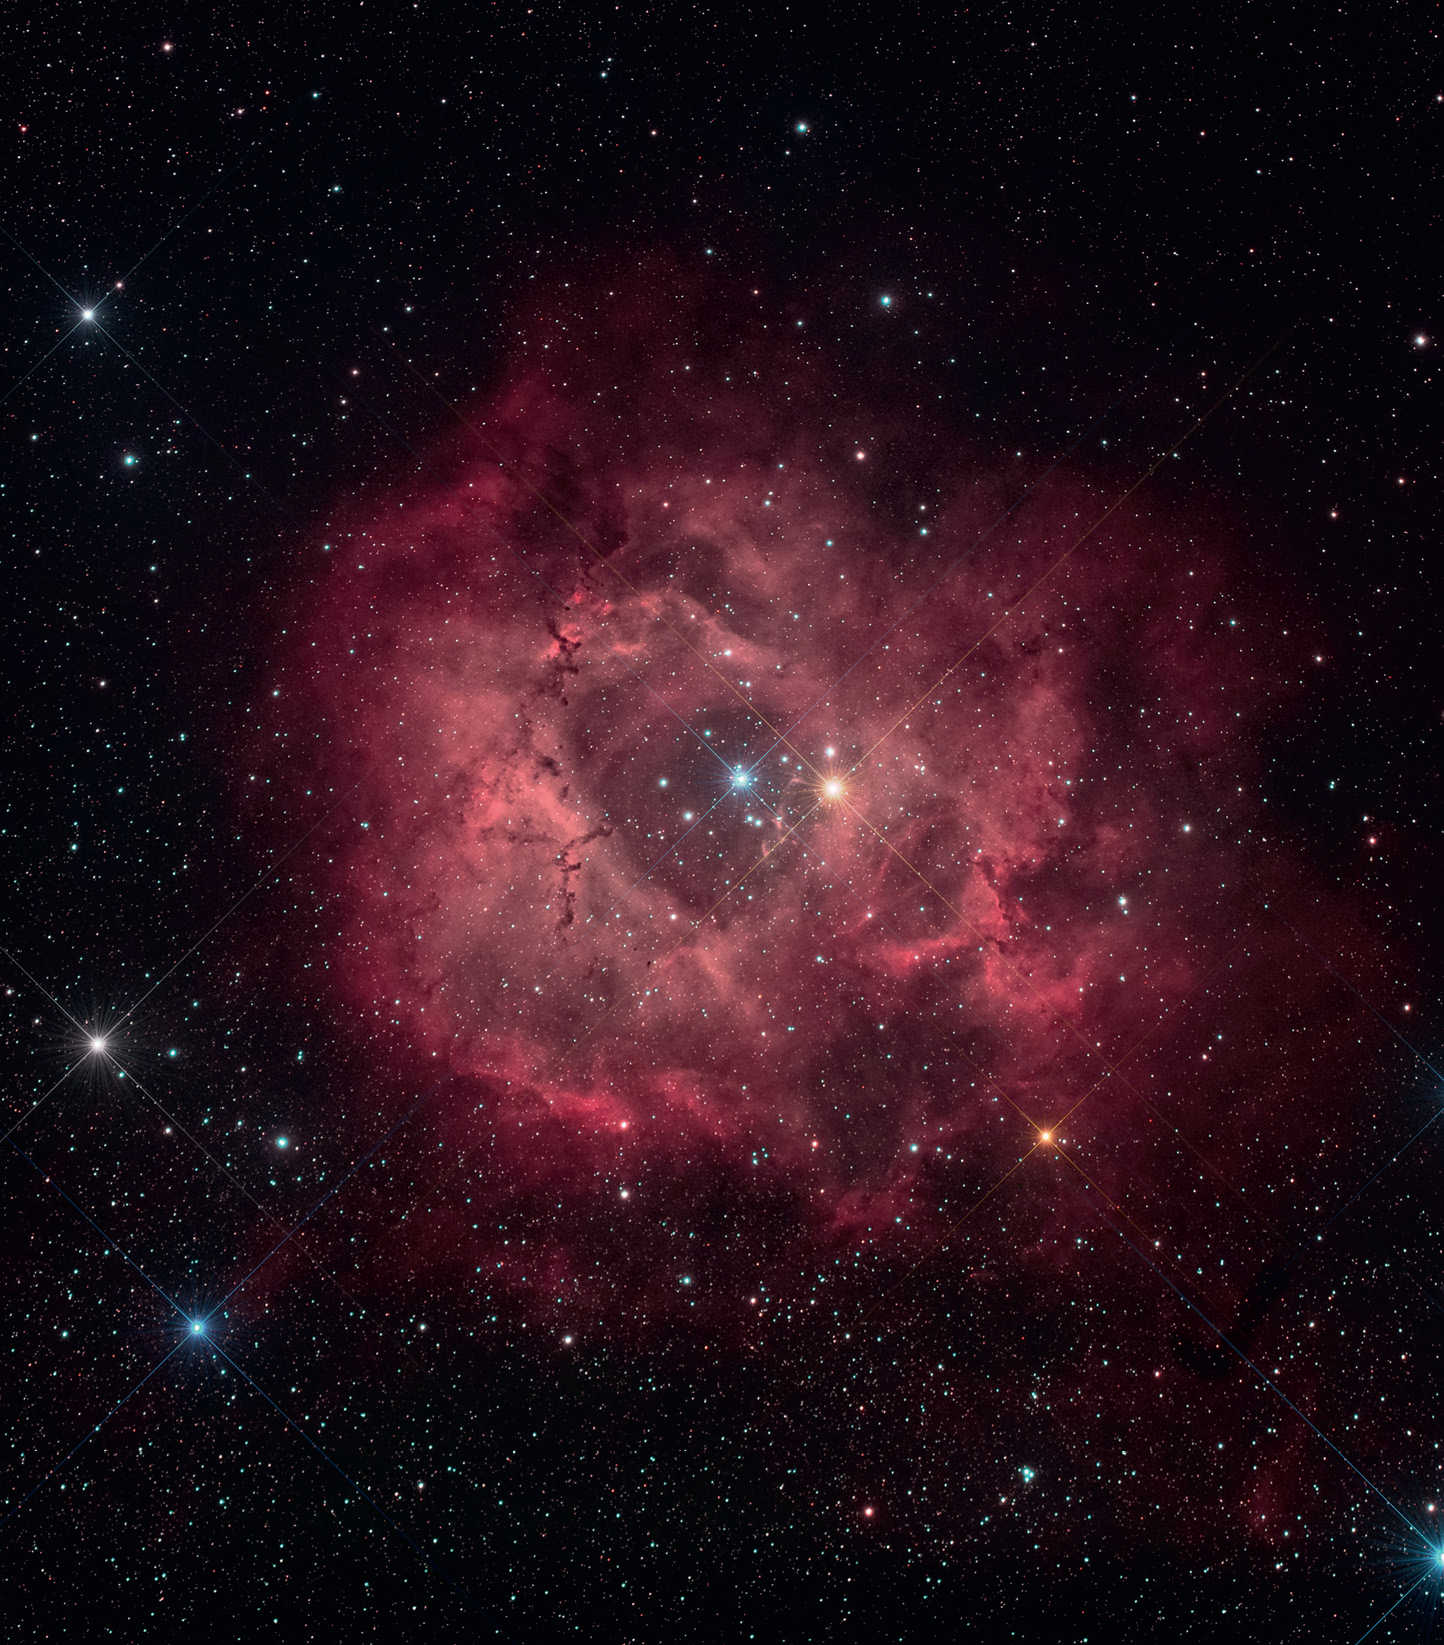 Image of the Rosette Nebula (NGC 2244). Composite image consisting of 14 exposures, each with an exposure time of 300 seconds (ISO 1600, total exposure time: 70 minutes). Further data as shown in the first picture above. U. Dittler
Author: Ullrich Dittler / Licence: Oculum-Verlag GmbH