

Finderscopes and red dot finders for every application
With a finderscope attached to your telescope, you are able to find celestial objects. Here you can find out why it is so important and which one is best for you.
Finally, find every object in the night sky - and never spend too long looking. Wouldn't that be great? You’re nodding your head for sure, because that’s exactly what every observer wants. Beginners especially often find it difficult to find a faint galaxy that is not visible to the naked eye. Besides requiring practice, success is also down to the finderscope itself.
Finding objects made difficult
Sometimes it’s exasperating. The Moon is up there in the sky and must surely be easy to locate through the telescope's eyepiece. So we move the telescope in its direction, roughly estimate its position, but even though the Moon appears so large in the sky, we still cannot find it in the eyepiece. Again and again we nudge the telescope in all directions. But it’s a dead loss, everything's black, no Moon. Total disappointment. How’s it ever going to work if we were trying to find a small object like a planetary nebula?
Why a suitable finderscope is a must-have
A wide field of view and quick and easy orientation are important for us celestial observers. Even with the smallest magnification, with a telescope alone we can never see a large enough area of the sky to help us find our way around. Because at 40 to 30 times magnification, we see maybe a one-degree section of the sky.
A finderscope is a must-have: this is a mini telescope attached to your main telescope tube which, with 3–10 degrees, offers you significantly more field of view. Only with a finderscope are you able to find every object in the sky.
The problem with low-cost finders
Many telescopes already come with a finder included. However, if the manufacturer saves in quality, this small telescope can often be difficult to use. Often to be seen are: adjustment wheels that do not rotate, are stiff, or the mounting is offset in such a way that exact alignment is difficult. If this is the case, you can forget it.
The difference between optical and red dot finders
The world of finders is divided into models with lenses and those with LED projection. Both have their advantages, but which is the right one for you?
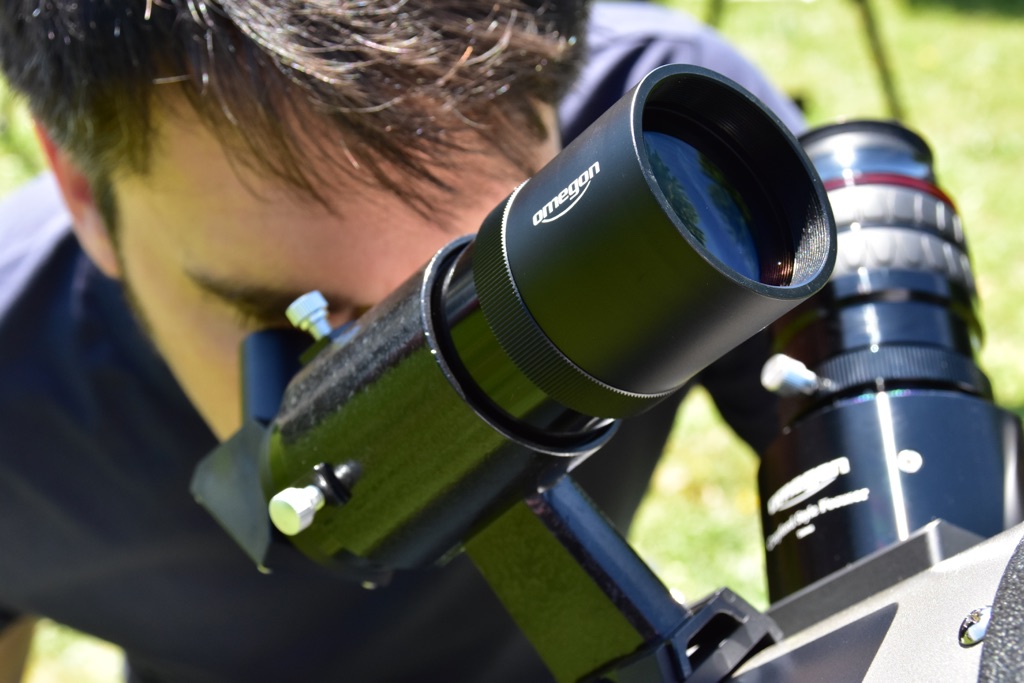
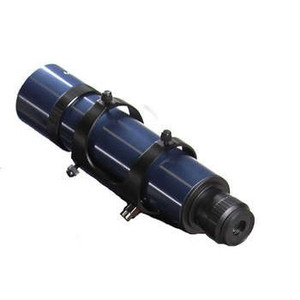
Optical finders consist of an objective lens, usually with a diameter of 30 mm or 50 mm and a magnification of between 6 and 9 times. These collect light and can make faint objects and those that are otherwise not usually visible to the naked eye, visible in the night sky. A crosshair allows you to centre the object easily. They usually offer an upside down and back-to-front image, which can make orientation difficult in the beginning. However, there are also models with angled eyepieces and corrected image orientation.
Advantages of finderscopes:
- A large field of view that makes it easier to find objects
- Integrated crosshair to quickly centre an object
- Adjustment screws to adjust the finder exactly to the telescope's alignment
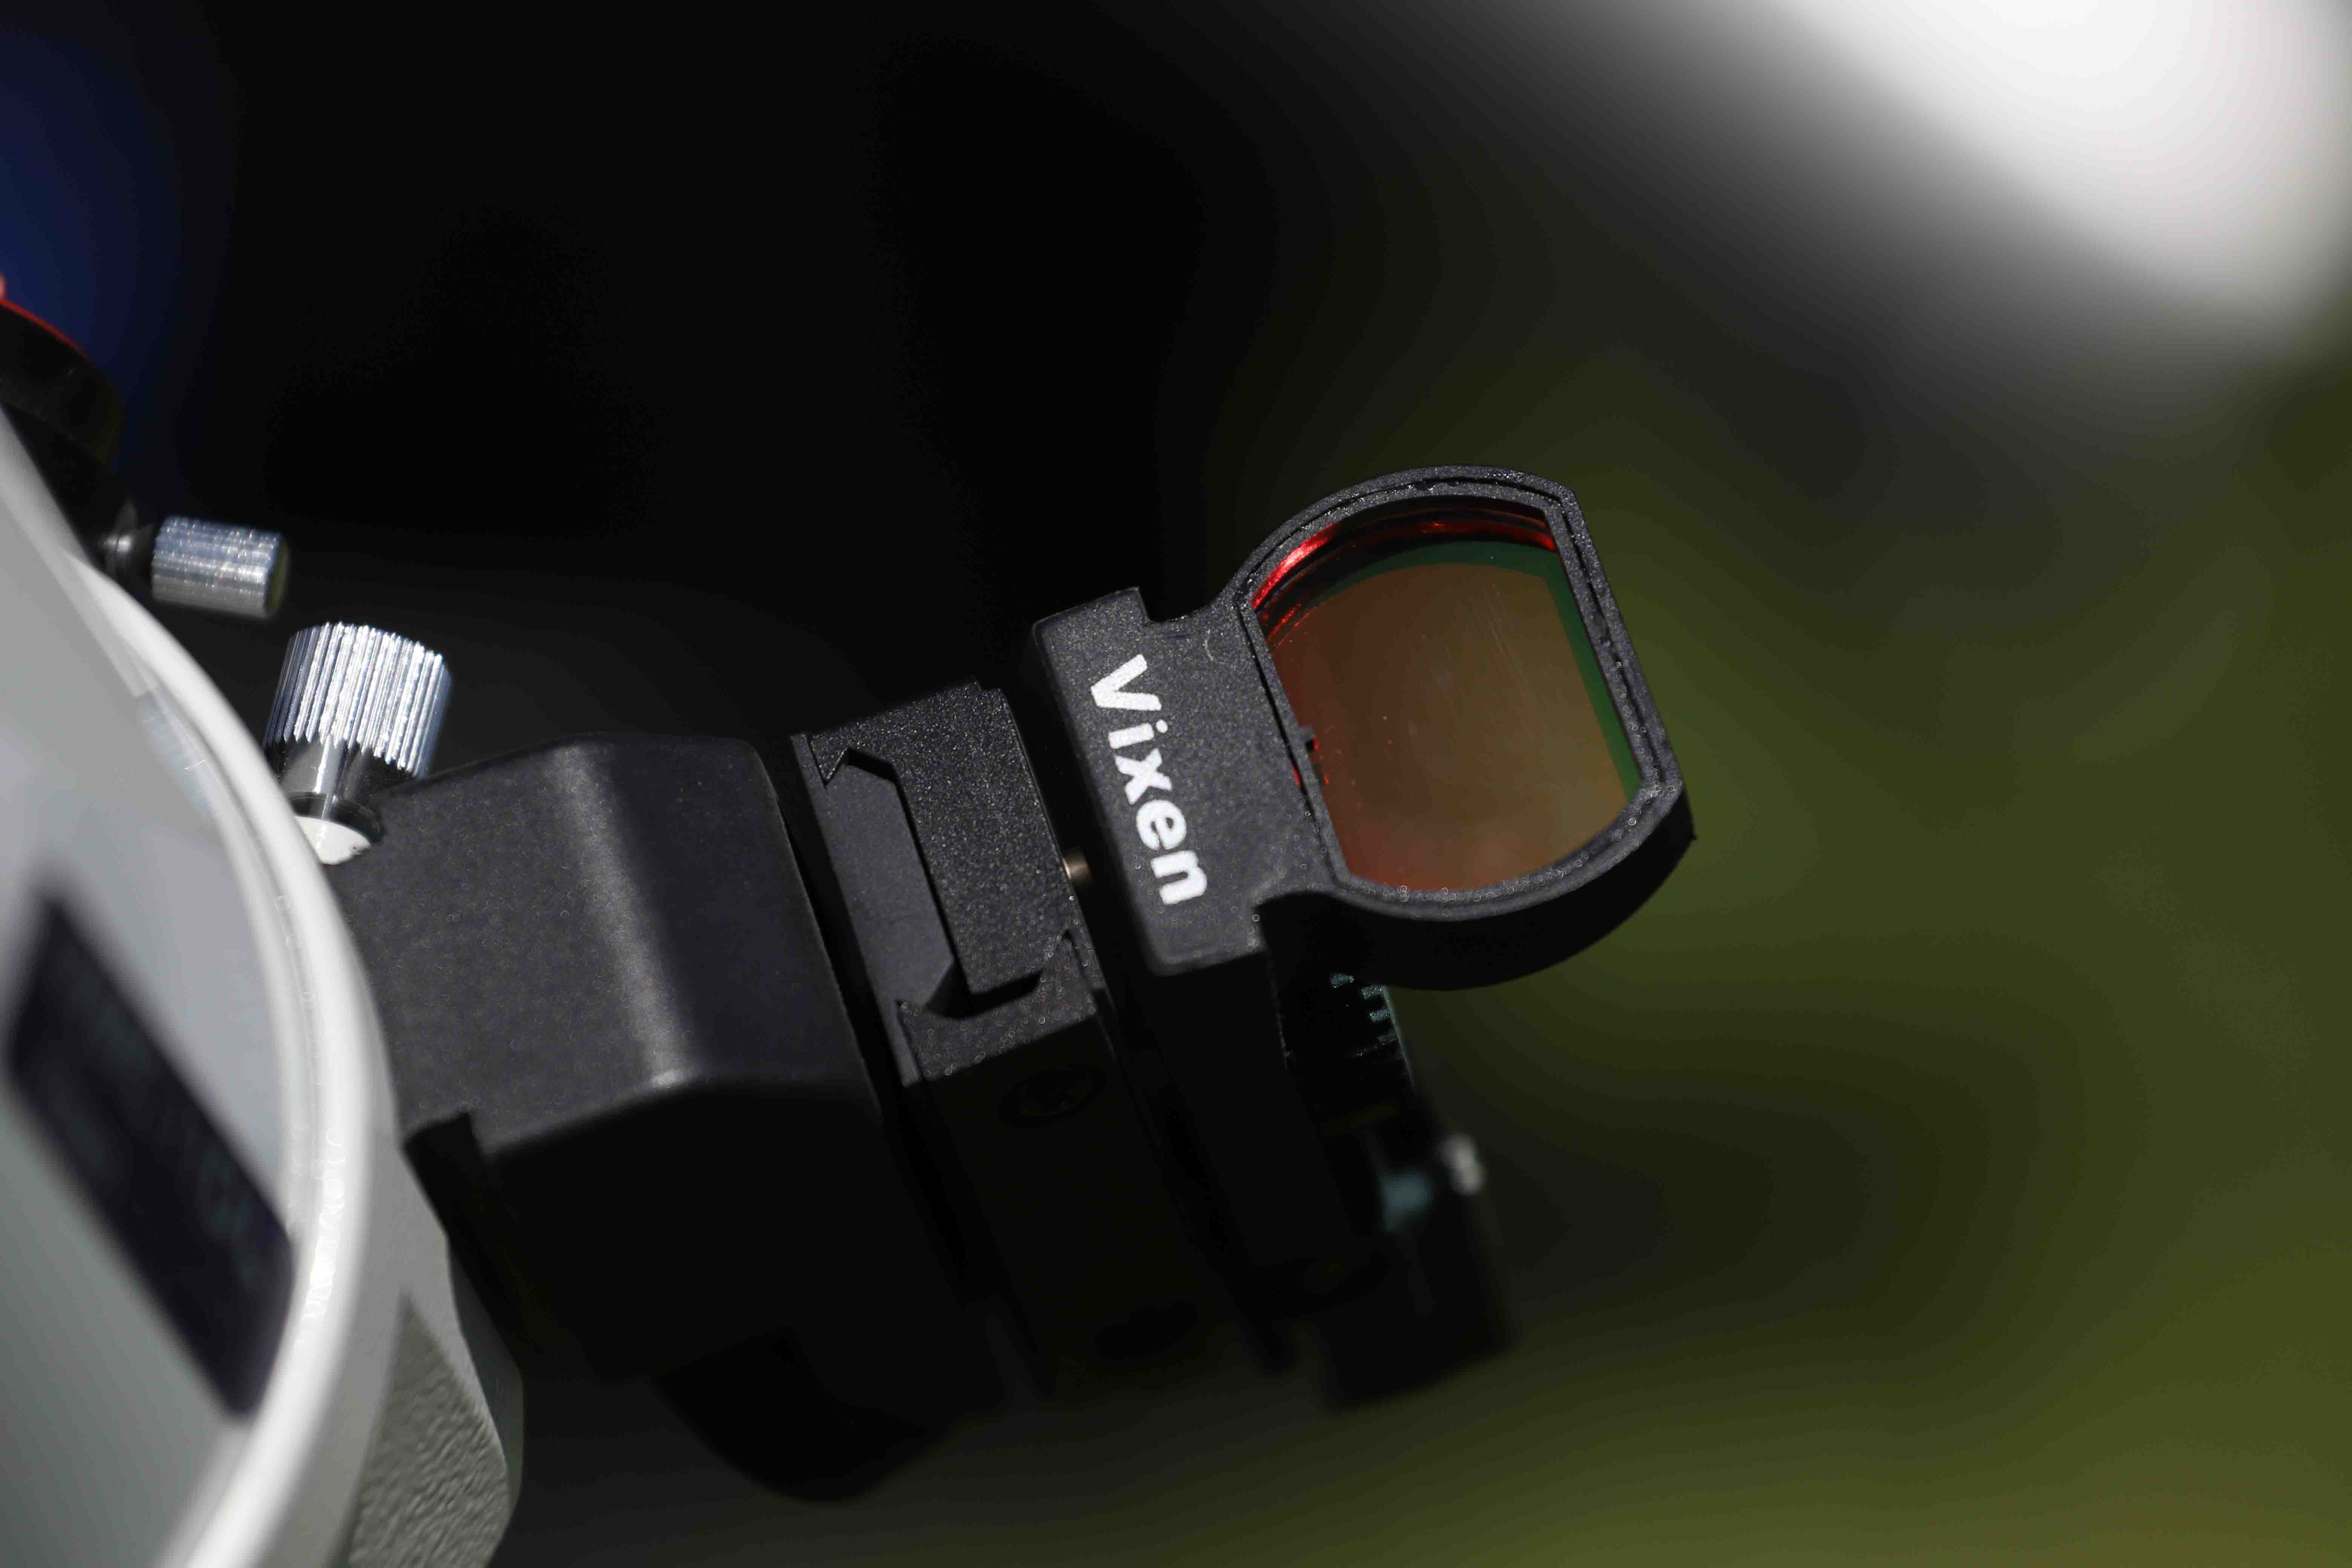
LED finders project a red dot or circle on a disc that you look at from a distance of around 10–15 centimetres. It seems as though the red dot is floating in the sky. The advantage: simple and intuitive operation. Beginners get to grips with an LED finder immediately. Faint objects cannot be detected directly. Very useful versions of this type are the Telrad and Radiant finders. The 0.5°, 2° and 4° target circles facilitate alignment with bright stars, especially as these target circles are printed in some star charts.
Advantages of LED finders:
- Natural orientation just like with the naked eye
- Intuitive operation, because there is no magnification and inverted image
- Recommended finders for beginners, deep sky fans and Dobsonian observers
- Adjustment screws to adjust the finder exactly to the telescope's alignment
All finders have adjustment screws to align them parallel to the main telescope.
Orientation with optical finders
These orientations are available for optical finders:
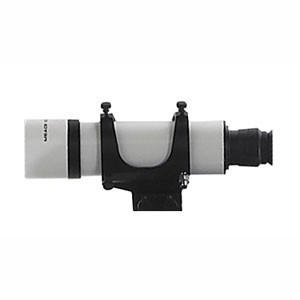
- Straight view: the standard finder delivers an upside-down image - a typical feature of all optics without correction. The viewing position can be uncomfortable, as the finder is usually mounted close to the telescope tube.
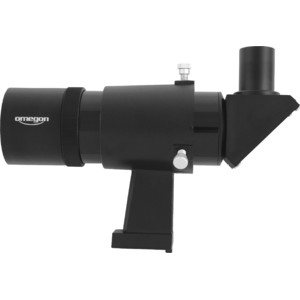
- 90 degrees viewing angle simply corrected: this finder offers an upright, back-to-front image with the same image orientation as a Schmidt-Cassegrain or Maksutov telescope with a zenith mirror.
- 90 degrees viewing angle, double-corrected: this finder offers an upright and right-sided image, as there is an Amici prism between the eyepiece and the optics. The orientation in the finder corresponds to the view of the sky with the naked eye. The viewing angle is comfortable and it is easy to find objects thanks to the familiar orientation.

30-mm finders – the starting point
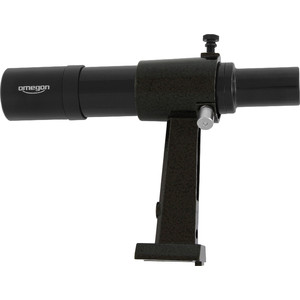

A 6x30 finderscope with 6x magnification and 30-mm aperture is the starting point for finding objects. Many small telescopes are delivered with these finders, but be careful: the quality is not always what it should be. A "real" 6x30 finder should not be stopped down and should have good optics. Because this also determines how successful you will be when looking for objects.
50-mm classic finder

The classic finderscope for larger telescopes collects 51 times more light than the naked eye. With 8 times magnification, you will find even smaller and faint objects, and you will have a field of view of 5 to 6 degrees. Even though the picture is upside down, you can easily deal with this: turn your star chart through 180 degrees, and you’re correctly aligned.
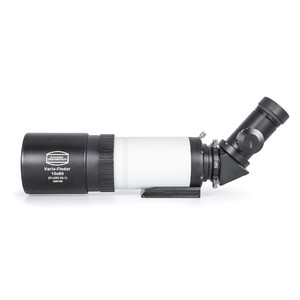
50 mm angled view erecting
Finding objects with an angled view is more comfortable. With a diameter of 50 mm and a magnification of 8 times, these gather just as much light as the classic finder. If you have a catadioptric telescope, such as a Schmidt-Cassegrain, this finder displays the same orientation. Nevertheless, this variant is more suitable for GoTo telescopes, because with an upright, but laterally reversed image it is difficult to orient yourself with a star chart.
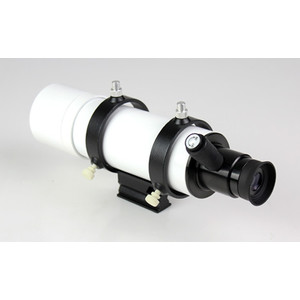
50 mm angled view erecting + right-sided

Finding and observing in the starry sky as if with the naked eye: many observers who want an upright image swear by this. Thanks to a diameter of 50 mm and 8 times magnification, this variant has just as much light-gathering power and has a field of view of around 6 degrees. You can orient yourself wonderfully with a star chart.
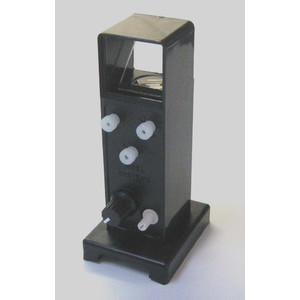
Finder with illuminated crosshair

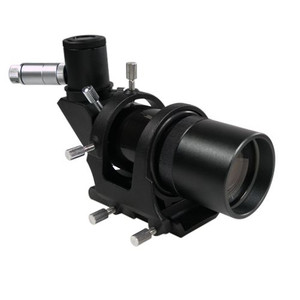
The night is black, and so is the crosshair? In certain locations with little light pollution, it is sometimes difficult to see the crosshair in the viewfinder. There is a solution to this: the illuminated finder. Usually the crosshairs can be precisely adjusted using a red light dimmer.
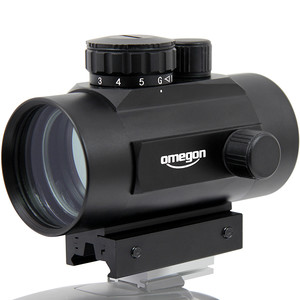
LED finder and LED finder deluxe
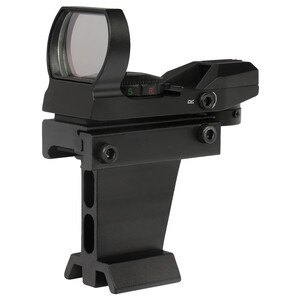
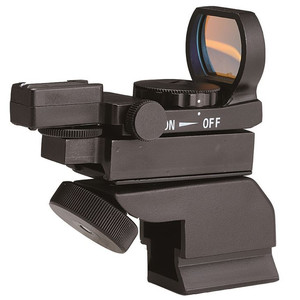
Simple but effective: an LED or red dot finder simply projects a red dot into the sky. Like a tiny red glow worm in space, it shows you exactly where the telescope is pointing. There are very affordable versions made of plastic, or more stable metal models. A dimmer switch allows you to adjust the brightness so that it does not dazzle when the sky is very dark.
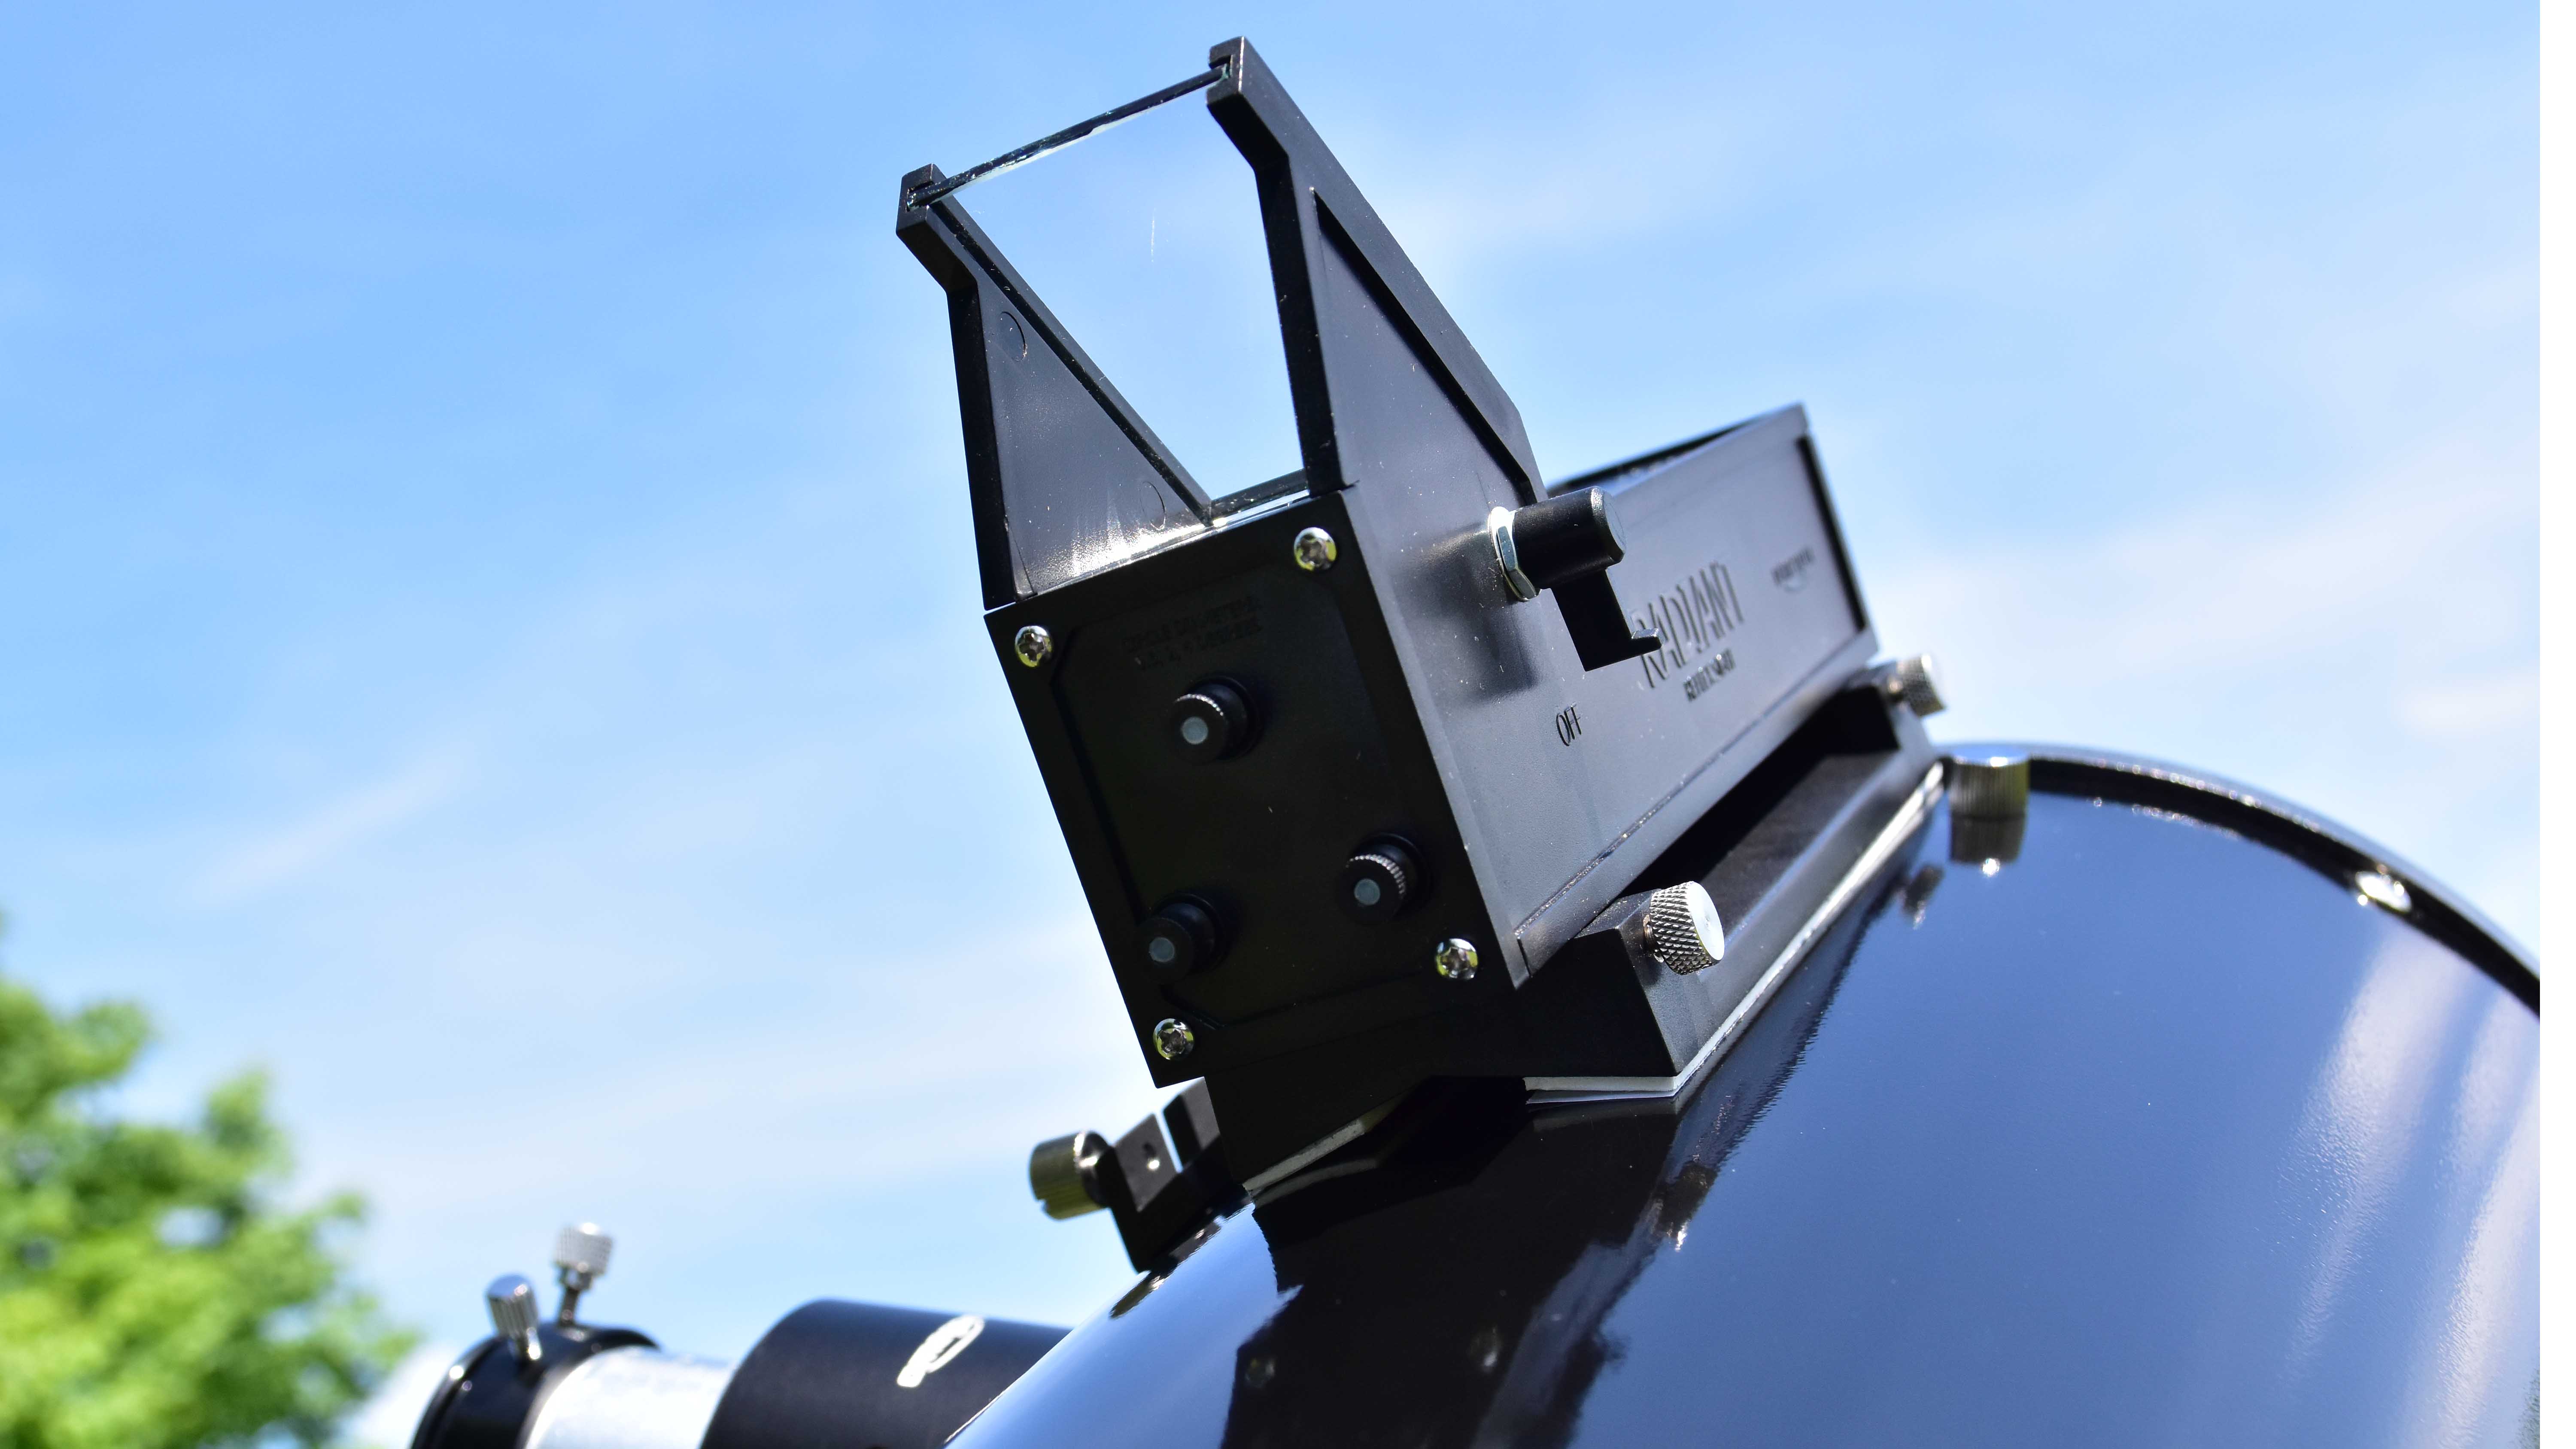
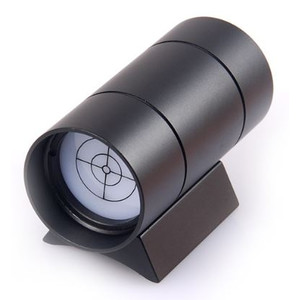
Radiant and Telrad finder
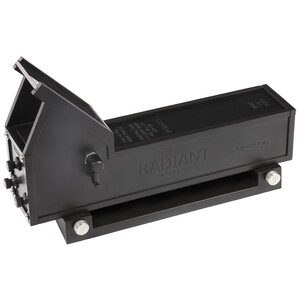
Radiant and Telrad are special LED finders, which many Dobsonian observers swear by. Their advantage: instead of a dot, they project three circles with 0.5, 2 and 4 degrees diameter in the sky. Star-hopping, the finding of an object in the sky, is much easier because distances can be estimated much better thanks to the two-dimensional projection. A great plus: many star charts and planetarium programs also offer the target circles as a locating aid.
Rigel QuickFinder
You don’t have a lot of space on your tube, but don't want to go without target circles like those from Radiant and Telrad? Then the Rigel QuickFinder is the perfect choice. So light and compact that you will find space for it even on the smallest telescope.
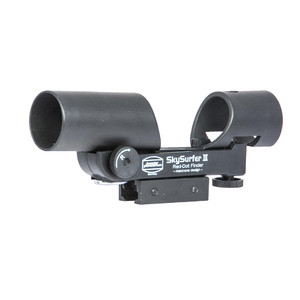
Red dot finder for cameras
Setting up a target in the camera viewfinder: no easy matter, as every astrophotographer knows. It would be great if something could help us do this. The red dot finder has an SLR or system camera hot shoe adapter together with an adjustable dimmer. So you can use your camera stand-alone with a travel mount and easily locate any celestial object.
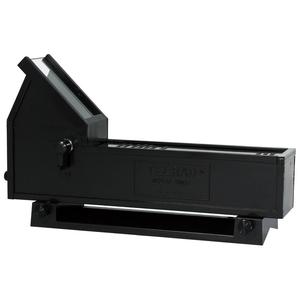
Solar finder

The Sun appears to be so huge, and yet sometimes it takes ages to find it with a telescope. Clearly, we must not look directly at it through the eyepiece either. Caution: even a glance at the Sun through a finderscope without a solar filter would immediately destroy your retina. With a solar finder you can accomplish the task in no time at all, because an image of the Sun is simply cast onto a small screen. This is how you locate it safely!