

Sun Photography for Beginners
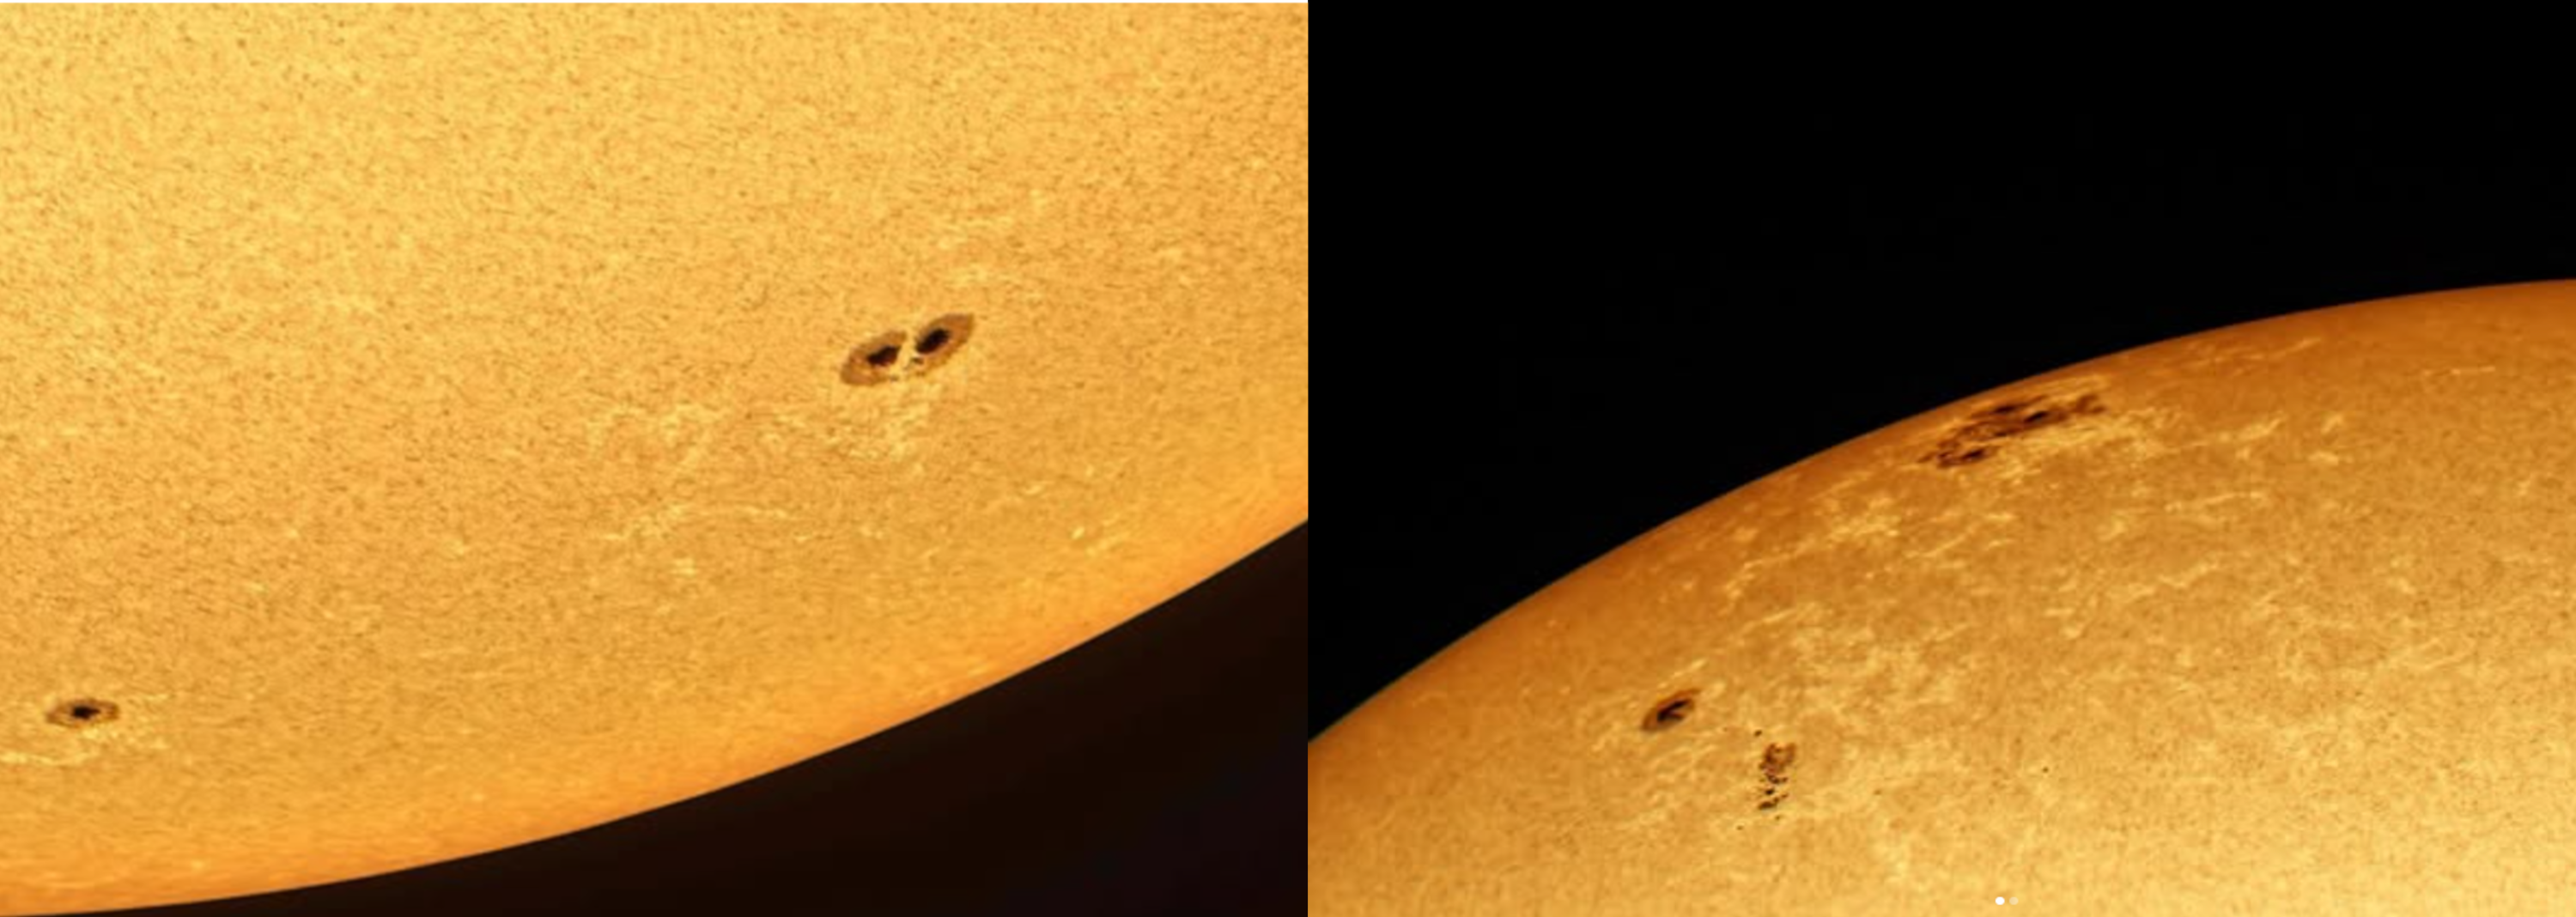
In this guide, you'll learn how to successfully photograph sunspots and the sun's surface.
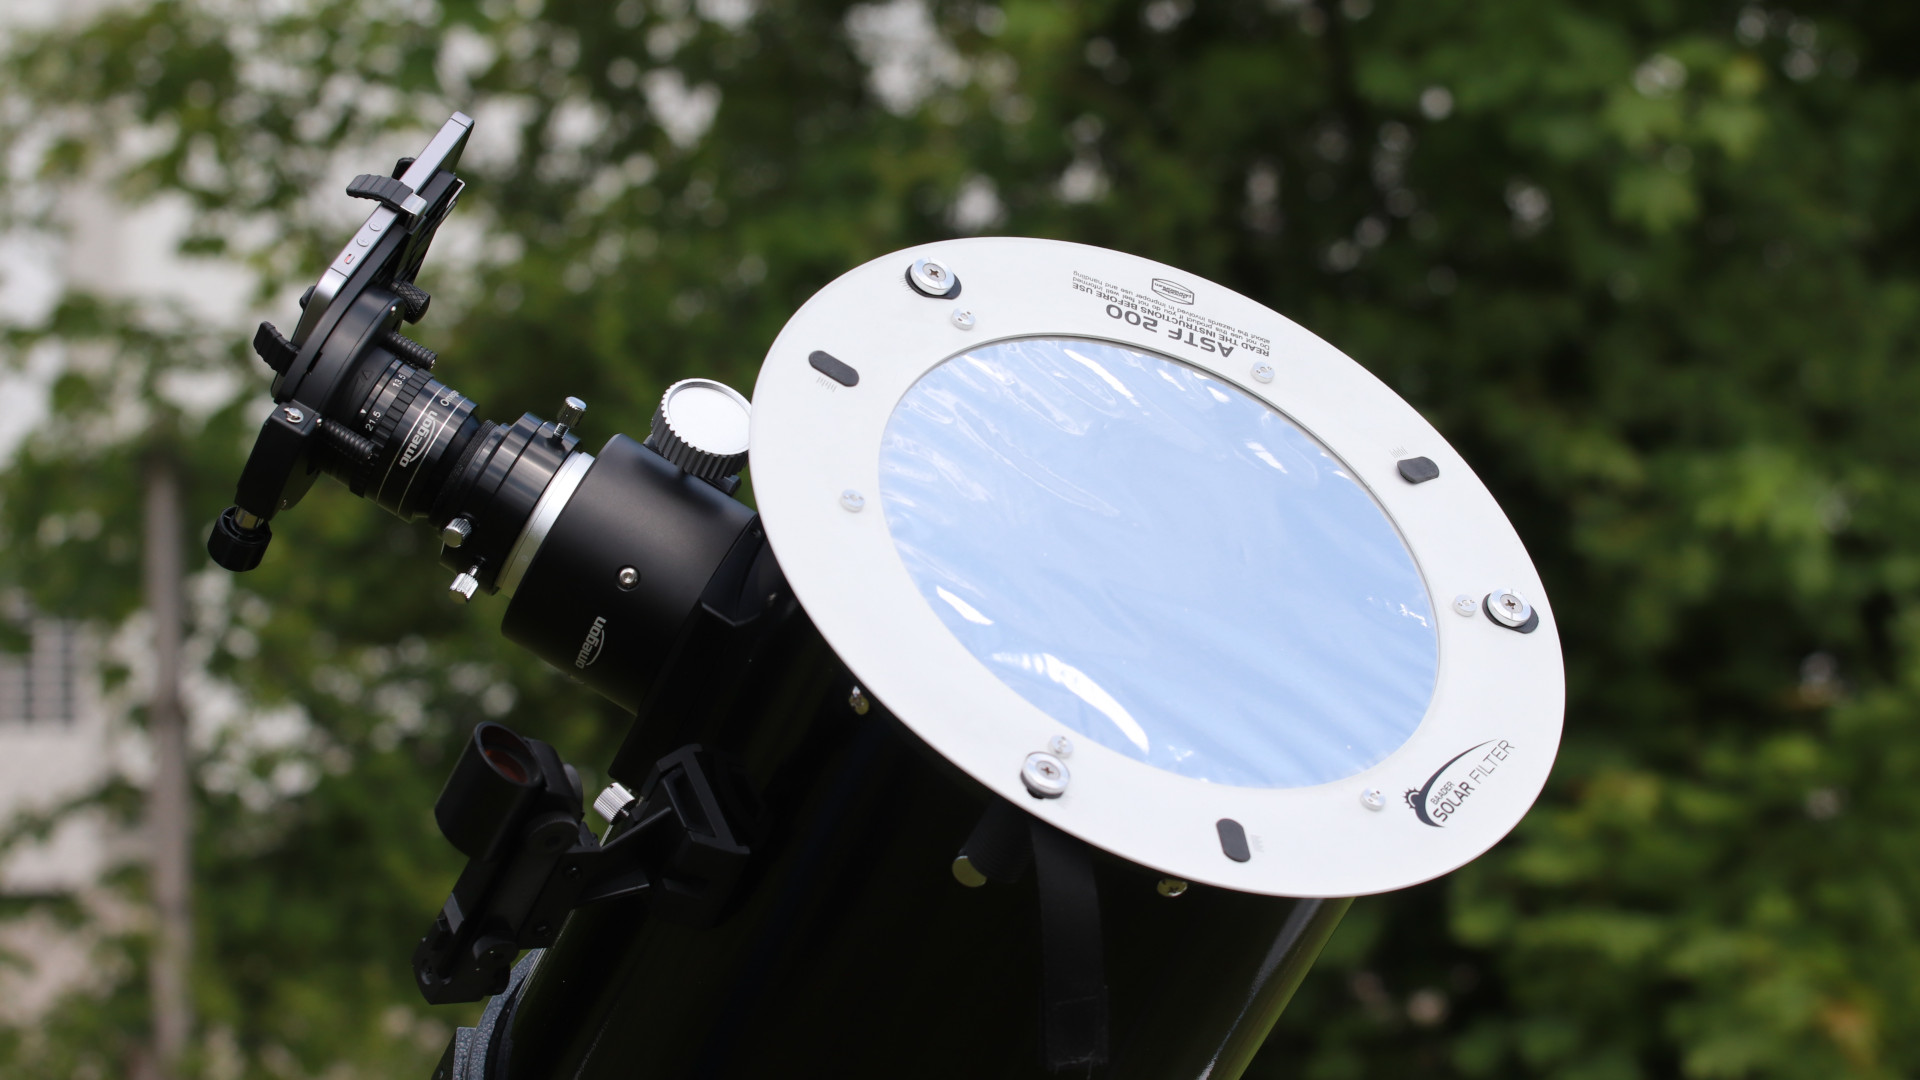
To photograph solar prominences, a different imaging technique—and, above all, a special telescope—is required. This article focuses on pure solar photography in white light.
Important information to start with:
Never observe or photograph the sun without protection. Otherwise, the intense sunlight will destroy your equipment and cause permanent damage to your eyes. Even the viewfinder of an SLR camera can be problematic. It is important that the filter is always securely and firmly attached in front of the telescope or lens aperture. Filters placed in front of or behind the eyepiece are not sufficient and can cause just as much damage to your telescope or your eyes.
How to Prepare for the Solar Eclipse
To photograph the sun, you’ll need a camera with a tripod, a telescope or lens, and a solar filter. If you plan to shoot with a long focal length, you’ll also need a motorized tracking system to compensate for the sun’s apparent movement.
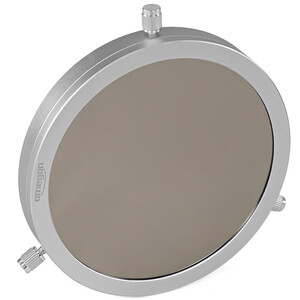
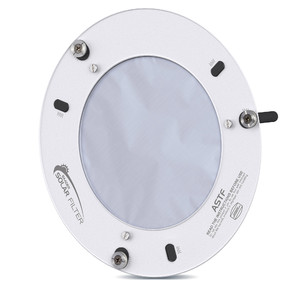
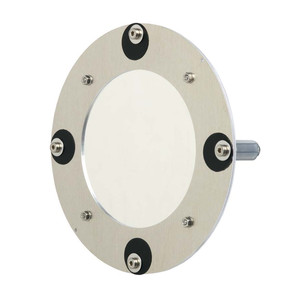
Which filter do I need exactly? Measure the diameter of the lens hood or the outer diameter of the lens. Do not confuse this with the diameter of the lens element or mirror!
You can then select the diameter from the following filters that is available within the adjustable range: https://www.astroshop.eu/ filter-filters-in-mounts/omegon-sun-filter-helievo-60-44-68mm-/p,86737
The filter is clamped over the opening of the optical system.
Have you found the right filter? If not, please feel free to contact us by email and we’ll help you find the right one.
When, where, and how should I photograph the sun?
Since atmospheric turbulence is our biggest enemy, the sky should of course be completely cloudless and the sun should be at its highest point, as this is when atmospheric shimmer is at its least intense. During special events like a solar eclipse, this is sometimes unavoidable, but you should stick to this rule when no such event is taking place.
Once the filter is attached and the camera and tripod or mount are set up, you can now pan toward the sun.
DO NOT PAN TOWARD THE SUN FIRST AND THEN ATTACH THE FILTER.
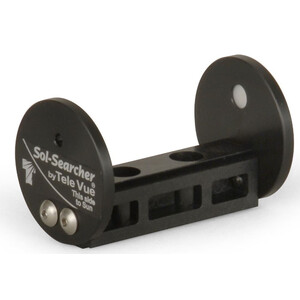
Please do not remove the filter during the exposure or during breaks in between. The sun is greatly dimmed by the filter, which makes framing with long focal lengths quite difficult. You can either use a special sunfinder mounted on the optics, or you can use the shadow trick. The goal of this trick is to ensure that the shadow cast by the telescope/lens and camera onto the ground is as small as possible. You can repeatedly check in the camera’s live view mode to see if the sun is already visible.
To do this, use a high ISO setting or long exposure times in video or live mode. This will help you locate the sun quickly and easily. If the sun is still not visible, it’s sometimes a matter of focus. I therefore recommend removing the filter first, manually focusing on something in the distance, then reattaching the filter, and only then panning toward the sun.
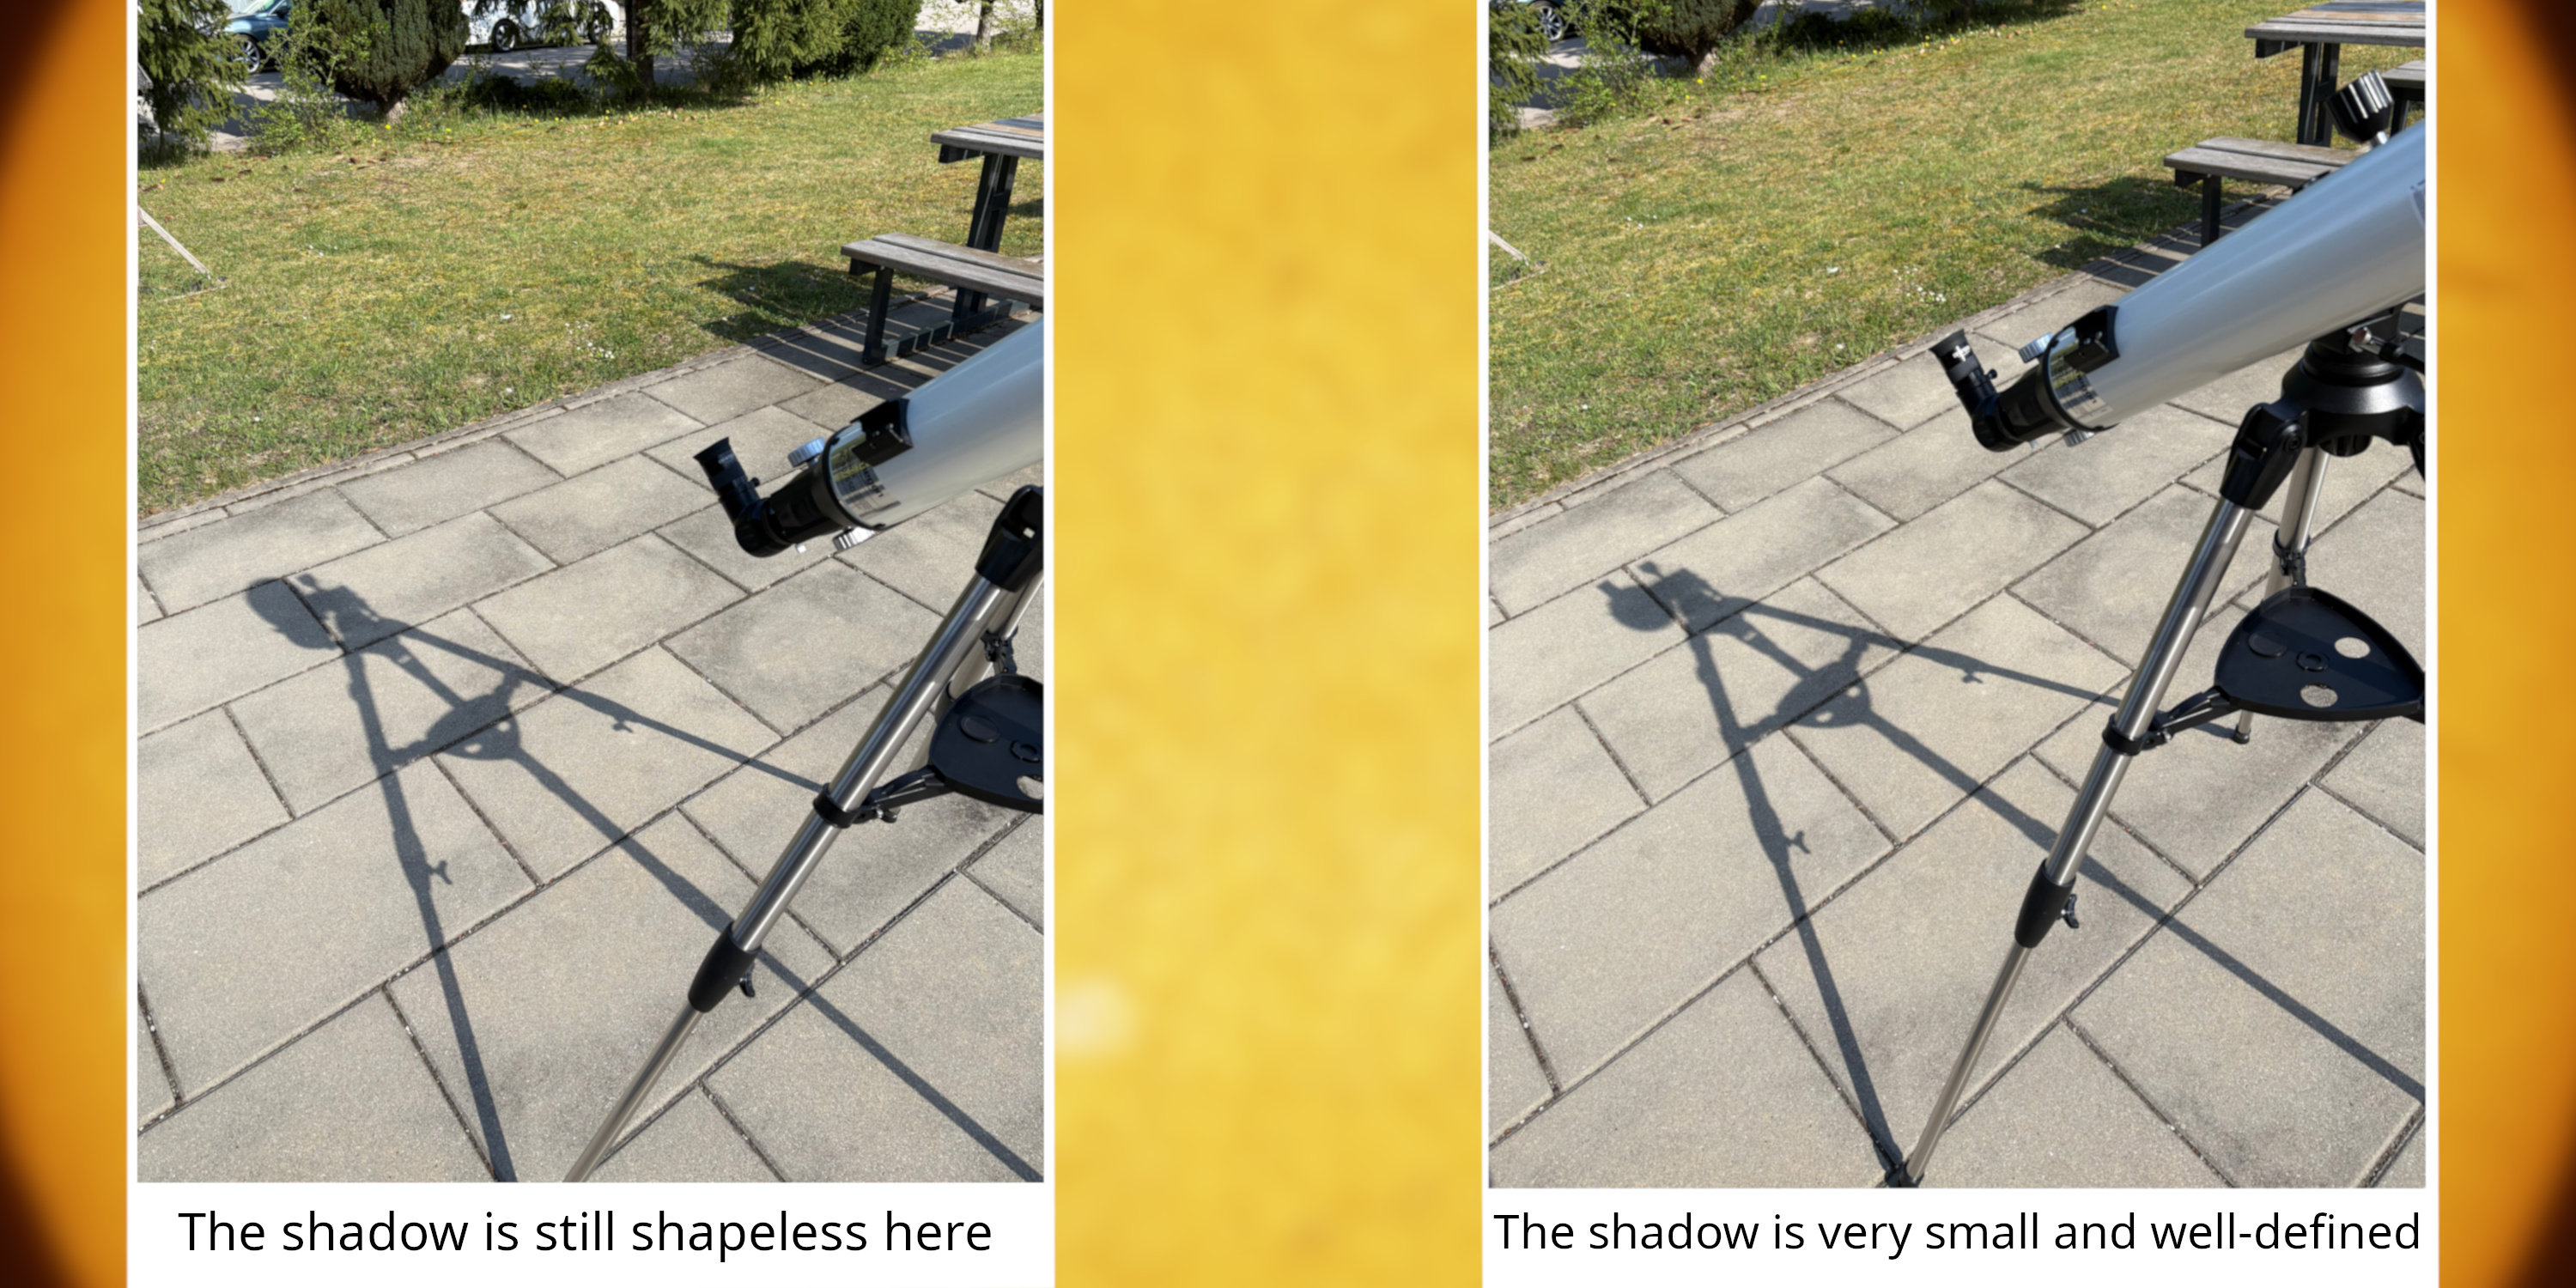
Did you find the sun? Then let's move on to the next step.
There are only two reasons why your photo might be blurry:
1. The focus is off.
2. Air turbulence and air currents are causing the image to be blurry.
That's why, ideally, the sun shouldn't be captured as a single photo, but as a video:
The reason for this is that a video can capture many frames in a short period of time. The advantage: air turbulence is effectively frozen in place. With multiple frames, there’s also a higher chance of capturing a moment when air turbulence is particularly low. This shooting technique is called “Lucky Imaging.” Focusing is also easier in Live mode. You’ll quickly notice how differently sharp the sun appears and how this changes drastically in just a few seconds. To get the focus just right, you’ll need a bit of finesse and patience. If you’re planning a longer observation or photography session, keep in mind that the focus can also shift because the optics still heat up (especially with black tubes) and expand, which in turn affects the focus.
So set your camera to the highest frame rate (30 fps or 60 fps) and start recording. Ideally, your camera should be capable of at least Full HD, i.e., 1080p. If not, you can also start burst mode and take a large number of full-resolution photos. A good starting point is at least 100 RAW images.
Preprocessing / Image Processing
Once the sun is in the frame and the image data and videos have been captured, it’s time to move on to the crucial step: stacking and image processing.
For this, I recommend the Autostakkert software! (https://www.autostakkert.com/) It's free and relatively easy to use.
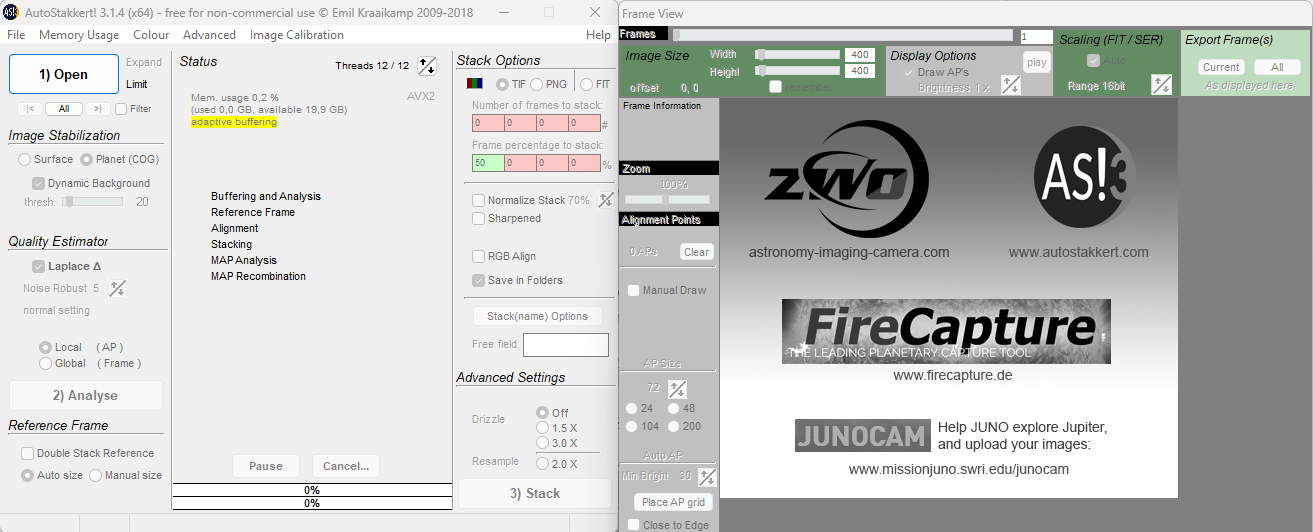
- Import the video or all photos into the software by clicking “Open”.
- For the “Image Stabilization” setting, select “Surface”.
- The "Dynamic Background," "Local AP," and "Double Stack Reference" options should be enabled.
Select a .tif file as the source format and set “Frame Percentage to stack” to 20%
The percentage indicates what proportion of all images will be processed into a sharp image. In other words, if there are 100 images, that would be 20 images. The software analyzes each image individually and sorts them by sharpness and brightness. That’s why it’s such a huge advantage to take a lot of pictures—think video!
Then click “Analysis”.
Once the analysis is complete, select “Place AP grid” in the other window.
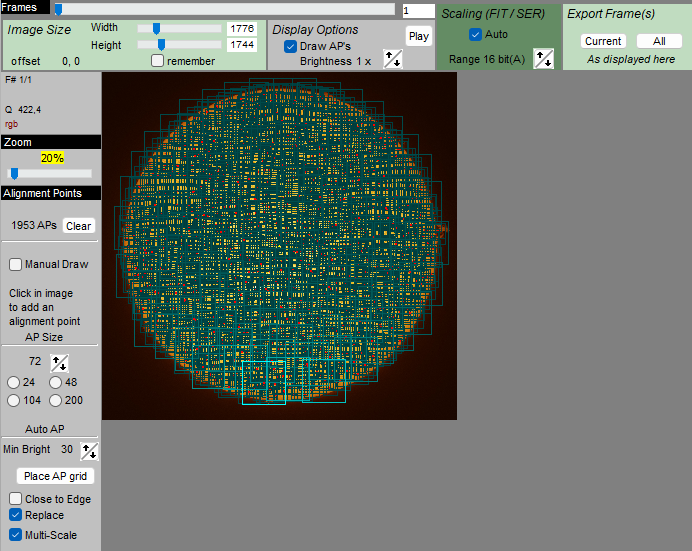 This is roughly what it should look like
The final step is to click on “Stack”. This will start the process. After a few minutes—depending on your PC’s processing power—you’ll be able to see a finished, sharp image of the sun, which you can then further edit in another software program. I recommend experimenting with the settings; “Drizzle” and the sharpening tool are also valuable options.
I hope this has inspired you to take and edit your own photos of the sun. Have fun! If you have any questions, please write to us or contact our technical department.
Author: Marc-Antonio Fischer
Marc-Antonio, also known online as astronomical_horizon, is a passionate astrophotographer who specialises in fast reflector telescopes. His speciality: small planetary nebulae. When he’s not gazing at the stars, his heart lies with botany. He knows the local flora like the back of his hand. If he has any time left over, he picks up his electric guitar.