
A satnav for the night sky: getting started with digital astronomy
For many years, smartphones have replaced the classic satnav systems in cars. So why not also use a smartphone as a tool for astronomy?
You have almost certainly had that feeling of having a certain destination, but not knowing the shortest route to take you there – and so used a satnav to get you there. A satnav is always on hand when you are in an unfamiliar location.
Just as when you are in traffic, it is difficult for beginners to find their way around the night sky and immediately find and observe their target object. So what if you could navigate straight to any target, but at the same time also be able to move the telescope yourself without having to rely on motors?
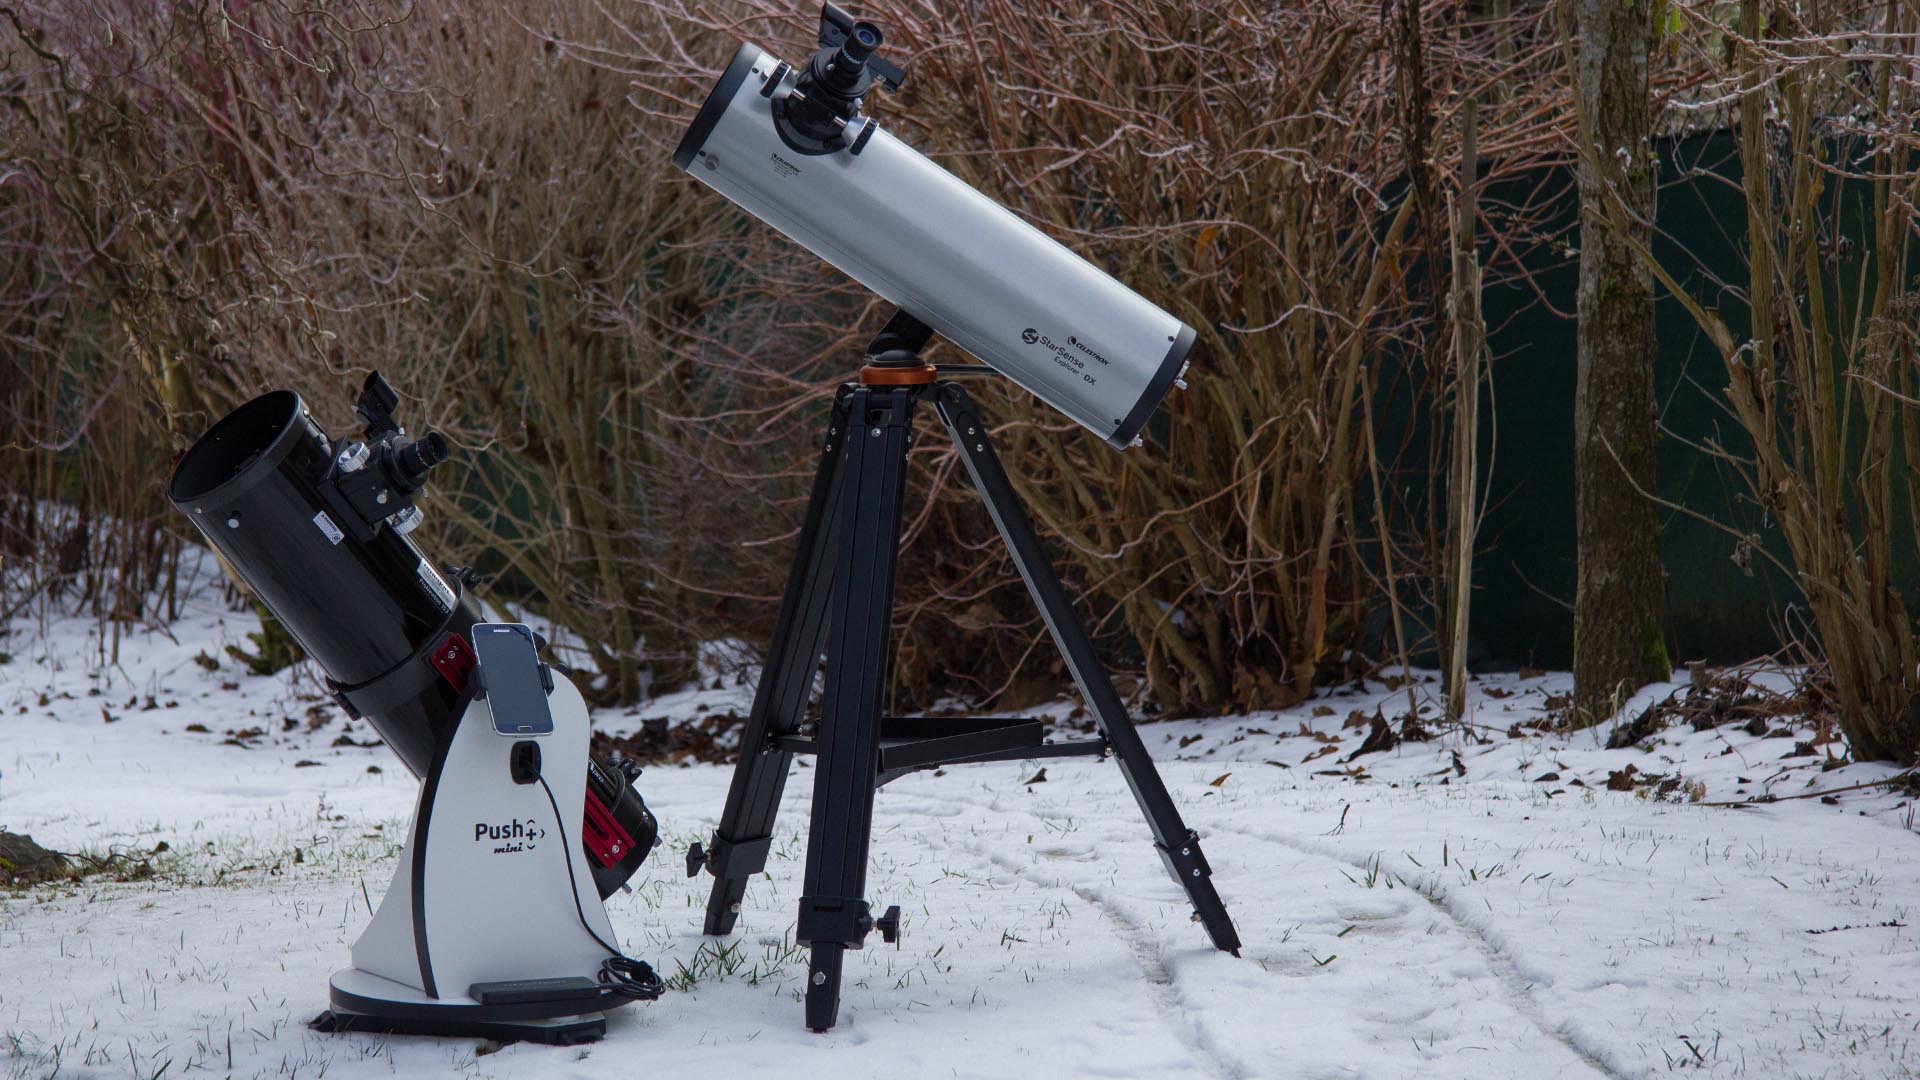
The Celestron StarSense Explorer and the Omegon Push+ offer two different approaches that demonstrate the currently available possibilities.
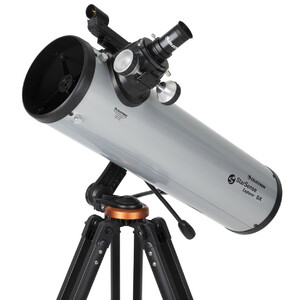
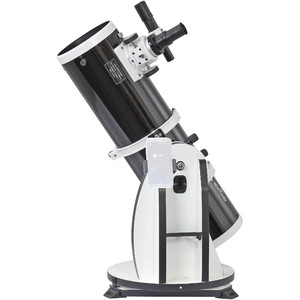
In this article, we will show you how the two devices work and their respective advantages and disadvantages. Although, at first glance, they may seem to have very similar features, they are fundamentally different. The reports that follow are mainly related to the smallest Newtonian models in the series. The Celestron has a 130mm aperture, while the Omegon comes with a 150mm aperture.
Assembly
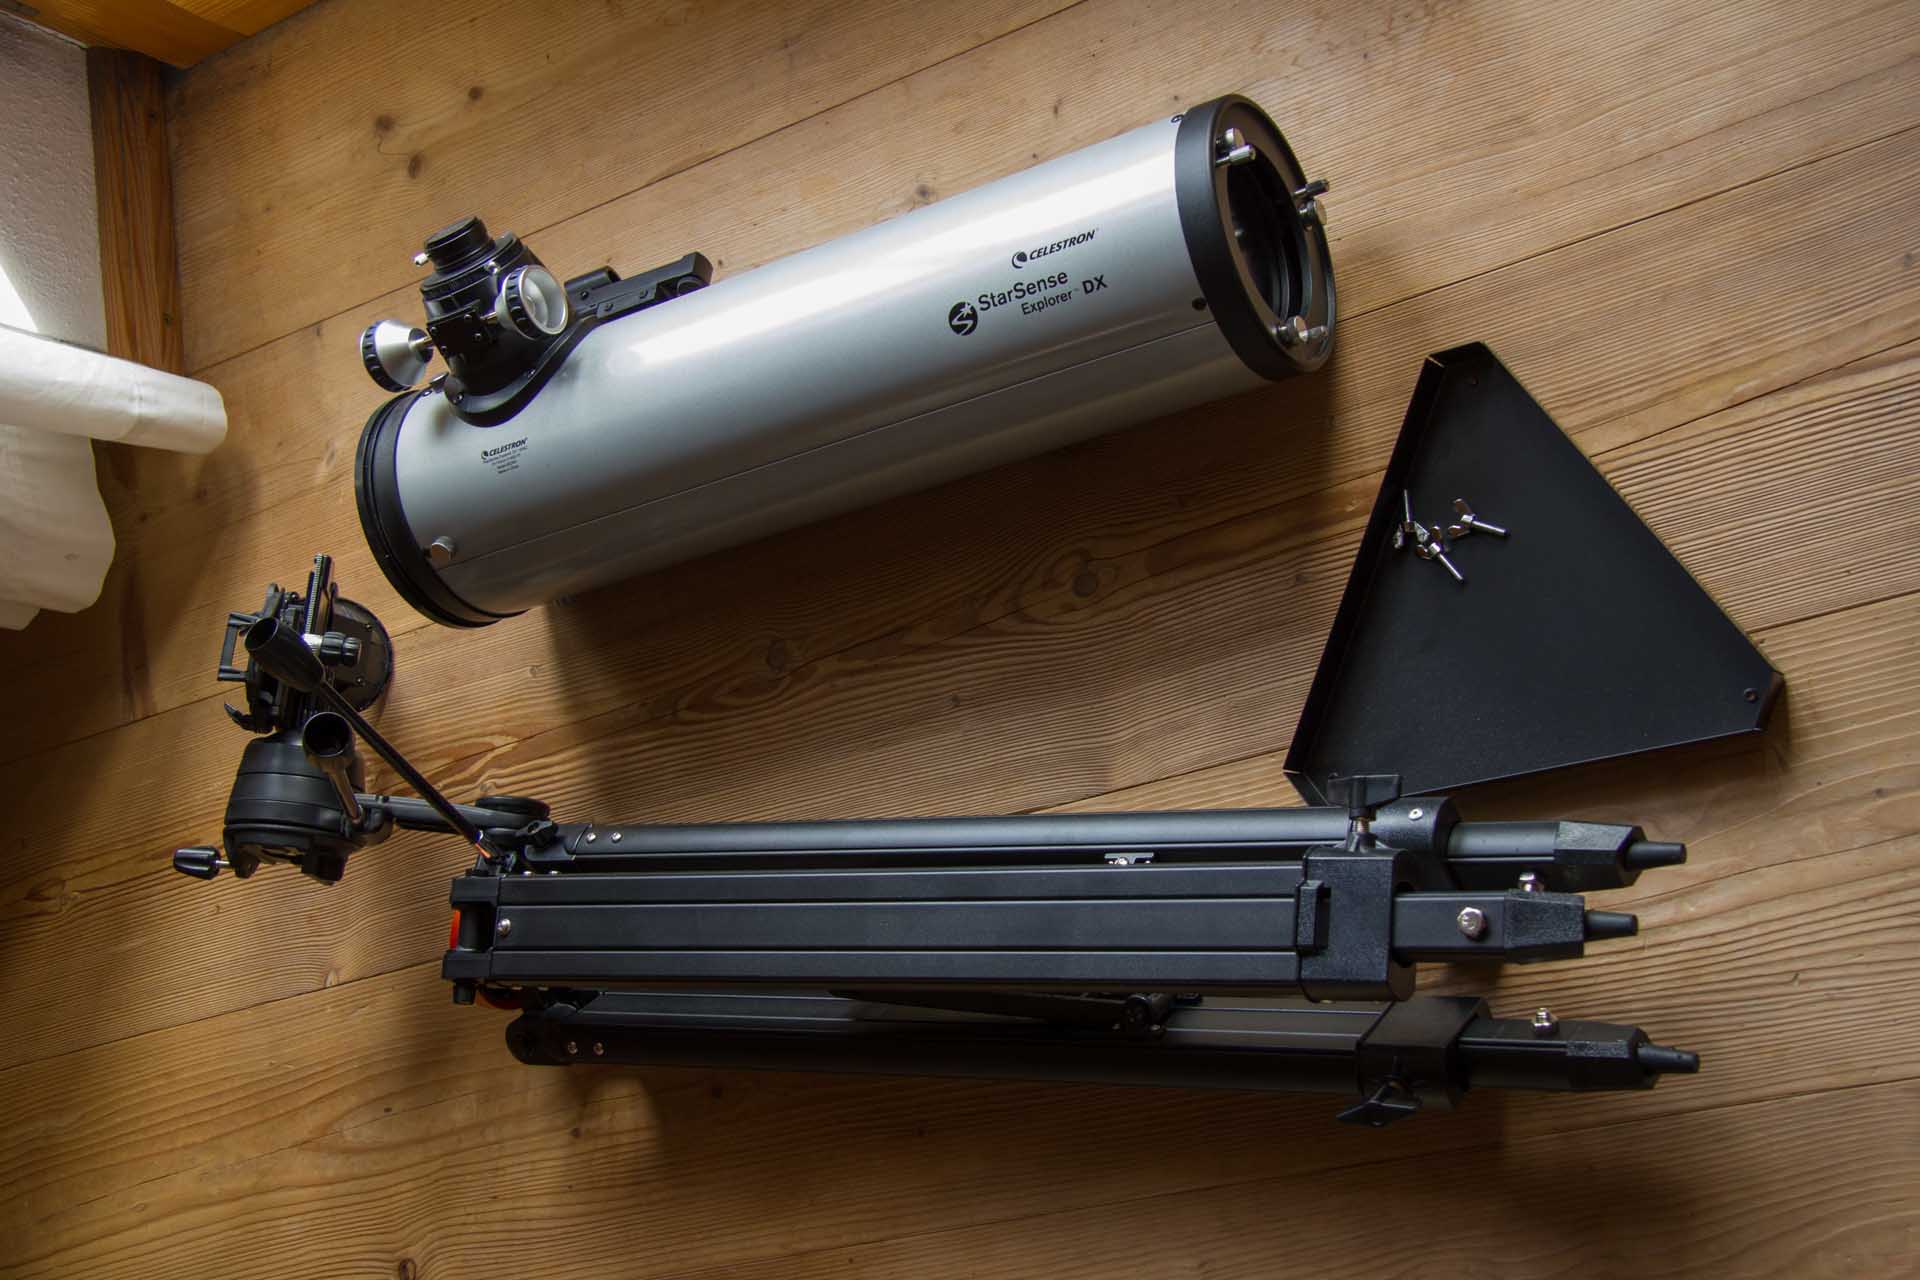 The StarSense Explorer in pieces before assembly
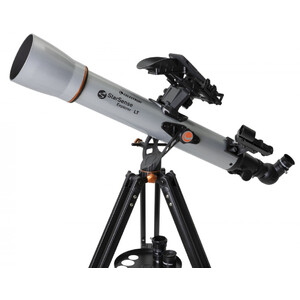
 It is very straightforward to set up both telescopes. With the Celestron, the setup is divided into three steps, whereby you first set up the tripod, then mount the telescope, and in the final step attach any accessories such as the smartphone holder or eyepieces. The tool you require to do this is attached directly to the mount, so that you have everything you need with you at all times. There is also a small bag for safely transporting eyepieces and, if necessary, the smartphone holder.
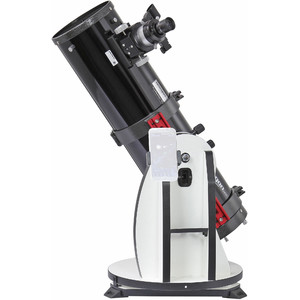
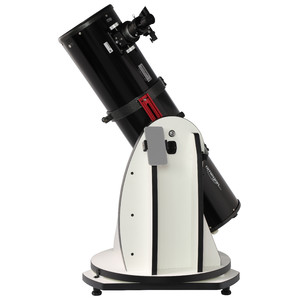
The Push+ is similarly easy to set up, though the process is slightly different, as it is a Dobsonian mount. The mount comes already assembled, so you only need to attach the prism rail to the telescope using two tube rings, and in this case the focuser also needs to be attached. Lastly, a smartphone holder is screwed to the side to secure the smartphone.
We had a little difficulty inserting the focuser on the Push+ but, apart from that, both devices are equally easy to set up and are both quickly ready for use. The very good and detailed assembly instructions are available in printed form (Celestron) or as a PDF download (Omegon).
Next steps
Once set up, the telescopes are ready for use. Since both devices are supplied with a finderscope, these can be used for observation just like any other telescope. But unlike normal telescopes, these can also be used with a smartphone to reveal additional functions. For this to work, you must first connect to your smartphone. Here, we also encounter the first differences between the two telescopes.
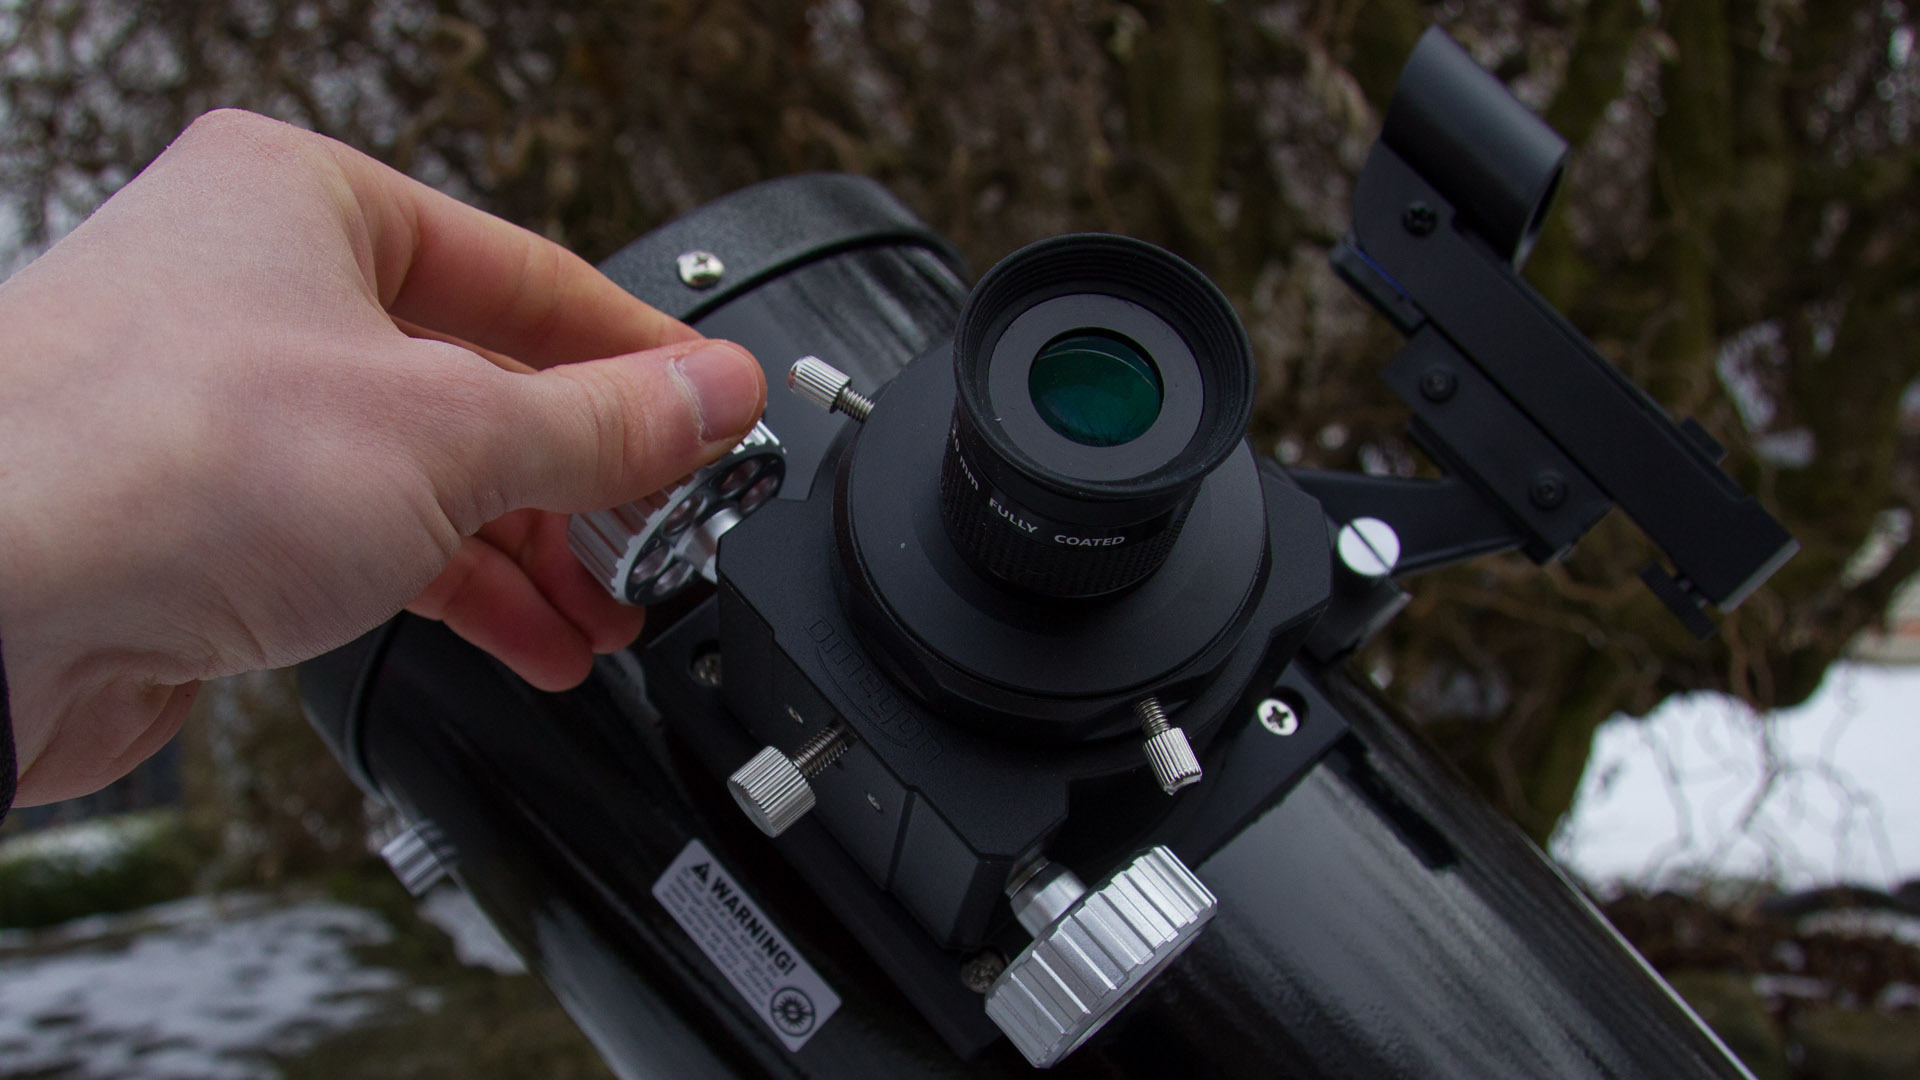
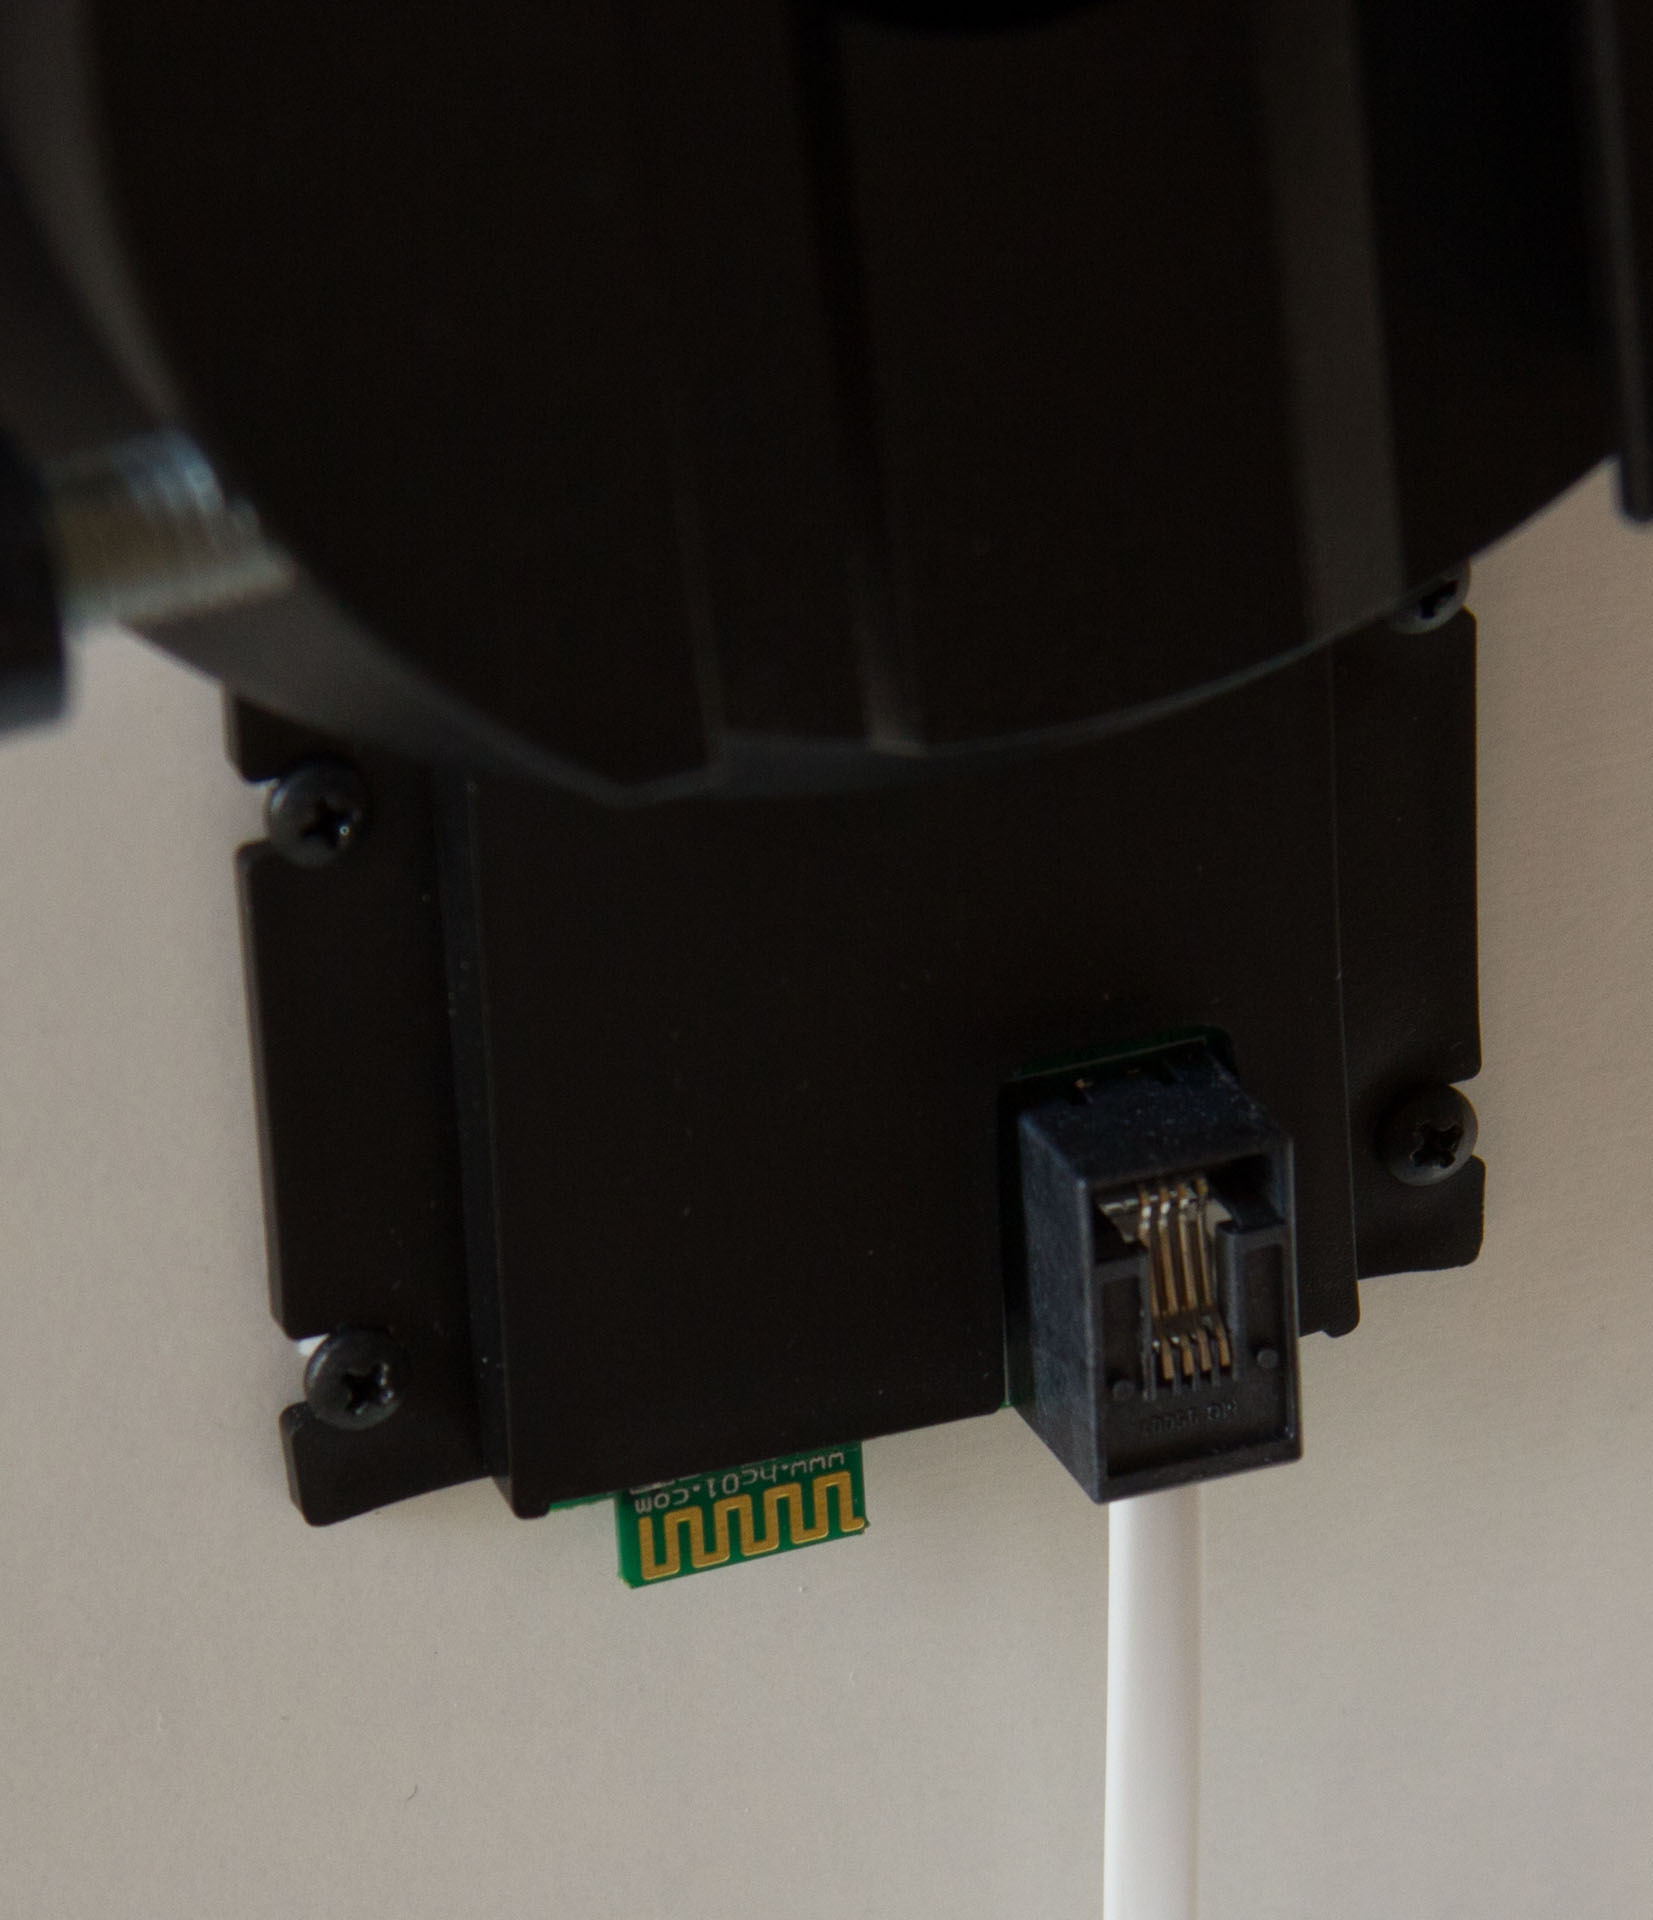 The Push+ encoders built into both axes
 This is because they rely on different types of smartphone integration. While Celestron does not have a digital connection between the mount and the smartphone, but instead the movement is tracked using the inclination of the smartphone, you need to connect the Omegon Push+ to the mount using Bluetooth and the telescope position is interpreted using axis encoders and transmitted to the smartphone.
The StarSense Explorer also uses relatively new plate-solving technology, which enables your phone to precisely determine which part of the sky the telescope is pointing at by analysing star patterns. This also results in the aforementioned differences in the setup of the two telescopes:
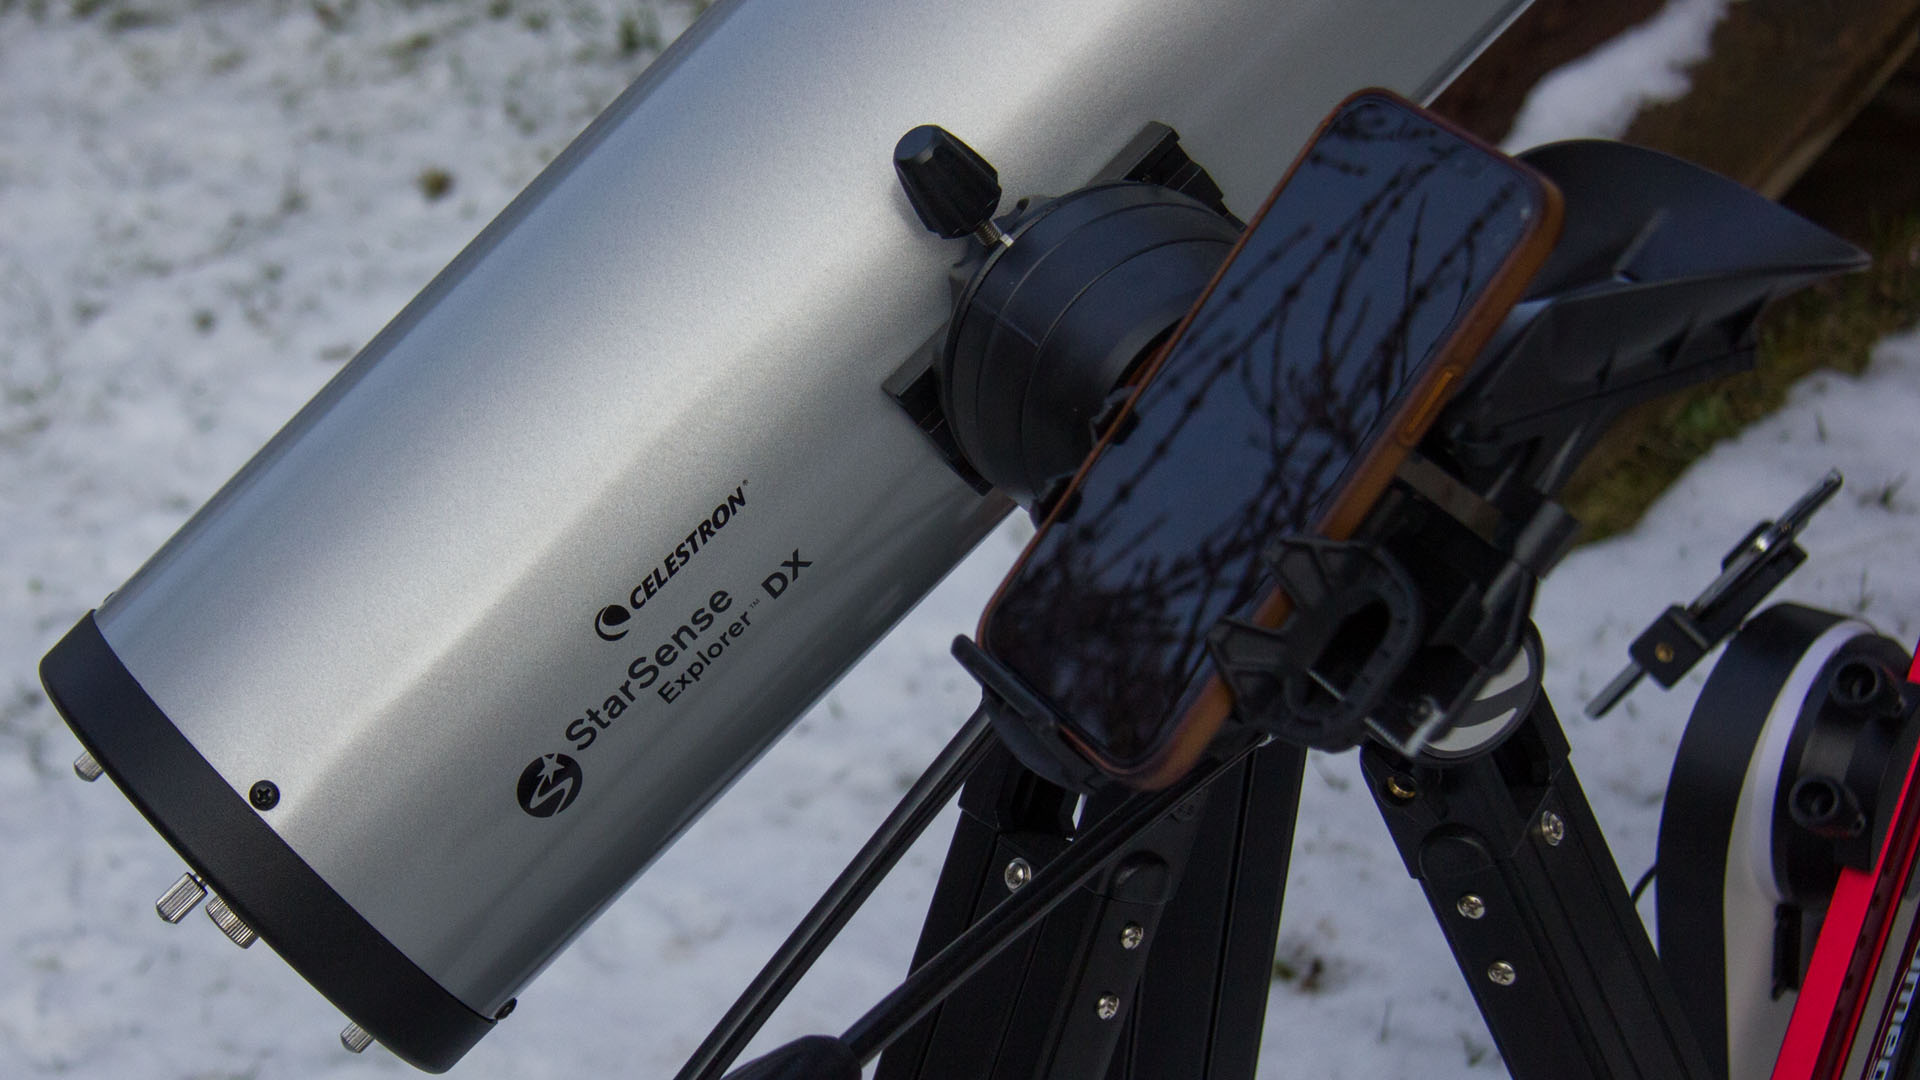
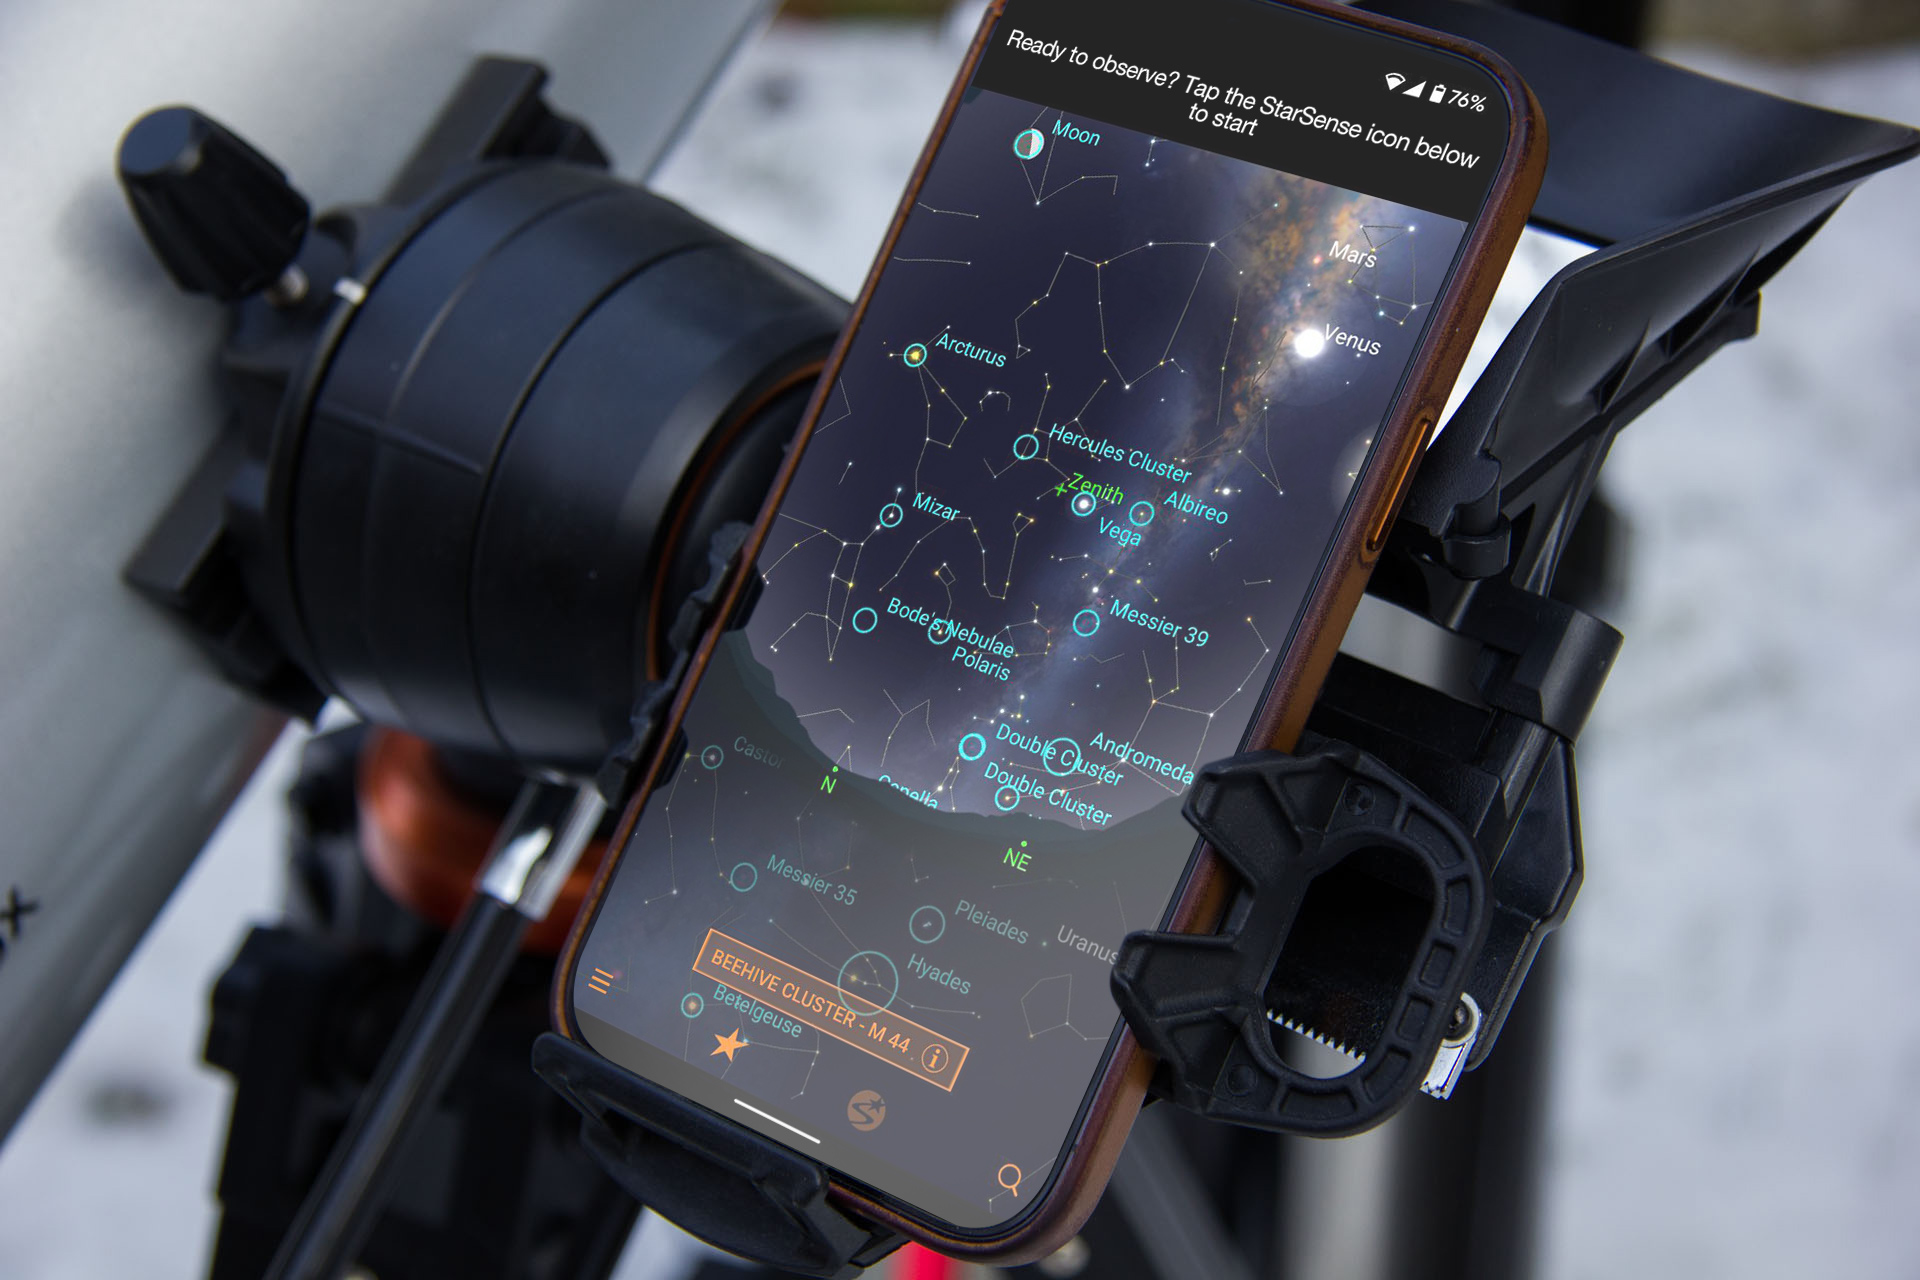
For the Celestron StarSense Explorer you need the app of the same name, which can be activated with the accompanying code. The telescope-specific functions are not available without the code. You simply insert your phone in the smartphone holder, open the app and you will be guided through the entire configuration process by a setup assistant and some short videos.
In order to synchronise your smartphone with the telescope’s position, you have to point to an object with the telescope, and use the crosshair on the smartphone screen to mark the image from the phone’s camera. The more accurately you can do this, the better your overall accuracy will be. This process can be carried out either during the day or at night. During the day, it is generally easier to find an object to perform the alignment with. If you do it at night, there is a useful night mode in the app, which makes the entire smartphone picture brighter. Once your smartphone is aligned, with luck you will not need to repeat it as the alignment is saved. However, each time you launch the app, you are asked whether you want to keep the existing settings or perform a new alignment.
 SkySafari start menu with the controls
The Omegon Push+ requires a different type of alignment due to its encoder design. In addition, the telescope must be powered with the supplied cable or a power bank before you can start the setup. Your smartphone can be securely stowed in its holder so that it does not interfere with use.
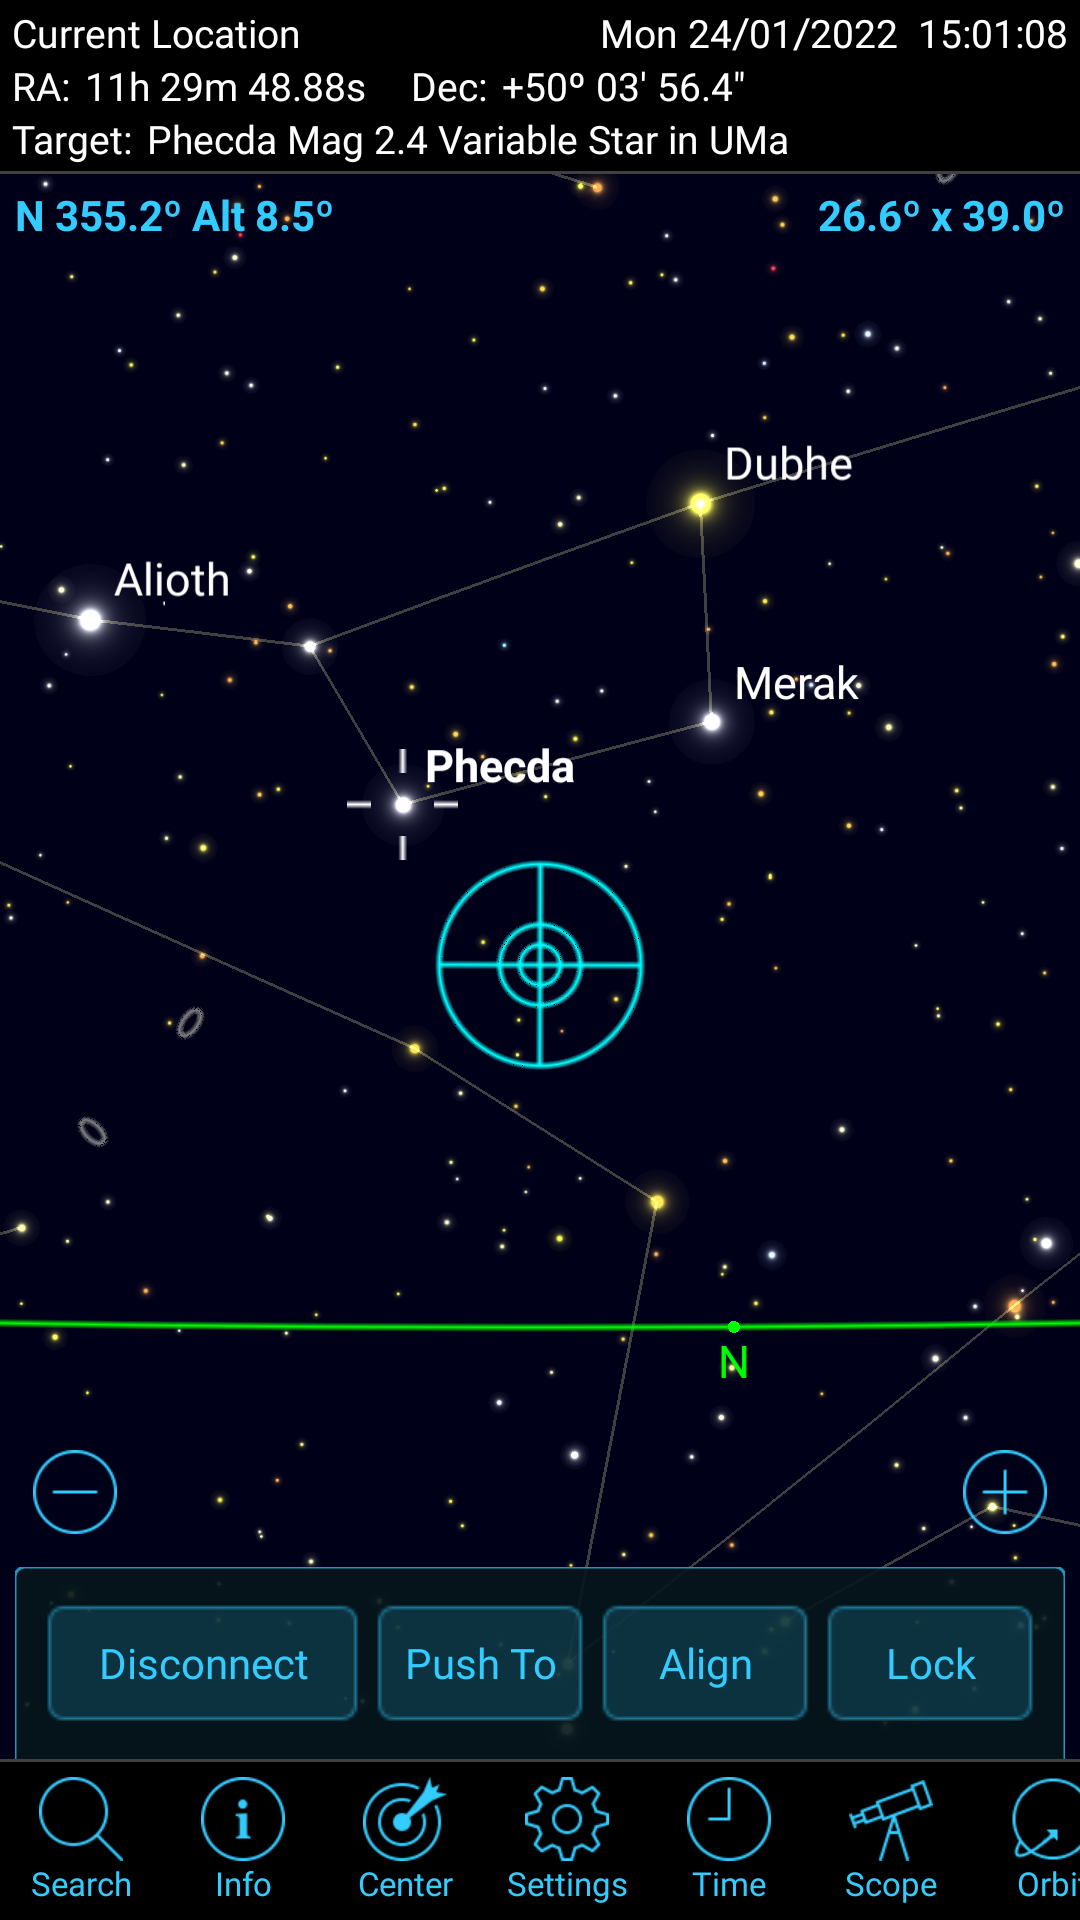
The instructions, which are available for download, describe what you need to do step-by-step with screenshots. First, connect the smartphone to the mount, which should be visible on your phone as a connected Bluetooth device as soon as power is supplied. Unlike the StarSense Explorer, the Omegon does not rely on its own app, but uses the features found on SkySafari 5 Plus and some other planetarium programs.
SkySafari is already designed to support some digital telescopes, including the Push+. After setting some parameters such as type of telescope, mount design, and so on, you can connect to the Push+ by selecting the “Scope” option in the main menu. Once this is done, the alignment proceeds as with the StarSense Explorer. Here, however, you cannot carry out an alignment during daylight hours, as you can only select objects that are visible in the planetarium software. Therefore, you will need a certain basic knowledge of the night sky.
However, the app will also indicate if an alignment star is significantly far away from its expected position. This means that you should avoid basic errors when starting out. It is important to note that you will need to align the telescope ahead of each observation evening, since neither the software nor the encoders store the current alignment.
Use
Both manufacturers use only good-quality materials such as aluminium or wood, which ensures that both telescopes are very stable and can be moved perfectly smoothly. You can move both instruments backwards and forwards by hand, Celestron additionally offers the option of making fine adjustments using two extension bars on the mount. The Celestron also has storage shelf on the tripod for stowing eyepieces or other accessories, which is not available on the Push+ due to its more compact design.
Focuser
Both telescopes have a good focuser, which can be moved very easily and precisely, but neither have fine adjustment, although this is not a great concern given the price segment and the quality of the instruments.
Finding objects
The Push+ has a slight advantage when locating objects with a smartphone, as the current position of the telescope is always visible on the display, while the StarSense Explorer needs a short moment to determine its exact position, especially when moving the telescope between two distant objects.
This is due, among other things, to the built-in plate solving, which must first evaluate the image of the sky once the telescope has stopped moving. This process is also indicated in the display by red, yellow or green borders, so you always have an indication of how accurate the position shown on the display is.
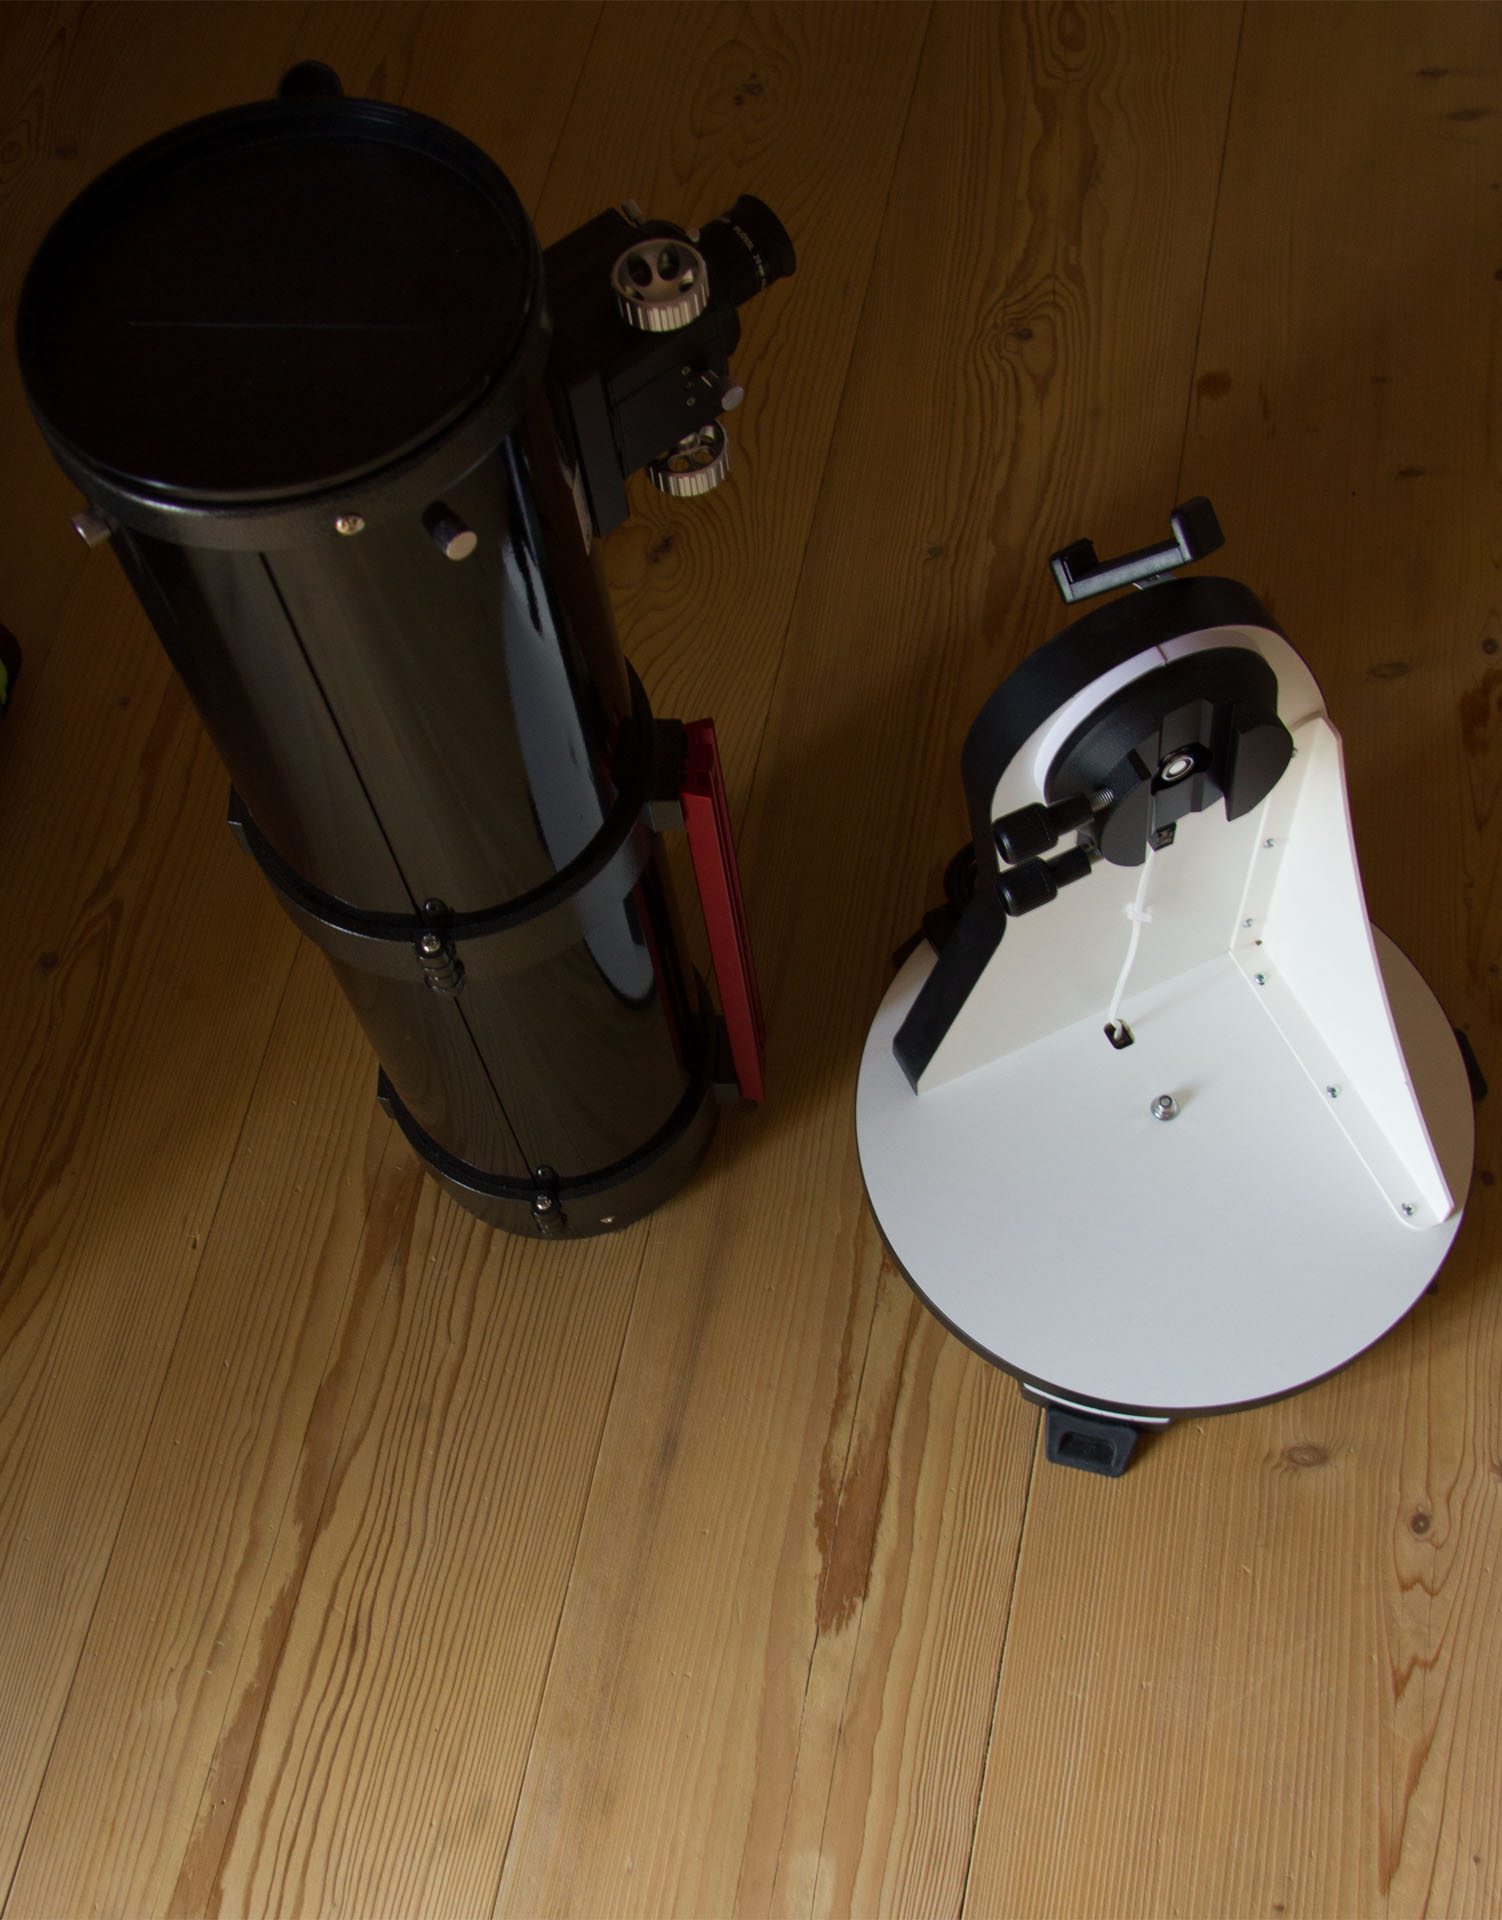 The Push+ can either be transported either fully assembled or in just two separate parts
All in all, it must be mentioned that both telescopes can only demonstrate their full potential once they have been precisely aligned. But once that's done, both telescopes deliver exactly what they promise. Namely a navigational instrument for the night sky. You can still move the telescope yourself, but the advantage is that you can enjoy early successes without a great deal of prior knowledge.
One last point regarding their use is the transportation of the two instruments. If you are not planning to observe in your own back garden or in a field close by, you will need to transport your telescope by car. The Omegon Push+ scores some points here with its compact design. Depending on the telescope size, it can be easily transported either in its assembled state or in two parts, and can be set up at the observation location in a few simple steps.
In the case of the Celestron, if you want to transport it already assembled you will need more room in your car due to the tripod which, even when folded, takes up more space. Especially when it comes to the larger instruments it is advisable to store the telescope and the tripod separately. In addition, it is advisable to remove the smartphone holder, otherwise it could be damaged during transport. As a result, the setting-up process is a bit more complicated and takes a little more time. Nevertheless it must be pointed out that, with a little practice, both telescopes are very quickly ready for use.
There are no issues with the optical performance of the two telescopes. In practice, the view through the eyepiece was at eye level, and neither of the two showed any great advantages or disadvantages. In terms of the aperture, the observed objects were also clearly visible. These telescopes are perfect for beginners or amateur astronomers who want to experience deep sky observation for the first time. Planets such as Saturn and Jupiter, as well as the first bright deep sky objects (Andromeda Galaxy, M13, etc.) are easily observable.
The bottom line
Both telescopes impressed us in our practical test. One has its advantages in terms of usability, while the other is better for finding objects. The question often arises especially in the case of such entry-level devices - which telescope is suitable for which target group? We can make some clear conclusions:
If you have always wanted to buy a telescope and already have some familiarity with the night sky, then the Push+ would be the recommended option. Depending on your needs, you can choose from a small 6" Newtonian on the Push+ Mini up to an instrument with 8" aperture for more ambitious hobby astronomers. Observing with a Dobsonian mount is intuitive and even advanced observers swear by this design for visual observing, as it is very compact but also stable.
The Celestron StarSense Explorer focuses more on providing a simple introduction to astronomy. If you are not yet familiar with the night sky and only want to observe occasionally, then this is exactly the right device for you. You get helpful tools to guide you through the first set-up and also to help you during your observation, so that as a complete newcomer you will never feel discouraged.
Generally speaking, you would not go far wrong with either telescope. For one thing, you always have a great feeling of success when you find an object, and this will keep you motivated. Also, you can use either device completely without any technical aids. And that is exactly what you should keep in mind when you buy such a telescope.
In general, we can conclude by saying: such a telescope is only ever as good as its user. If you put some effort into setting up and alignment, you will get a lot of pleasure when observing.