
Astrophotography with the Celestron RASA 800 – a field report
Celestron's new optical instrument for astrophotography. A field test by Christoph Kaltseis using the Andromeda Galaxy as an example.
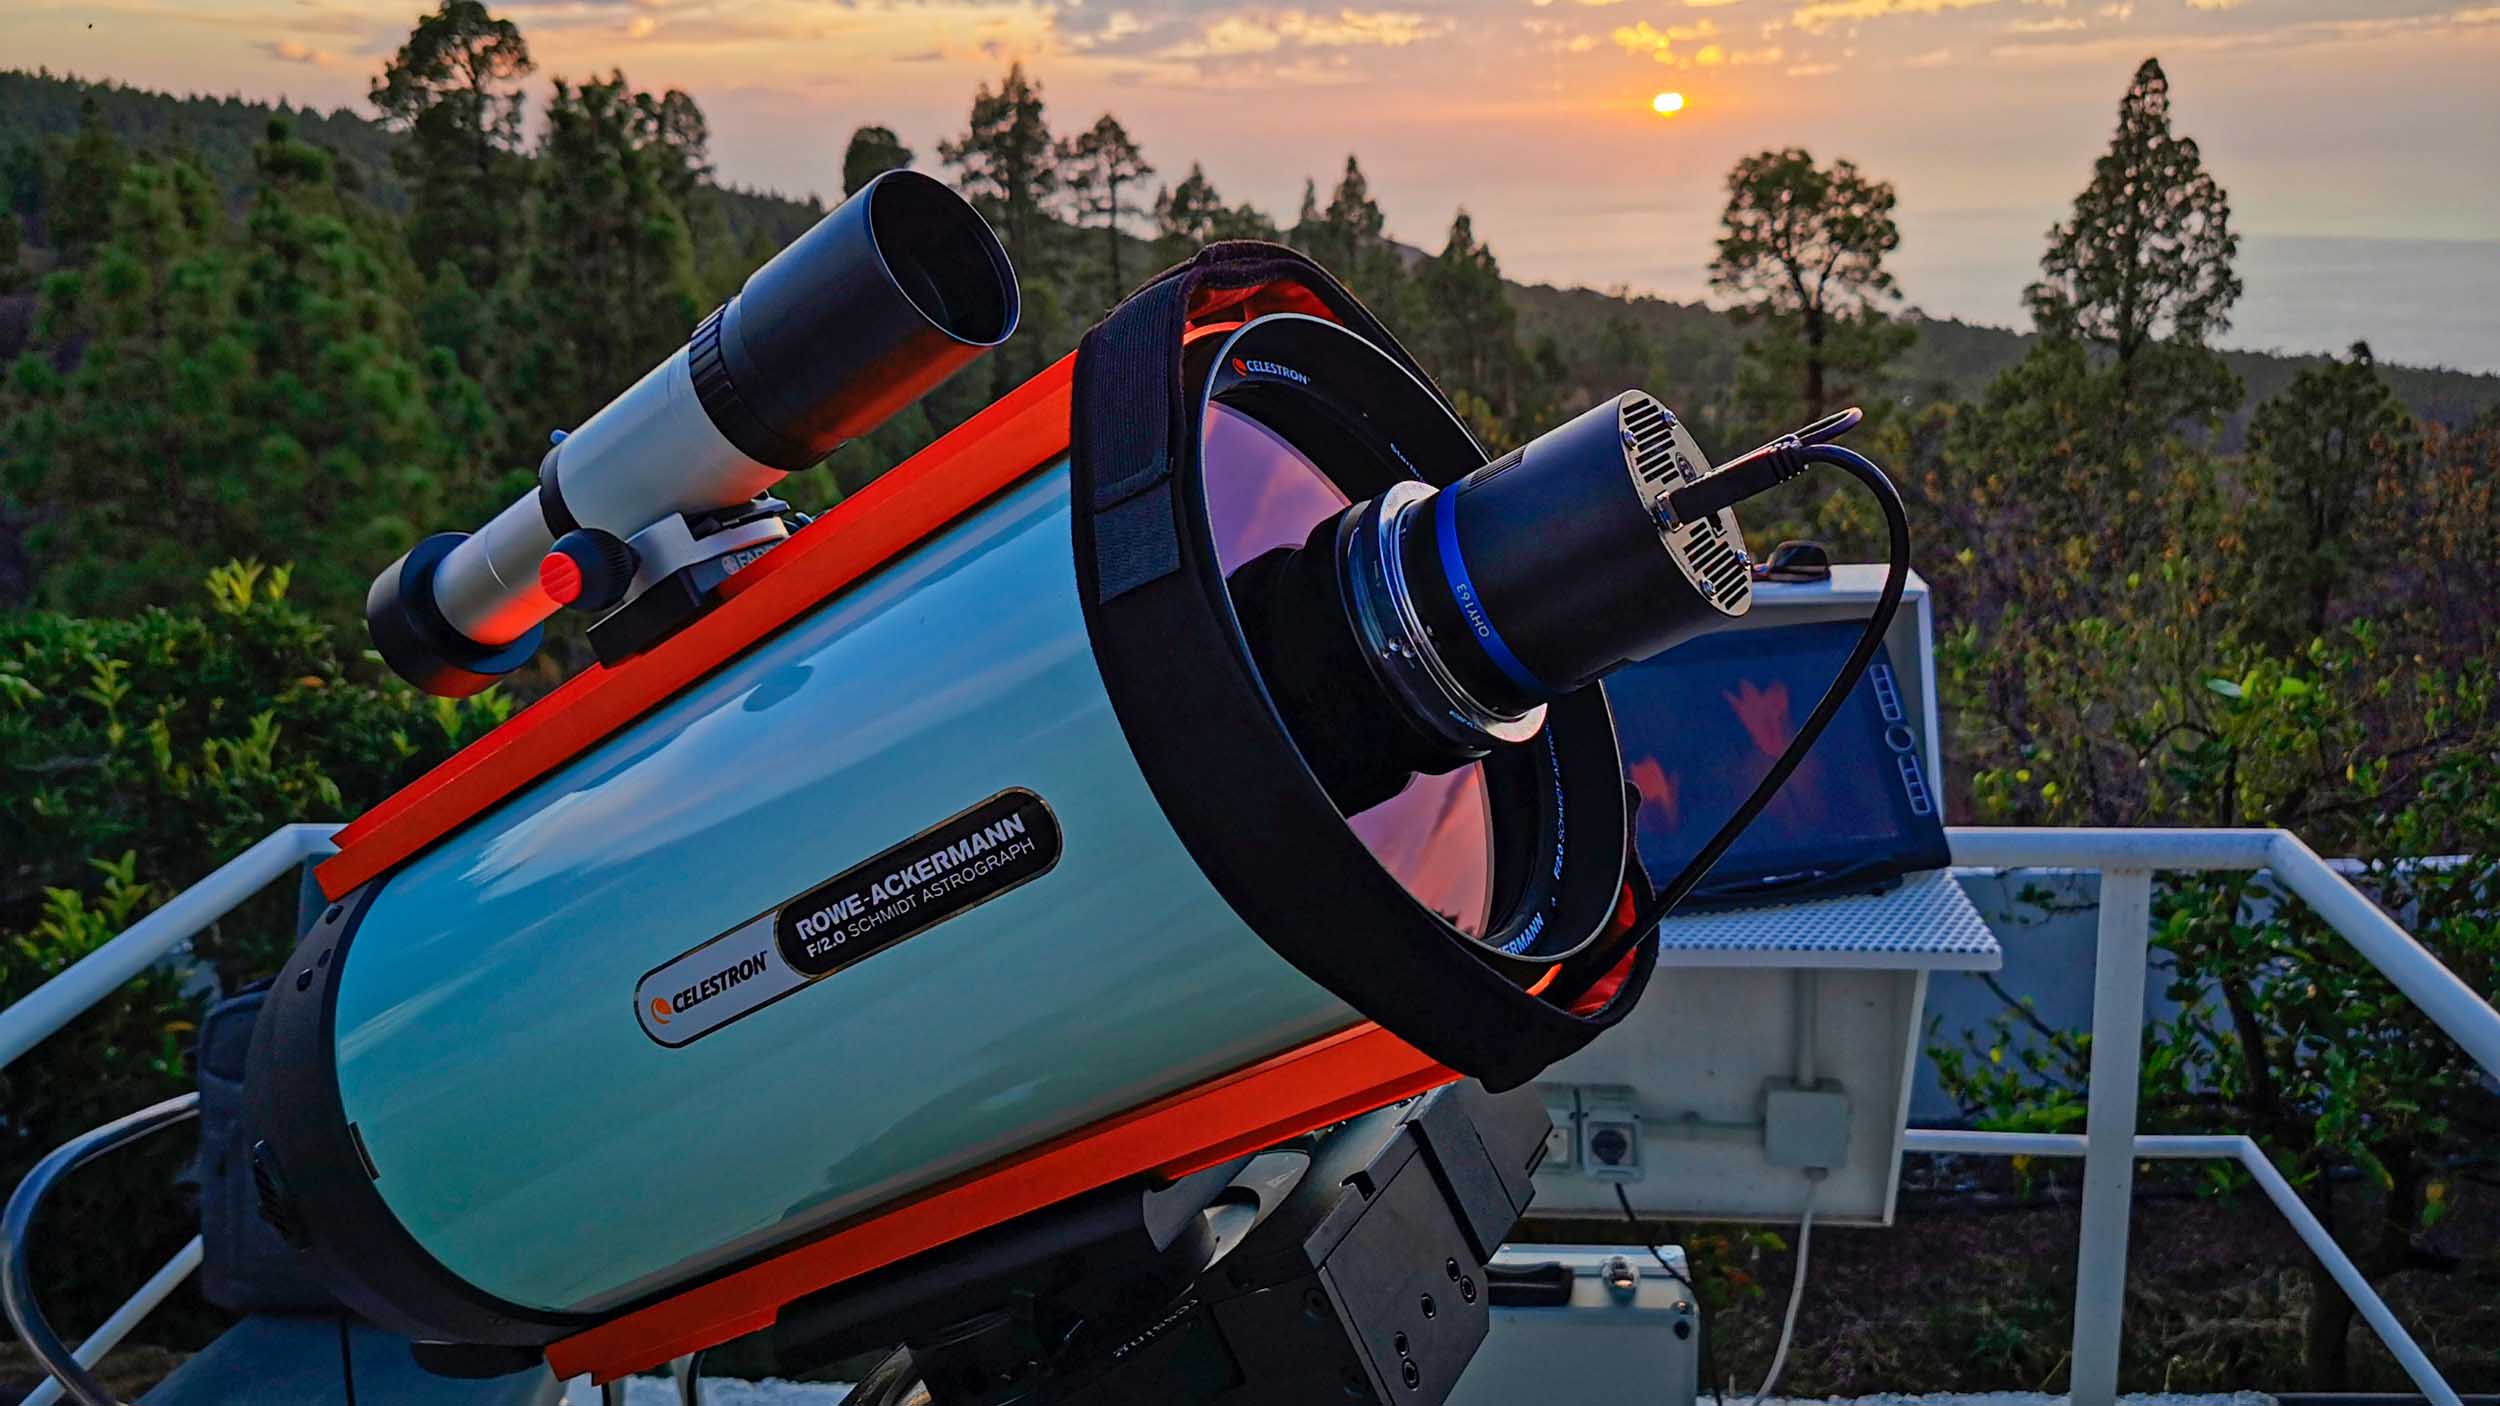
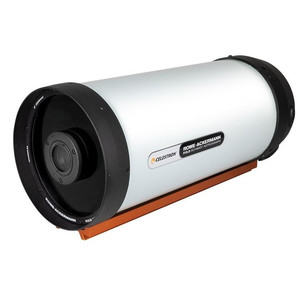
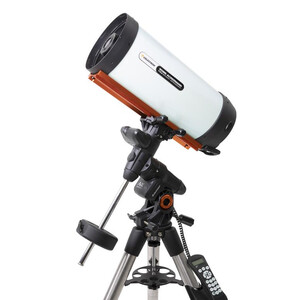
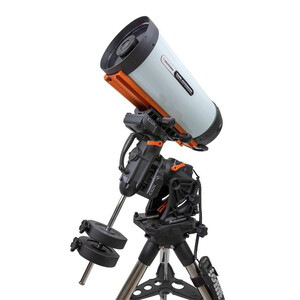
Celestron offers a completely new optical system for astrophotography with the RASA series of astrographs. With its very fast f/2 optics and the camera's convenient position at the primary optics’ focal point, it enables the photography of galaxies and nebulae with exceptionally short exposure times.
RASA telescopes are uncompromising. They are exclusively designed and optimised for photographic use; they are real astrographs!
Astrophotographer Christoph Kaltseis used the RASA 800 astrograph to create a deep sky image of the Andromeda Galaxy M31 in just 4.5(!) hours. Here is his report.
An M31 that fell from the sky
Every amateur astronomer will have almost certainly already seen the Andromeda galaxy, with his own eyes or in a photo. I was particularly excited to photograph our fascinating neighbouring galaxy with the fast Rowe-Ackermann Schmidt astrograph - the RASA 8″ - under a perfectly dark sky. This was one of the many reasons why I travelled to La Palma for a week in October 2019, to the Athos Centro Astronómico (www.athos.org).
The equipment
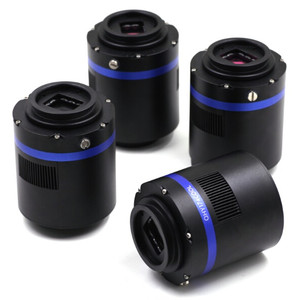
A QHY 163M camera suits the RASA 8″ perfectly for photographing M31 in terms of frame and pixel size. The Baader FCCT (filter changer & camera tilter) was a must-have for a monochrome camera. This filter changer, specially developed for the RASA 8″ short back focus, allows not only the quick replacement of the various filters, but also a sensitive and stable camera tilt adjustment. I used my trusty LRGB and UHC-S Baader filters, but supplemented these with the very first prototypes of the new, soon-to-be-released, Baader f/2 ULTRA-high-speed narrowband filters: H-alpha and O-III.
Imaging
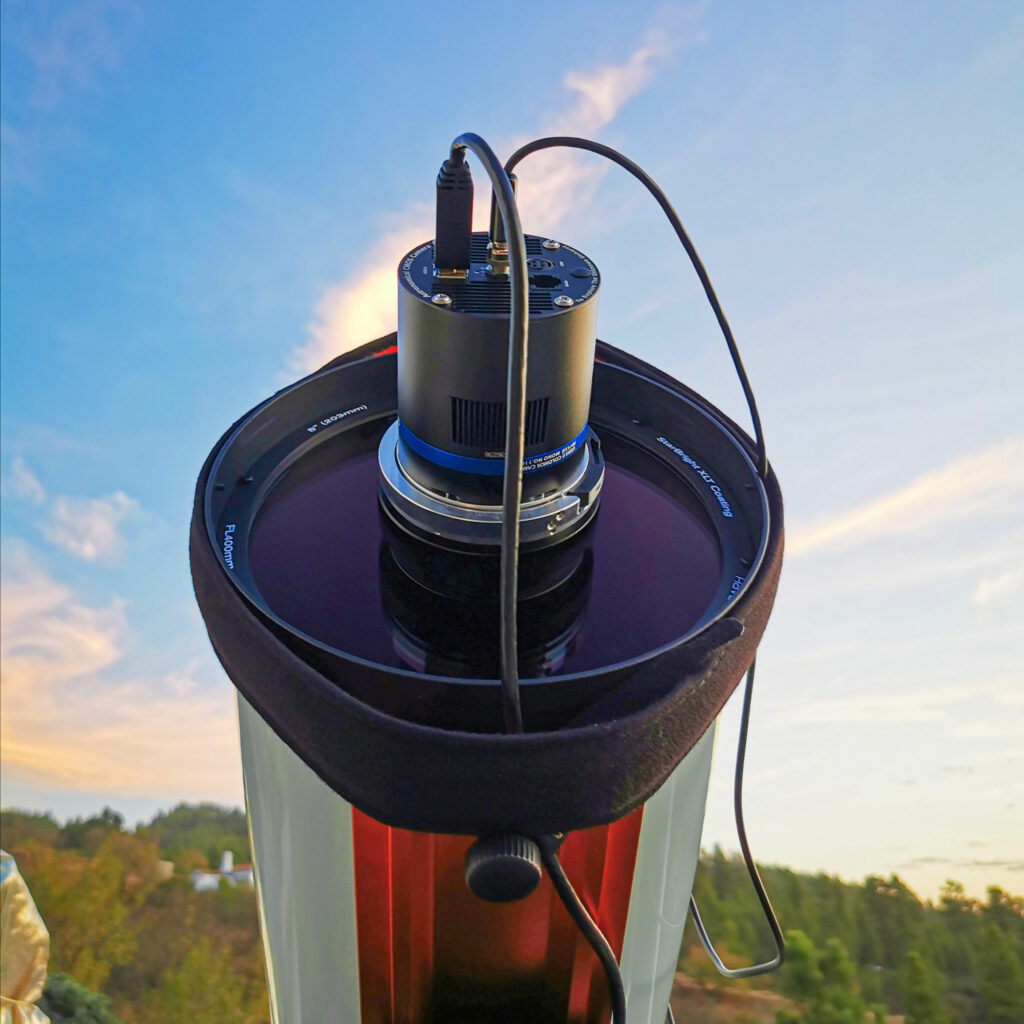
I safely and quickly arrived on La Palma with all my equipment, and still had plenty of time on the first day to set everything up and take my first raw images of M31. I paid particular attention during the setup to the location of the USB and power cables that were connected to the QHY camera, guiding both cables outwards in front of the optics as close to a 90° angle as possible. I then fixed the cables in place with the dew heater strip. This careful preparation meant that I was able to ensure that I got beautiful and fine spikes around the bright stars in my final images - features otherwise only achieved by using a mirror telescope with a good quality secondary mirror mount.
On the first clear night, I was all set to put my plan into action. I could very quickly adjust the system perfectly for sharp stars to the edges thanks to the FCCT. I re-focused each time I change the filter to ensure the maximum signal with perfect image quality for every image. My aim was always to get the best I could out of M31. The new ultra-high-speed filters were a very important tool to be able to replicate the galaxy’s depth of colour.
Despite the exceptionally dark night sky on La Palma, I chose a single exposure time of just 180 seconds each for UHC-S, R, G and B for the exposures in luminance due to the extremely fast focal ratio of f/2. For the H-alpha and O-III data, on the other hand, I selected exposure times of 300 seconds each.
However, nature was not entirely in agreement with my plans. The following days and nights were affected by clouds and rain, which did the island a great deal of good after a hot, dry summer, but left me waiting for many long hours. This weather is quite normal for this time of year, and that was already clear to me when I was planning the trip for the end of October. But I had hoped to be granted a few clear nights at least.
Actually it was only after my week-long stay in La Palma came to an end that the island enjoyed a really clear night. The seeing was better than I had expected, and transparency was only slightly marred by a very light Calima.
However, over the course of one clear evening, the fast RASA 8″ made it possible for me to use all the remaining filters and to improve on the images from the first night. For clarification: I would have needed 36 hours of exposure time with a focal ratio of, say, f/5.6 – and every night on the island would have needed to be equally good…
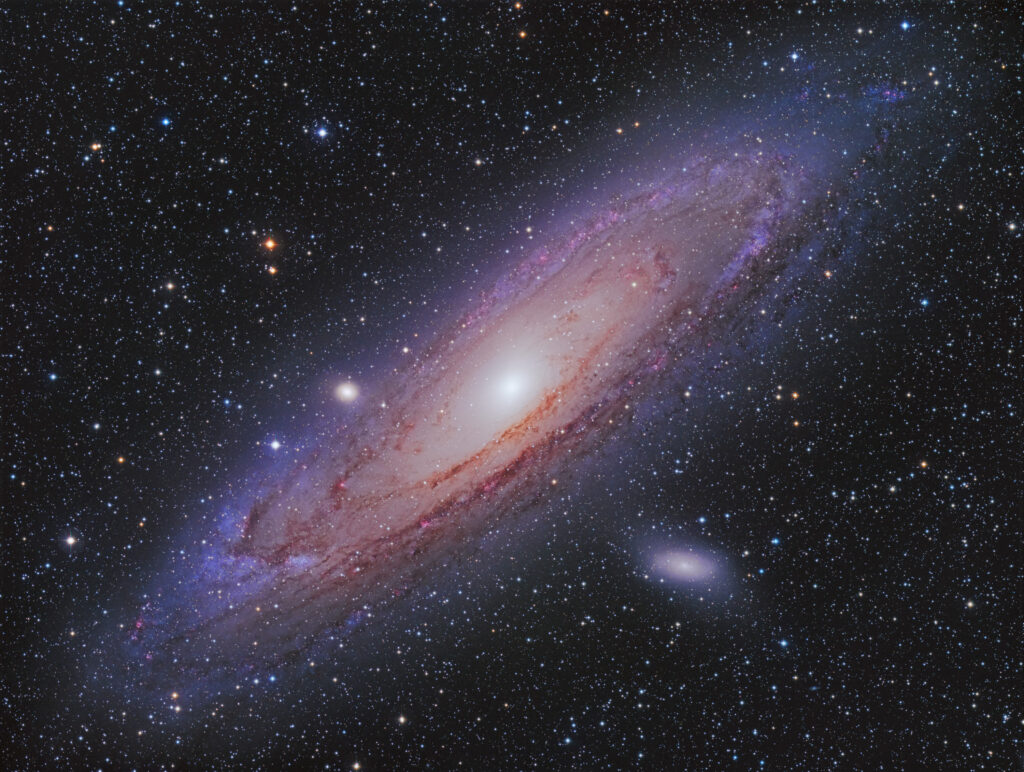
Image processing
I processed all my data with dark and bias frames. I did not use flats because preliminary tests had already shown me that the selected setup could anyway achieve an exceptionally even illumination.
Each individual image was analysed using PixInsight and evaluated for FWHM, roundness, and signal. I registered all subframes on the best individual image. So I was able to collect a total of 275 minutes exposure time at f/2.0, which would have been the equivalent to 550 minutes at f/2.8, 1,100 minutes at f/4, and full 2,200 minutes or 36.6 hours at f/5.6!
After integrating the data for each filter into a composite image, I could preview the averaged images in advance. The 3.5 nanometres H-alpha data showed a ring and individual HII regions in the M31 galaxy, clearly and sharply resolved, and that with a focal length of just 400mm! The O-III data, on the other hand, did not reveal any distinctive features.
During image processing, I first merged the averaged luminance image with the averaged UHC-S image. These two images formed the basis for tremendous depth. The RGB data was processed into a total colour image and colour calibrated (with GAIA + APASS).
Then, in Adobe Photoshop, I combined the luminance and UHC-S data with the RGB data without losing any depth or colour data. In this picture I blended the H-alpha signal into the red channel in such a way that it matched the R. I also did the same with the green channel and the O-III signal.
Balancing depth and the reproduction of narrowband data was very important and manageable with a little prior knowledge. Now I had a deep image of M31, which combined UHC-S + luminance + R + H-alpha + G + O-III + B.
I had almost completed my M31 image in Photoshop, and now it was time for the finishing touches. So that I could make the very bright centre look natural, I blended the image with the H-alpha data. That needed an extremely delicate touch! However, I am more than satisfied with the result, as a whole host of details could be extracted using a focal length of just 400mm.
From my point of view, the effort and the strict selection of the data paid off. 275 minutes of exposure time with 400mm of focal length, using a very manageable optical instrument with absolutely stable focus– who would have thought that?!
About the author
Christoph Kaltseis is not only an Adobe Photoshop specialist and a Nikon professional representing the Nikon brand, but also an experienced astrophotographer. He is one of the founders of the Central European DeepSky Imaging Conference (www.CEDIC.at), which has been held regularly every two years in Linz since 2009.
More information about the RASA optics can be found here at Astroshop.
Text: Baader Planetarium GmbH
The components used