

How to find the right eyepieces.
Visually, you won’t get far without eyepieces. But which ones are right for my telescope - and how many do I actually need?
Did you know that the French astronomer Adrien Auzout is said to have stated that he wanted to build a 300-metre-long telescope, because he hoped that the magnification would be large enough to see animals on the Moon? In the 17th century, it was common to think about telescopes with high magnification.
This shows us that there has always been a desire to experience the objects in space up close.
But every day we meet them, hear from them and commiserate with them: people who have chosen the wrong eyepieces. However, with the following strategy, you'll make the correct decisions right away.
This article is for you, if you have already wondered how to find the right eyepieces as quickly and easily as possible, without having to wade through many books or lose yourself in a forest of theory and formulae.
Because when you pay attention to the following points, you’ll find the right eyepieces for every telescope.
This is how you calculate magnification:
Focal length of the telescope/focal length of the eyepiece
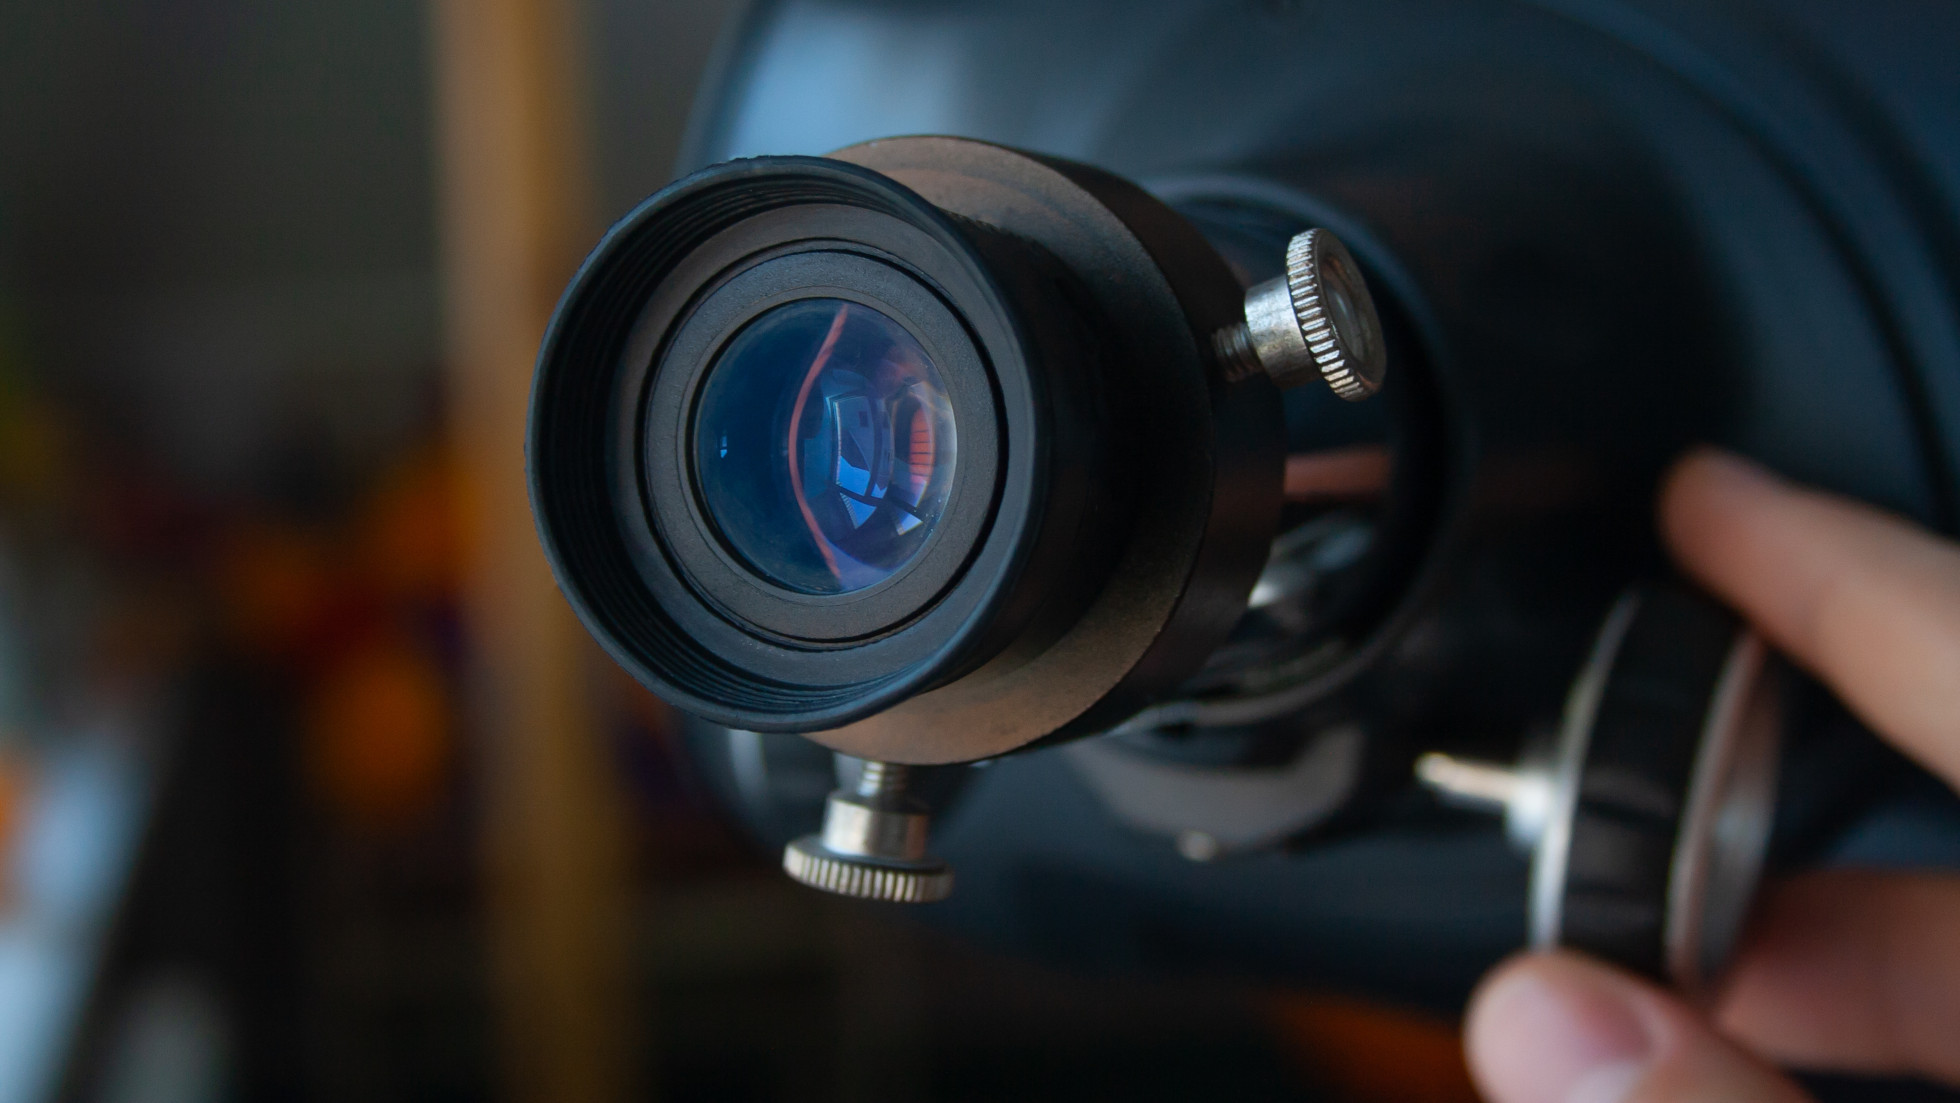
Eyepieces are like lenses; they enlarge the image produced by the telescope and offer us a visual experience.
First basic principle: The large ones, the small ones, and what they are used for
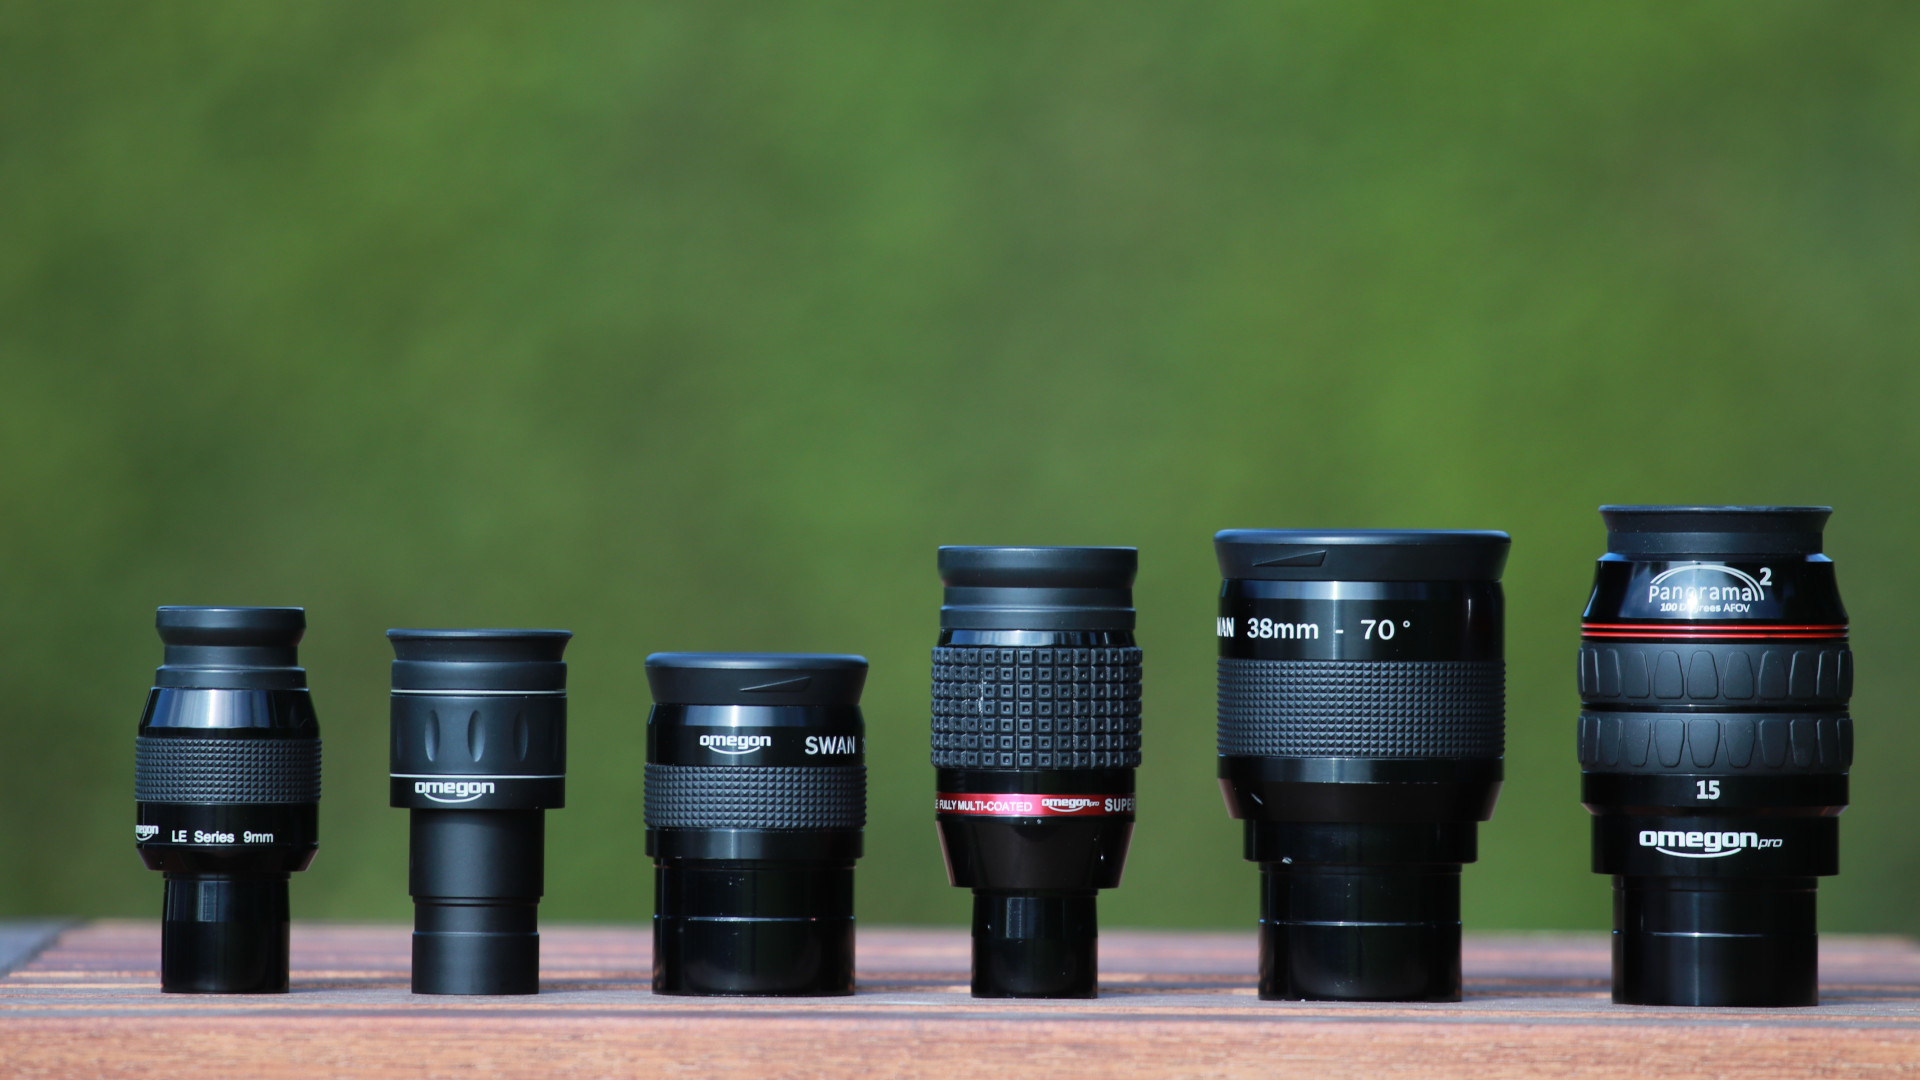
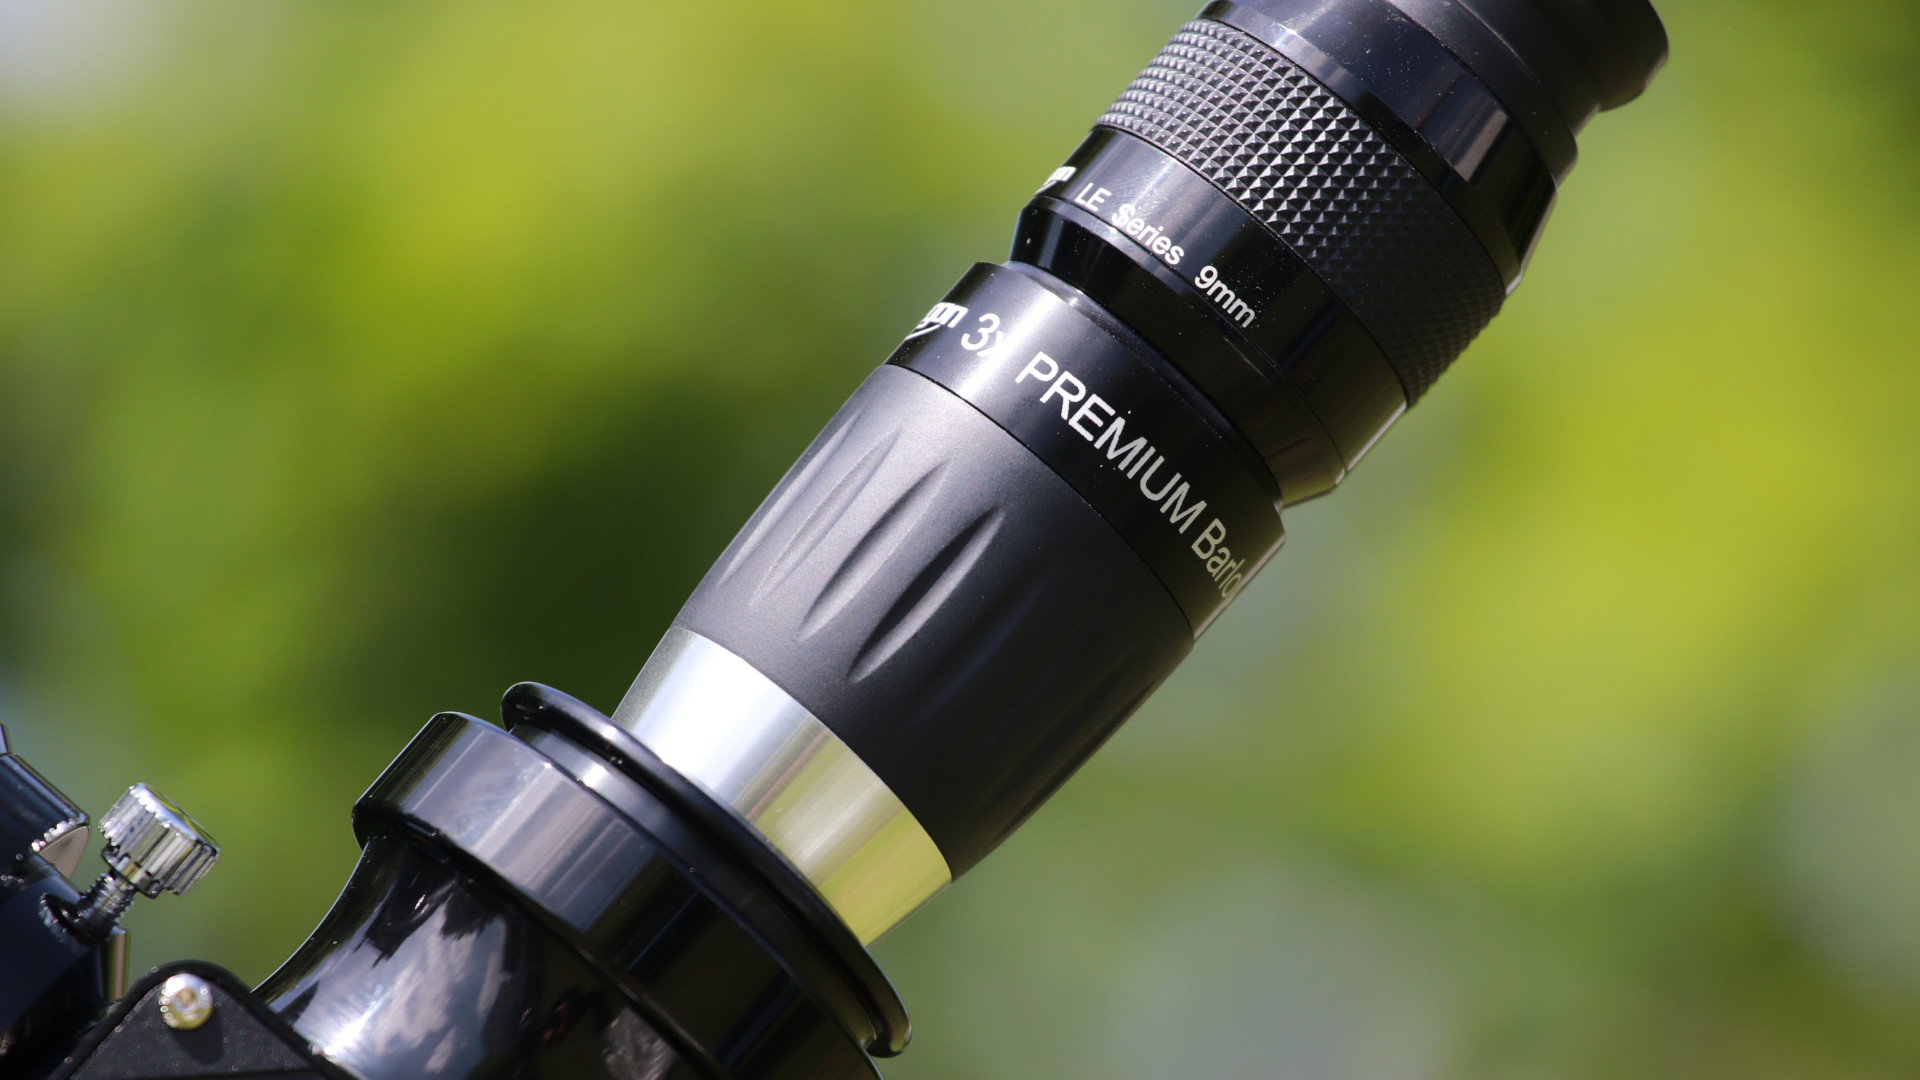
There are just a few things to pay attention to with eyepiece sizes. Eyepieces come in just two sizes, which are standardised for astronomical telescopes. This means that all you have to do is insert the eyepiece in your focuser and you're done!
But is it really that simple?
The wider ones with the wow effect
Eyepiece diameters are usually stated in inches, not in millimetres. The large 2" eyepieces have a 50.8-mm diameter and offer a wonderful overview at small magnifications. We select one of these when we are searching for objects, observing large objects, or want to enjoy a wide field of view. If you want to use such an eyepiece, you need to be aware that normally only telescopes with a diameter of 150-200 mm or more have a focuser that can take a 2" eyepiece.
The slim ones
The smaller 1.25" eyepieces with a diameter of 31.7 mm are the standard, and simple versions are usually included in the accessories that come with the telescope. 1.25" eyepieces are used for medium and high magnifications and are useful when observing lunar craters, planets or globular clusters.
Each object requires different magnifications, but which magnification is best for which object?
Second basic principle: three magnifications that will allow you to view everything
When getting started, you should aim for a few quality eyepieces, around 3 to 4 is good in the beginning. And you should choose one with low magnification, one with medium and one slightly higher magnification. Generally speaking, with these, you can cover the entire spectrum of astronomical objects. It’s far better to go for three very good eyepieces which will give you sharp images and good contrast, instead of seven mediocre ones.
Third basic principle: why the exit pupil is so important
The exit pupil is the bundle of light that enters the eye from the eyepiece. You usually see it as a small, bright disc if you look into the eyepiece from a distance of thirty centimetres. The exit pupil, EP, becomes an important factor for us when we want to calculate which eyepieces we need for which object.
Here's how you calculate it: EP = aperture of the telescope/magnification
The larger the EP, the smaller the magnification.
And the reverse is also true: the smaller the EP the higher the magnification.
We'll need the EP again later, so keep it in the back of your mind.
Fourth basic principle: minimum, optimal and maximum magnification
You don't need any more than these three values. Why? Because with these three you cover a large range of magnifications and can view everything. With more eyepieces, you are only refining these ranges.
The minimum
A low magnification is more important than a high one. But there is a lower limit below which observation is not meaningful. This is the minimum magnification. For this, choose an eyepiece with as long a focal length as possible. If you have a 2" focuser, use a 2" eyepiece, which usually offers a large field of view. But you have a smaller focuser? Then go for a 1.25" eyepiece.
This is how you calculate the minimum magnification: Telescope aperture in mm/7
Let's take a look at an example. If you have a telescope with an aperture of 200mm, the minimum magnification is 28 times. Combined with the eyepiece, this produces an exit pupil (EP) of 7mm.
That's the diameter of the light that comes out of the eyepiece and into our eye. Important: seven millimetres is exactly the maximum aperture of the human eye’s pupil. With a larger EP, our pupil would act as a baffle and the extra light would be lost.
Tip 1:
You do not have to choose an eyepiece that delivers exactly the minimum magnification for your telescope. It is sufficient to use this as a guide and to choose an eyepiece with a low magnification.
Tip 2:
Always use this eyepiece to locate an object, because a low magnification offers you a large field of view. With a wide-angle eyepiece, you can further expand your field of view. Low magnifications are most suitable for galaxies, open star clusters and hydrogen nebulae.
The optimum magnification
At medium to higher magnifications where the telescope’s theoretical resolution is reached and fully utilized, we talk of the optimum magnification or maximum useful magnification. We reach this when a 0.7-mm to 0.8-mm diameter light bundle passes through the eyepiece. By definition, a star is then a minimally small disc.
If we increase the magnification, we don't get any more details, the object simply grows in size.
Optimum magnification: Aperture/0.8
Tip:
A telescope with a 200 mm diameter has a useful magnification of 285 times. You can use this as a guide. It is well suited to planets or planetary nebulae.
The maximum magnification
Opinions often differ here. How high can or should magnification be? Let's go back to the exit pupil: if it is 0.5 mm, we reach the magnification limit of a telescope.
The rule of thumb for this is: Lens aperture x 2
Tip:
A 200-mm telescope would reach the maximum magnification of 400 times. This rarely works in practice, however. The image is darker than at low magnification, so this is suitable only for bright objects. And the seeing must be perfect. Unless you have these perfect conditions, the eyepiece will usually have to stay in its box.
Now we are ready to find the right eyepieces.
Why focal length and aperture are important
To choose the right eyepiece, we need something else: the telescope’s aperture and focal length. These two values give us the aperture ratio. For example: a 200-mm telescope with a focal length of 1,000 mm has an aperture ratio of f/5.
The calculation of the various magnifications - and in this case also the focal lengths - is brilliantly simple:
For the minimum focal length, you calculate 7 x f/5. For a 200-mm f/5 telescope, this would mean an eyepiece with a 35 mm focal length. In practice, almost no one has a 7-mm pupil aperture, so it’s better to deduct 1-2 mm to get your focal length. Then we end up at 33 mm and an EP of 6.6 mm.
You calculate the optimum focal length by... Hang on a minute, you don’t have to calculate this at all, because it corresponds exactly to the aperture ratio. So, at f/5, it's 5 mm.
You can find the maximum magnification with this simple formula: aperture ratio/2. With the 200/1,000-mm telescope, we arrive at an eyepiece focal length of 2.5 mm.
Which eyepieces for which object?
It is important to know what you can observe with a particular focal length. Small magnifications with an EP of 7-6 mm are suitable for large nebulae, or even an EP of 4-3.5 mm if the nebula is also very bright. Open star clusters and galaxies are best observed between 3.5 mm and 1.5 mm. In the case of star clusters, it can be a higher magnification with an EP between 1.5 and 1 mm. You can set the magnification really high for double stars, between 0.7 mm and 0.5 mm. An overview of the simple formulae for object and magnification is shown in the table.
Which eyepieces are best for my telescope?
Do not buy seven inferior quality eyepieces. It’s much better to buy three to four good ones. Unfortunately, it really is the case that your telescope can only show its full capabilities with good eyepieces.
Good eyepieces create a win-win situation for you and your telescope.
Look for a sufficiently large eye relief, good edge sharpness, preferably a large field of view and high light transmission.
Start with a small magnification eyepiece at around the minimum range, a medium magnification one at an EP of about 1.5 mm, and one with a higher magnification at about 0.8 mm.
Together with the 200-mm telescope, this gives 28-times, 133-times and 250-times magnification. You won’t be able to see animals on the moon, but if you don't want to be as angry as a bull, choose good to excellent eyepieces and avoid using the eyepieces that are supplied with the telescope.
To do this, you need to invest at least fifty euros or more per eyepiece. But believe me: every night spent star-gazing will be an amazing experience that you will still be raving about the next day.
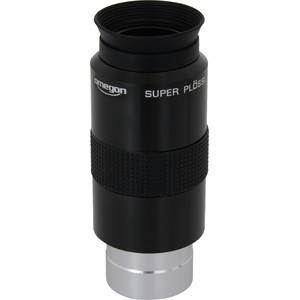
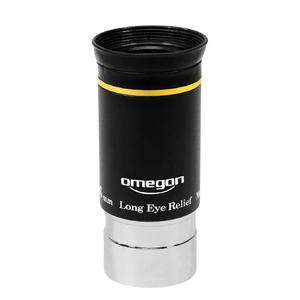
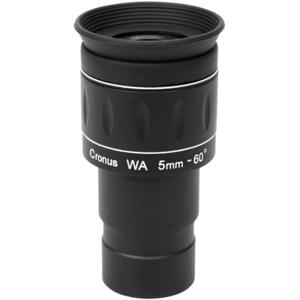
Recommended eyepieces

You may also find these articles interesting:
Author: Marcus Schenk
Marcus is a stargazer, content creator and book author. He has been helping people to find the right telescope since 2006, nowadays through his writing and his videos. His book "Mein Weg zu den Sternen für dummies Junior" advises young people, and those who are still young at heart, what they can discover in the sky.
As a coffee junkie, he would love to have his high-end espresso machine by his side under the starry sky.