

How to take photographs of the Moon with your smartphone
Lunar photography: this method, using a smartphone, is so simple that anyone can take beautiful photographs of the Moon.
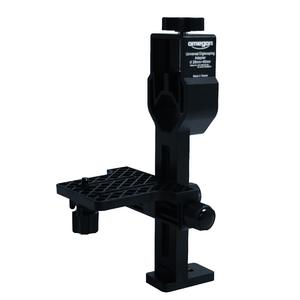
Lunar photography with a smartphone: the Omega Easypic smartphone adapter
In the past, taking photographs of the Moon was time-consuming. You had to take the photographs, develop the film, and hope for crisp images. And then you were disappointed when the Moon didn't seem as sharp as you had hoped. Digital cameras and smartphone cameras have made it much easier. The cameras built into smartphones nowadays are of exceptional quality. They make a really good tool for taking a photograph of the Moon, as long as we can connect our phone to the telescope. Let's take a look at how anyone can take a photograph of the Moon using a telescope.
Wobbly images through the eyepiece?
If we hold a smartphone to a telescope eyepiece to take a snapshot, it usually goes wrong. It’s difficult to position the small camera lens so precisely over the centre of the eyepiece in order to avoid shadowing. And as soon as we turn our attention to taking the shot, we have lost our centre position. It's a pity, because smartphone cameras are so good that even movies have been made using them.
In 2018, the director Steven Soderbergh (Oceans Eleven, Solaris) shot the movie Unsane entirely with an iPhone. But astronomers can also take advantage of the smartphone.
What you need for great shots of the Moon
The prerequisite for taking a photograph the Moon that is more beautiful and professional than anything achievable with a camera 10 years ago is a good smartphone adapter. The fact that using a smartphone for photography is taken seriously these days is proved by the number of increasingly good smartphone adapters on the market. For example: the Omega Easypic universal smartphone adapter. In this article, I would like to explain how you can use it to take your first beautiful photographs of the Moon. Apart from your telescope and a few more eyepieces, you don't need anything else. This makes getting started with astrophotography really simple.
The difference to other adapters
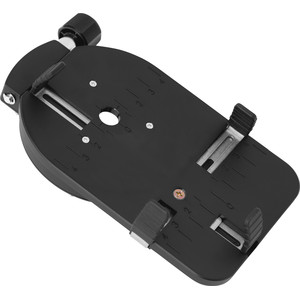
The Easypic universal smartphone adapter has a different approach to its competitors. Most adapters have a bracket that closes around a 1.25 inch eyepiece. The phone is then placed separately in a clamp and must be positioned correctly over the eyepiece. This is a good system in itself, but requires a certain amount of finesse on the part of the photographer. And most importantly, nothing should slip out of place.
But you don't always have a lot of patience at night. It's also pitch black! Is there an easier way? Yes, for sure! With self-centring.
How to prepare the adapter
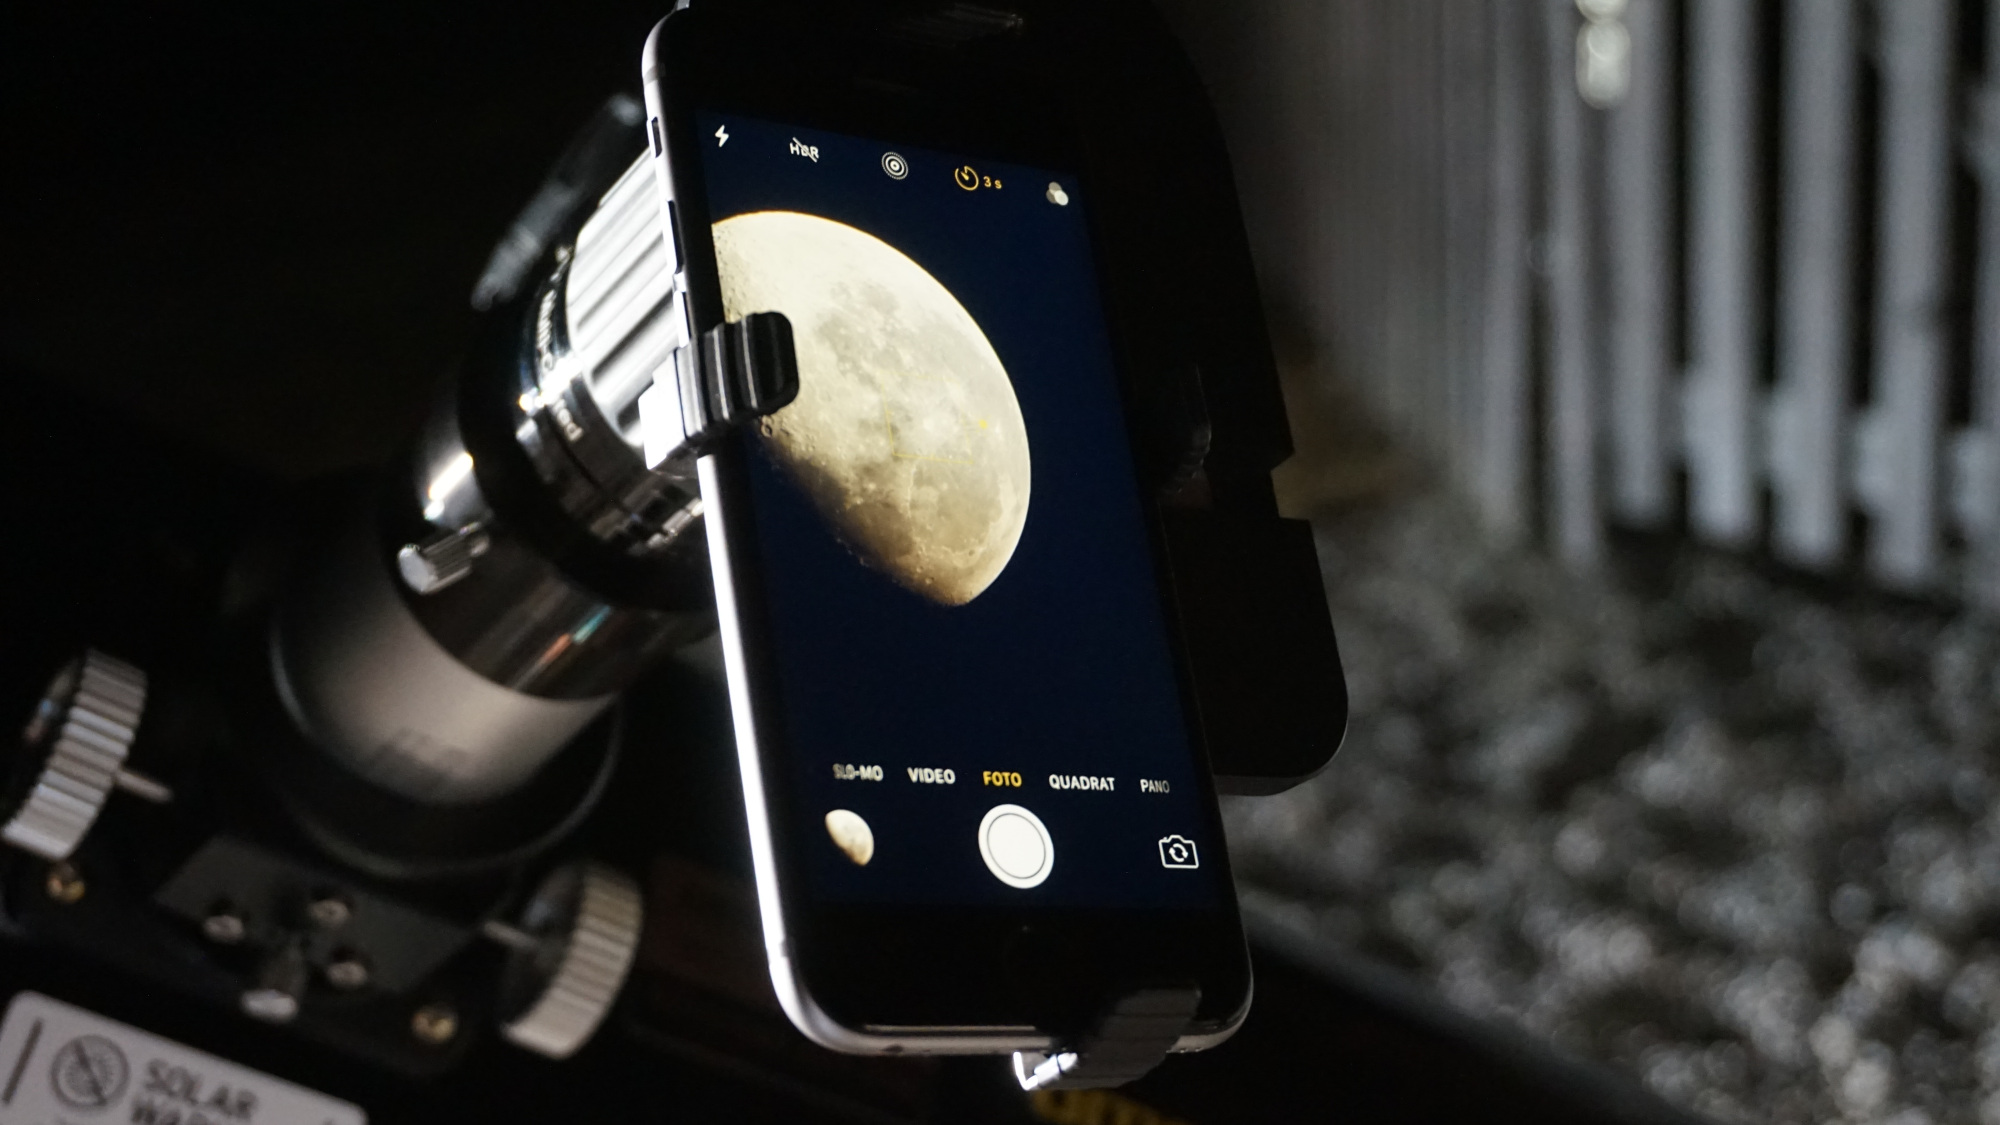
The Moon is in the sky and you've point your telescope at our natural satellite. It’s already looking great in the eyepiece. Now your smartphone and the Easypic adapter come into play. At the back of the adapter, loosen the small screw for the retaining brackets. Pull the retaining brackets all the way out. Then place your phone with the camera lens directly over the central hole. Slide the retaining brackets onto your phone and re-tighten the screw. Check that the brackets are secure and your phone cannot come loose.
How to connect the adapter to the telescope eyepiece
Now comes the simple part! Hold the adapter containing your smartphone directly over your eyepiece. Then turn the large side screw. This moves three clamps which close simultaneously onto your eyepiece. This means that the adapter is centred and fixed to your eyepiece. The camera lens of your smartphone is positioned exactly above the centre of the telescope eyepiece.
Self-centring means more focus on your object, and less effort spent with technical details.
That's it!
The shot: the Moon captured with a smartphone
If your phone camera app is open, you should be able to see the Moon on your display now. Focus once more and everything is ready for the picture.
These steps are necessary:
• Switch off flash
• Activate time release
• Adjust the exposure time if necessary and possible
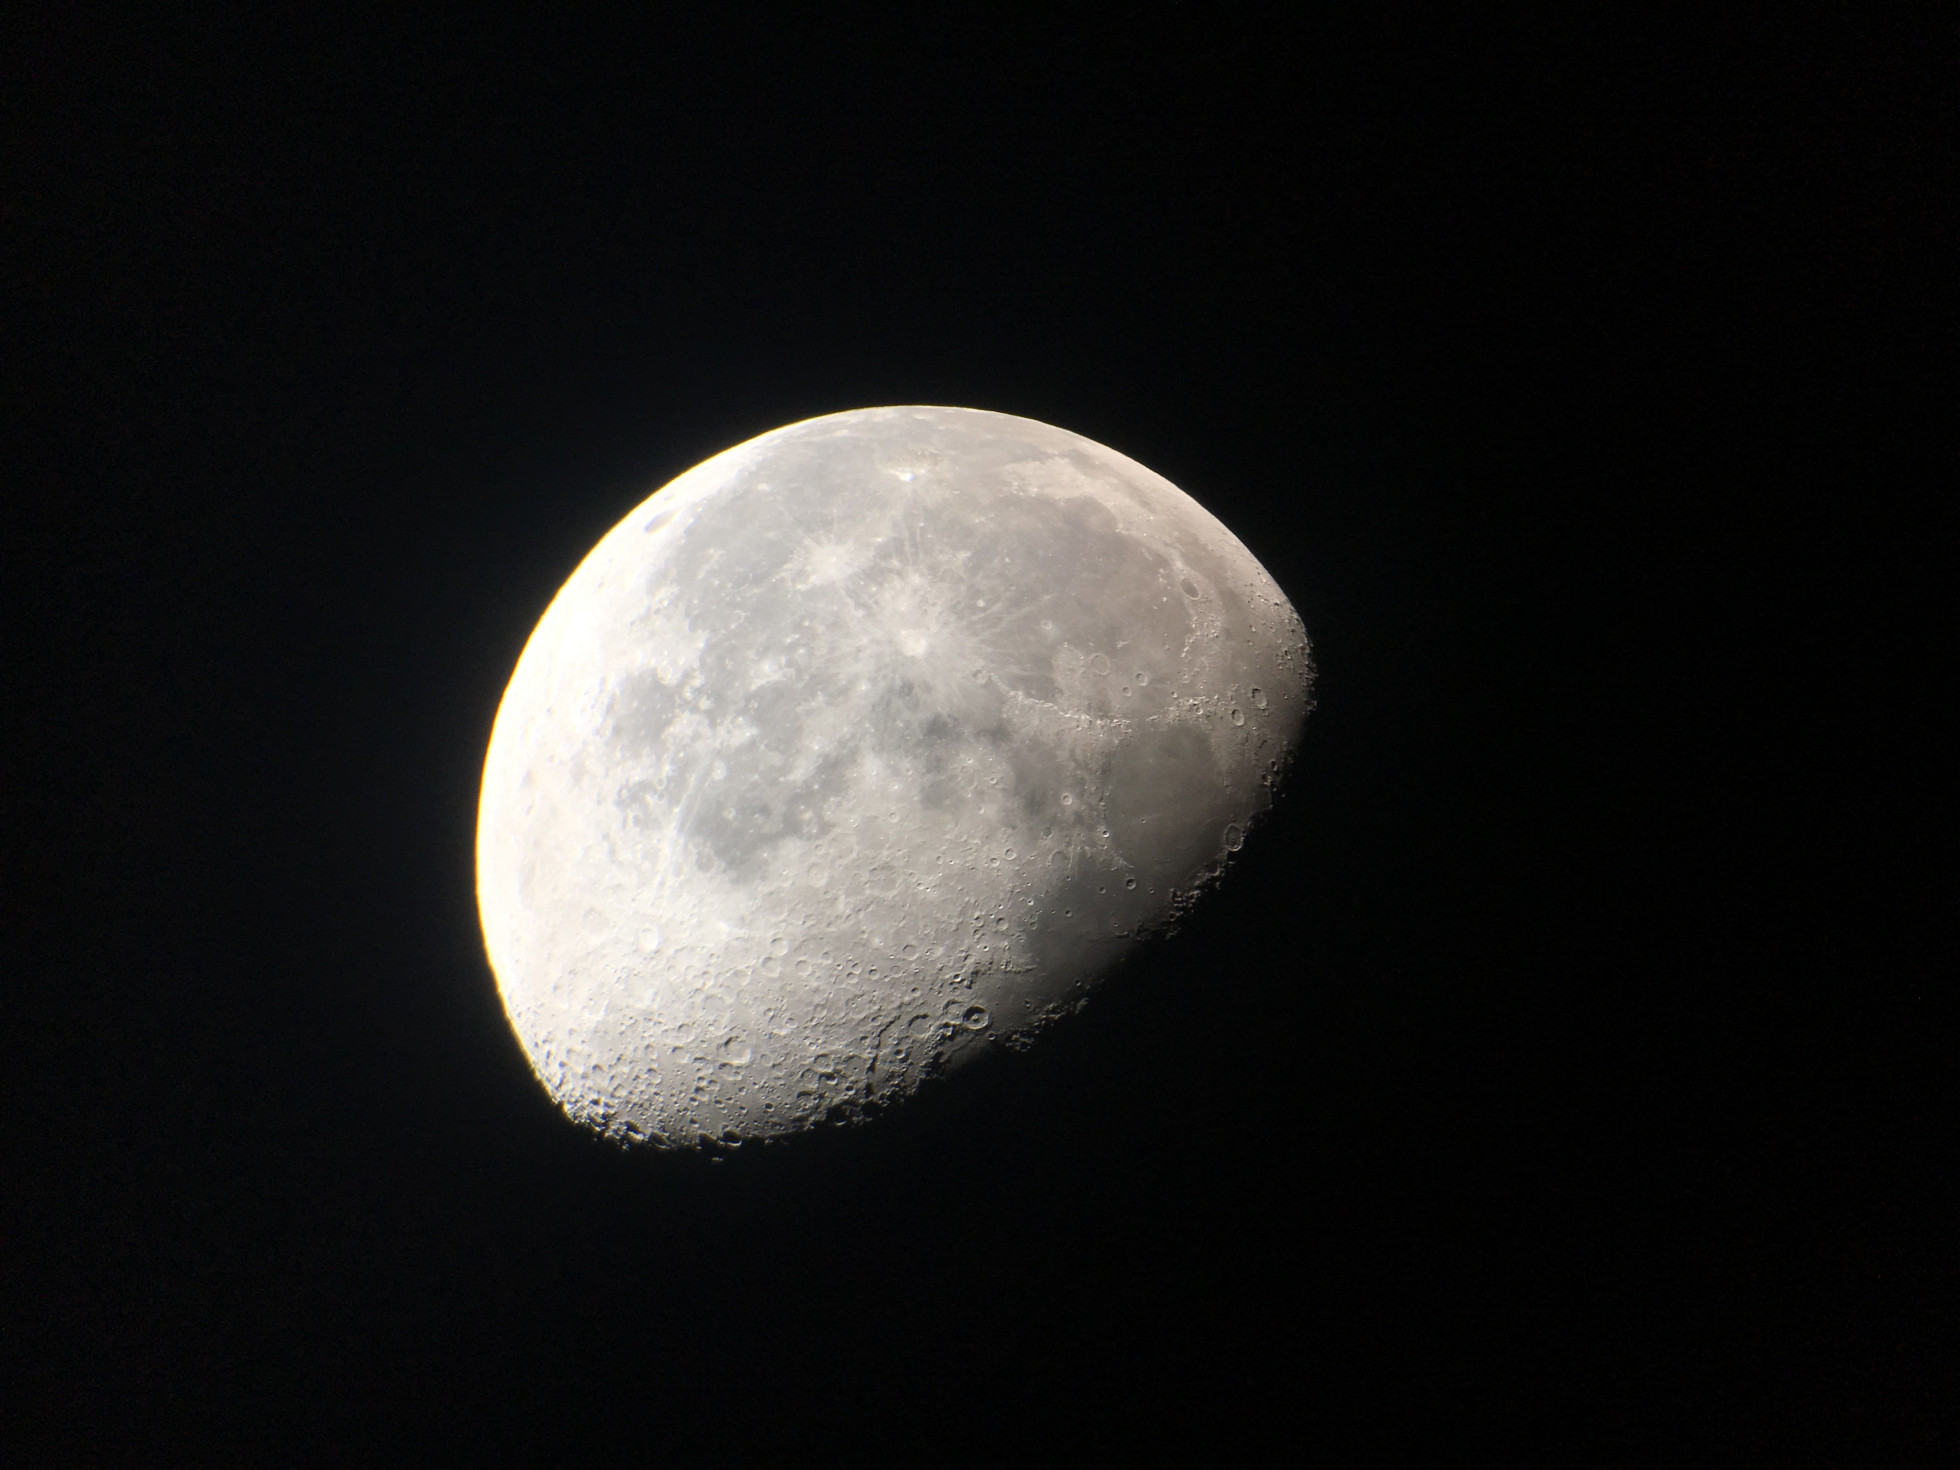
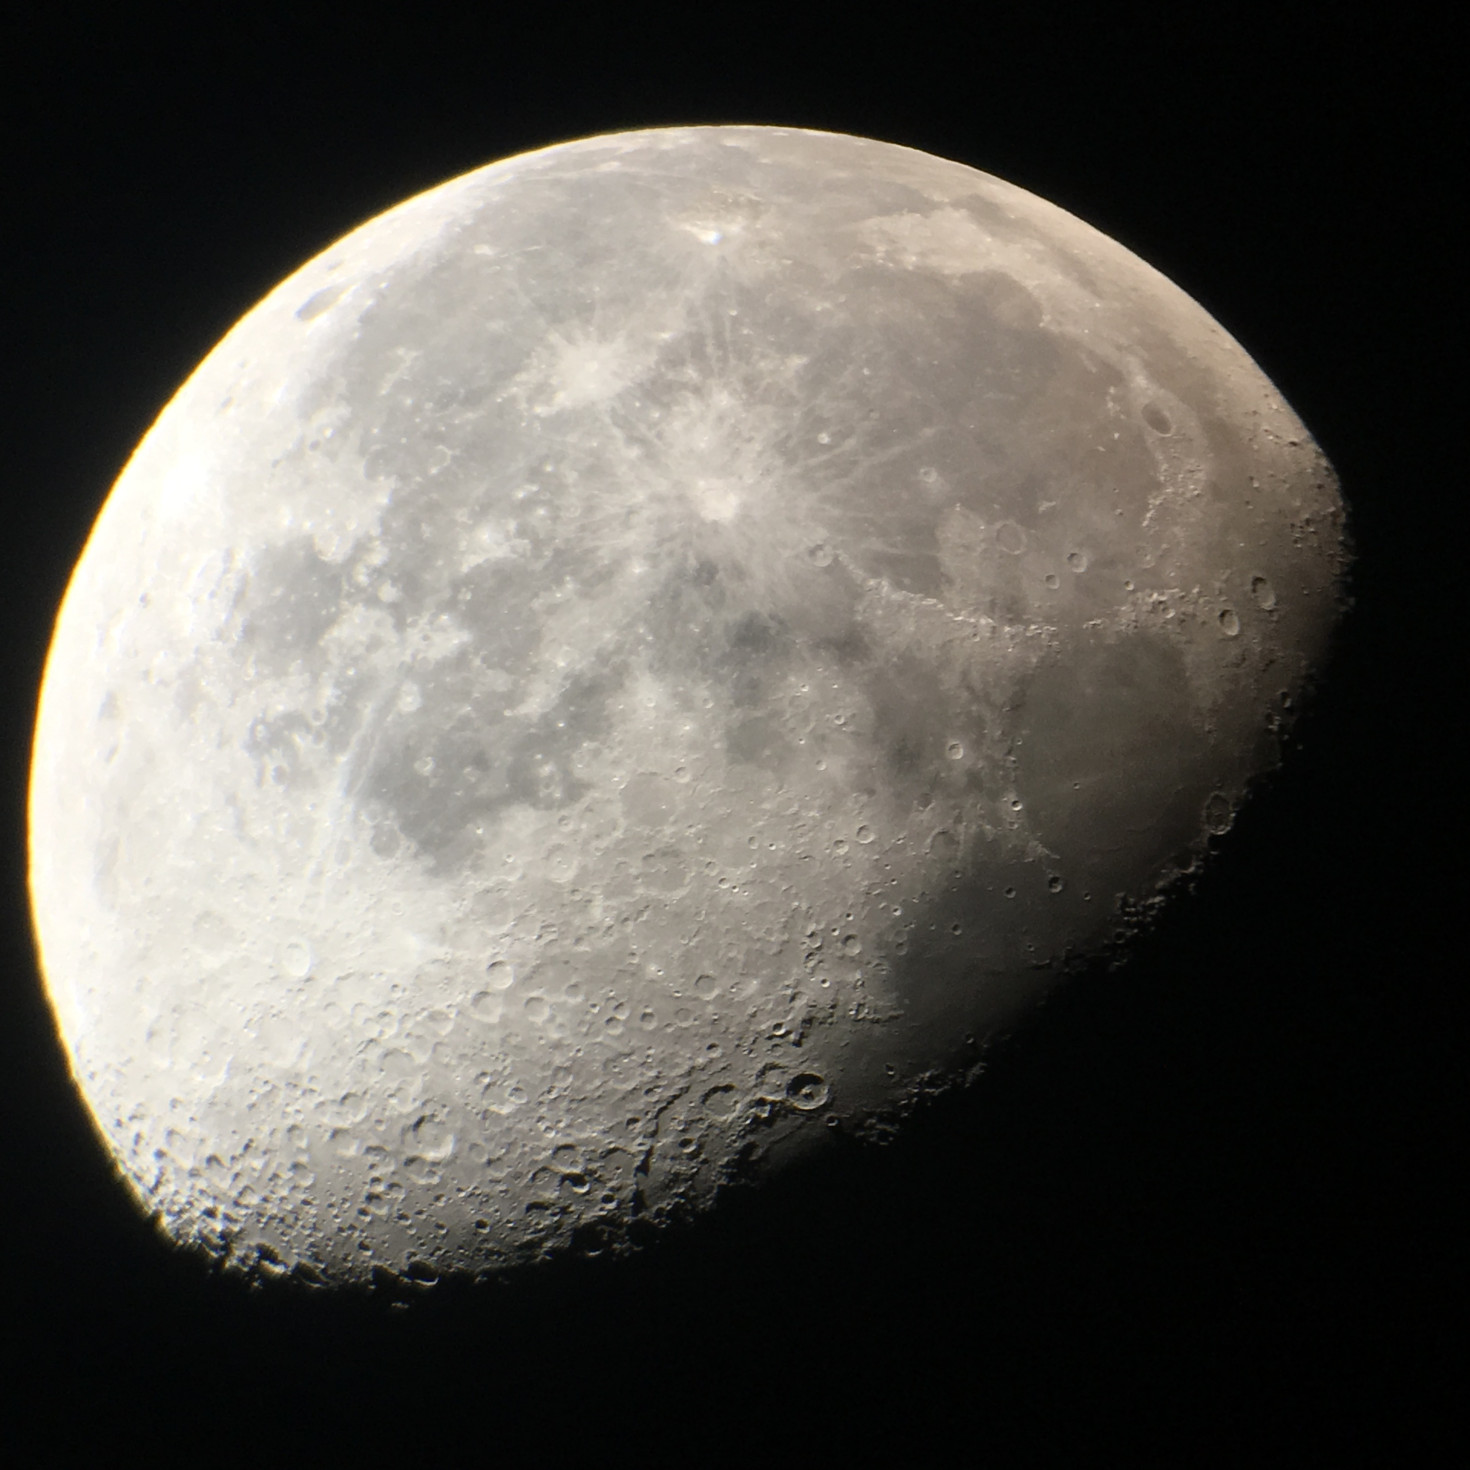
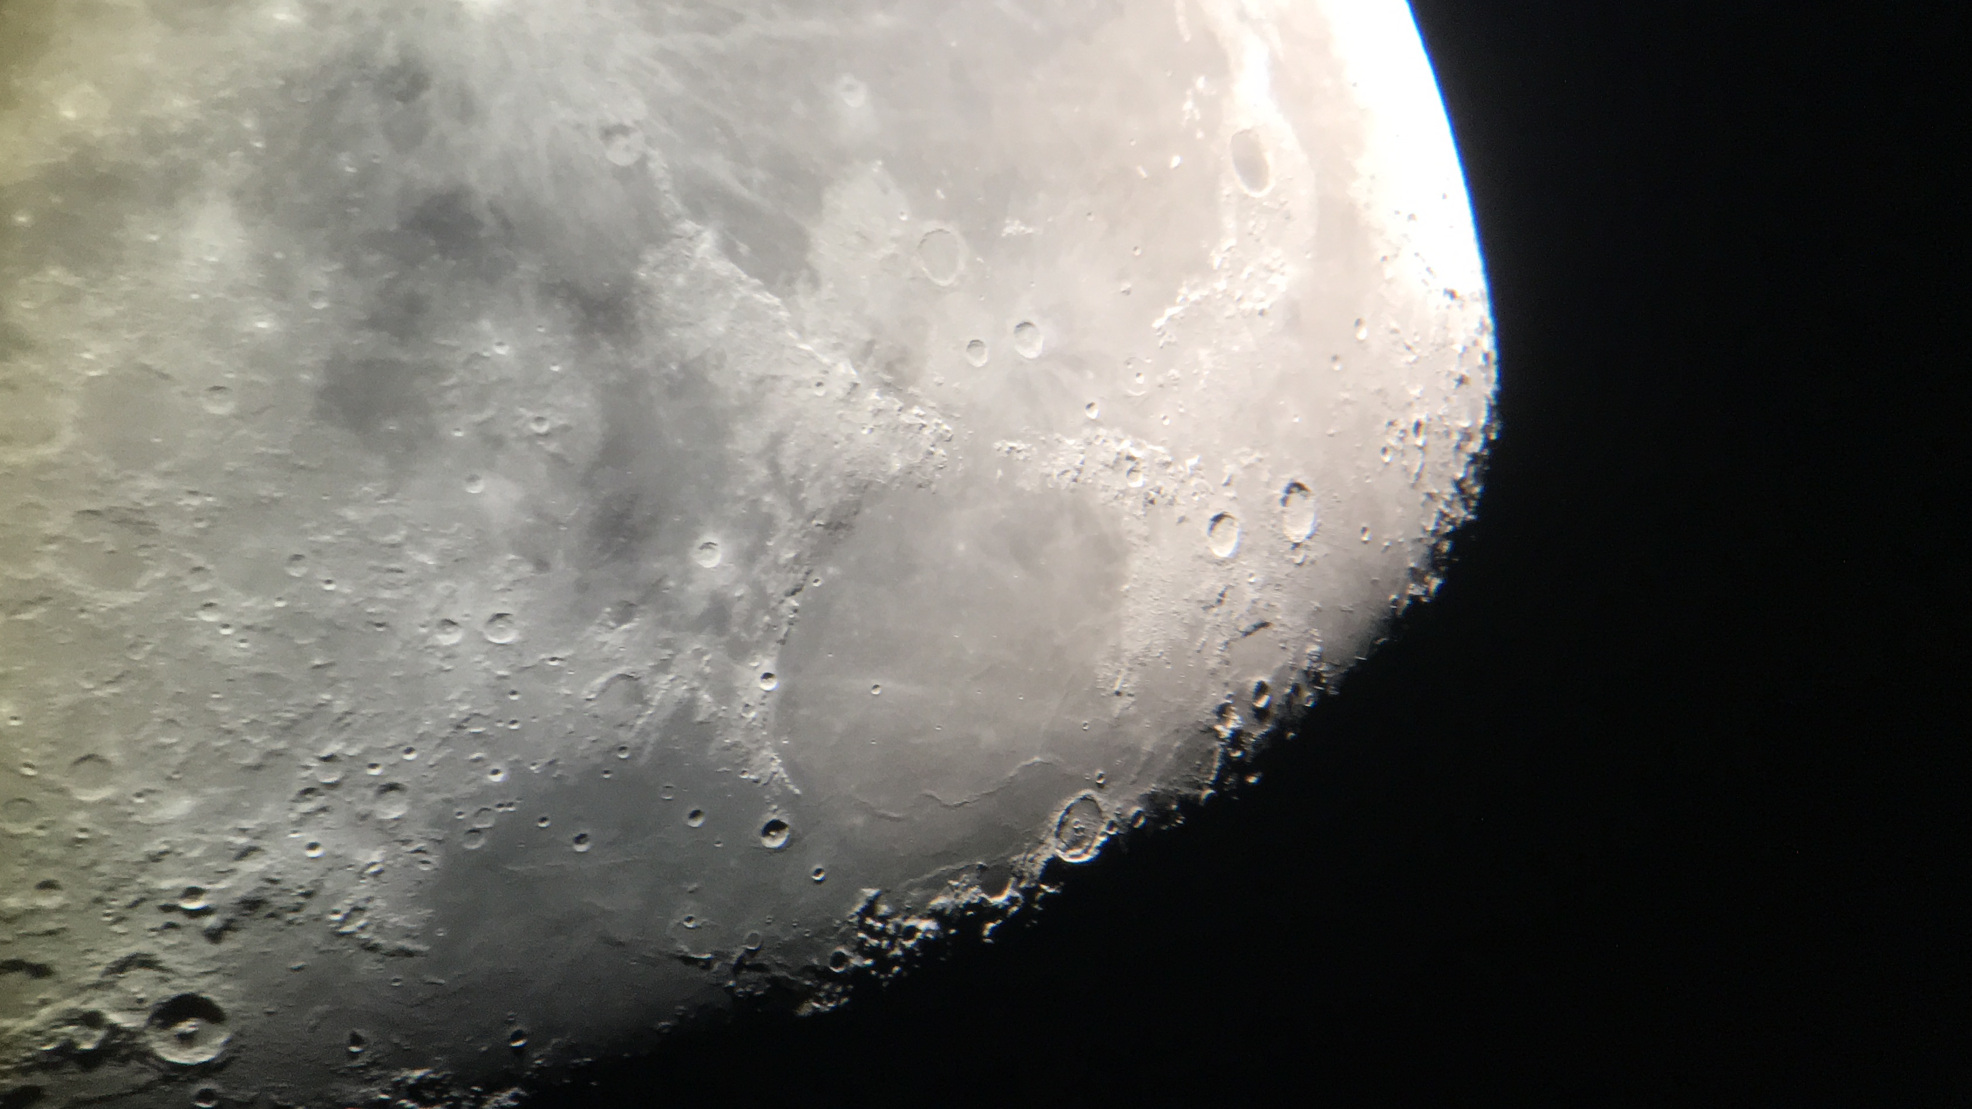
Now press the shutter button as usual and take the photo. This image of the Moon was created using the Easypic universal smartphone adapter and an Omegon 8 inch Dobsonian telescope.
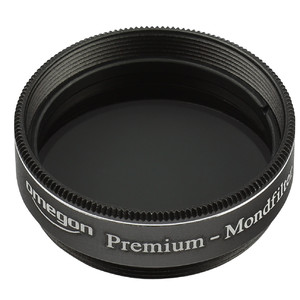
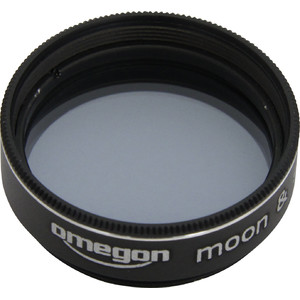
Reduce brightness with grey filters
Most photographs of the Moon succeed well with the right exposure time setting. Images of planets such as Venus or Jupiter often appear too bright: they are over-exposed. The planets seem washed out. The solution: grey filters and variable polarizing filters. This is our trick to ensure that we can still record structures on the planet.
The bottom line:
With a smartphone and the Easypic universal smartphone adapter, you can quickly take photographs of the Moon and planets. You don't need to be an expert: even connecting the device to the eyepiece is easy. You don't need to pay attention to anything except positioning the adapter correctly. With the smartphone, you can successfully take sharp photographs of the Moon, something you could only dream of a few years ago.
Recommended products for astrophotography


Author: Marcus Schenk
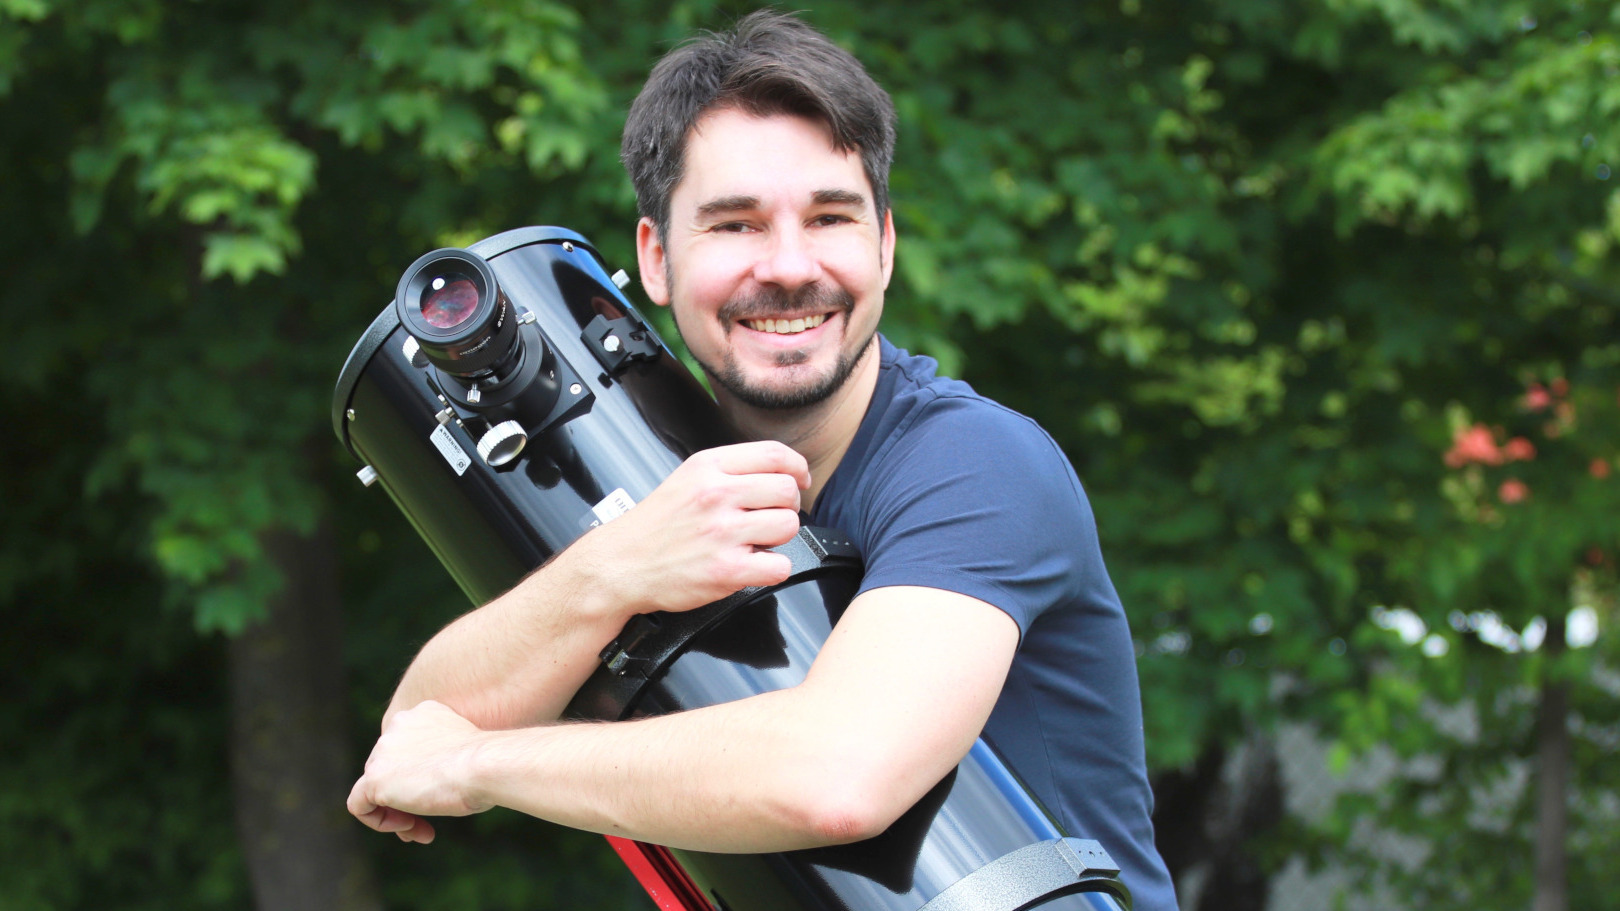
Marcus is a stargazer, content creator and book author. He has been helping people to find the right telescope since 2006, nowadays through his writing and his videos. His book "Mein Weg zu den Sternen für dummies Junior" advises young people, and those who are still young at heart, what they can discover in the sky.
As a coffee junkie, he would love to have his high-end espresso machine by his side under the starry sky.