

ZWO ASI 585MC Air: The All-in-One Astro Camera Brings the Era of Separate Devices to an End
Just a cooled astro camera? No. The smart ZWO ASI585MC Air is more than that.
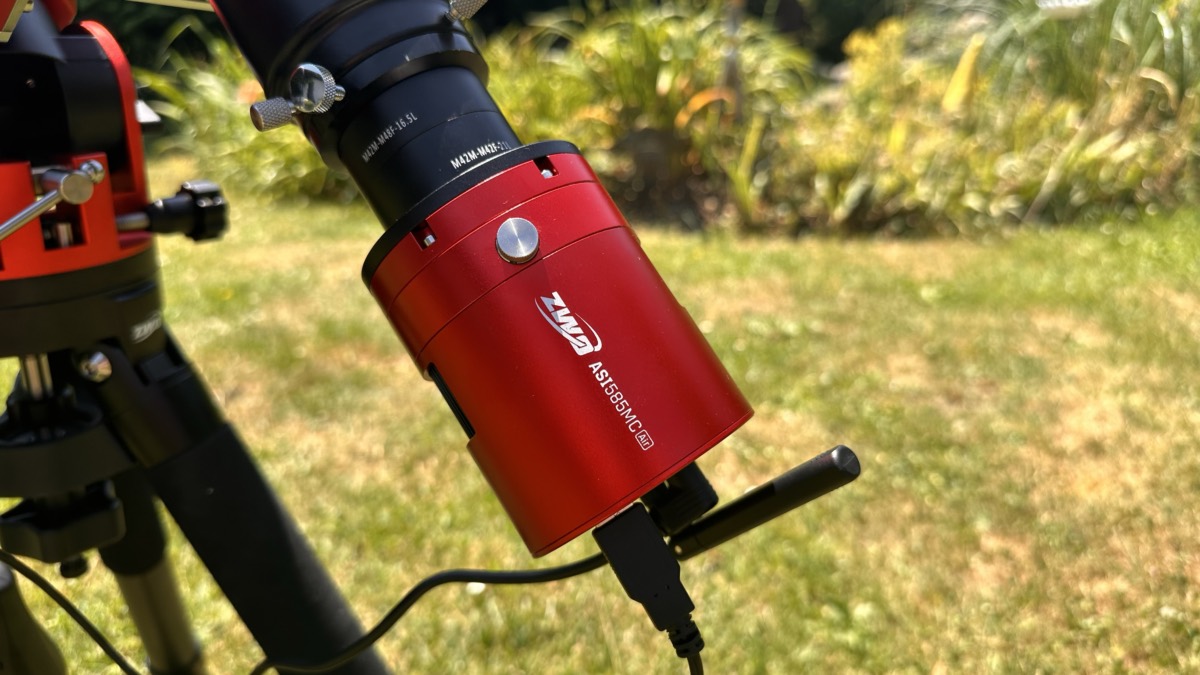
It’s not uncommon for us to have idealized visions of how we’d like to work under the starry sky. Which sounds better: a tangled mess of cables—the bane of every tech enthusiast—with plenty of trip hazards, or a telescope, a camera, and just your smartphone in hand? With just a tap of your finger, you can start capturing the Orion Nebula while you relax and watch the image take shape right before your eyes. That might have been the stuff of Star Trek back in the day, but with the new ZWO ASI585MC Air camera, it’s a reality.
The days when astrophotography was only for technical experts are finally over. This color astro camera turns your smartphone into an astrophotography hub and makes getting started easier than ever before.
What is the ZWO ASI585MC Air? The smart all-in-one camera for astrophotography
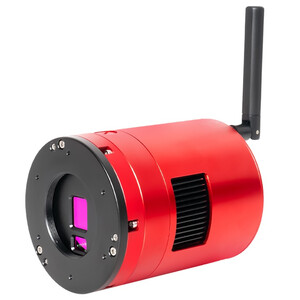
The ZWO ASI585MC Air is more than just a camera: it’s a complete astrophotography system in a compact package. For less than a thousand euros, you get a highly sensitive Smart Deep Sky camera that combines three devices in one:
Main camera with Sony IMX585 sensor for high-resolution 4K video recording
Guiding camera for precise tracking (no separate guidescope required!)
Smart Controller (the proven ASIAIR system) for controlling your entire setup
What makes it special: As mentioned earlier, everything works with fewer cables. That means you'll also need fewer additional devices. Heavy laptops, cable clutter, and complicated software are a thing of the past.
Besides being much more practical, is there a price advantage? Yes, there is!
Let's say you buy a separate camera, a guiding camera, a guide scope, and ASI Air. What's the price difference? Compare the current prices for yourself (see below):
Standard setup with a camera and accessories:
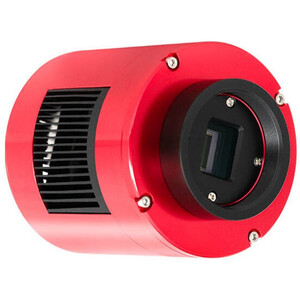
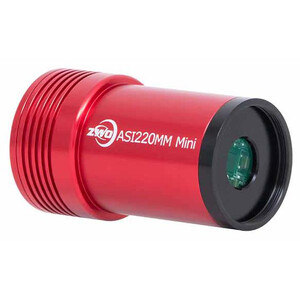
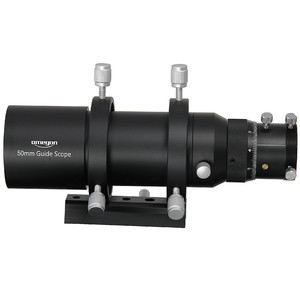
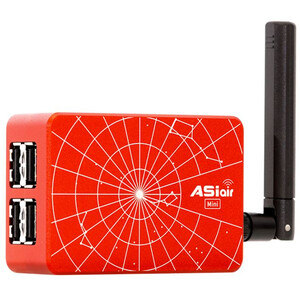
The All-in-One Camera—Everything Integrated (with a price advantage):
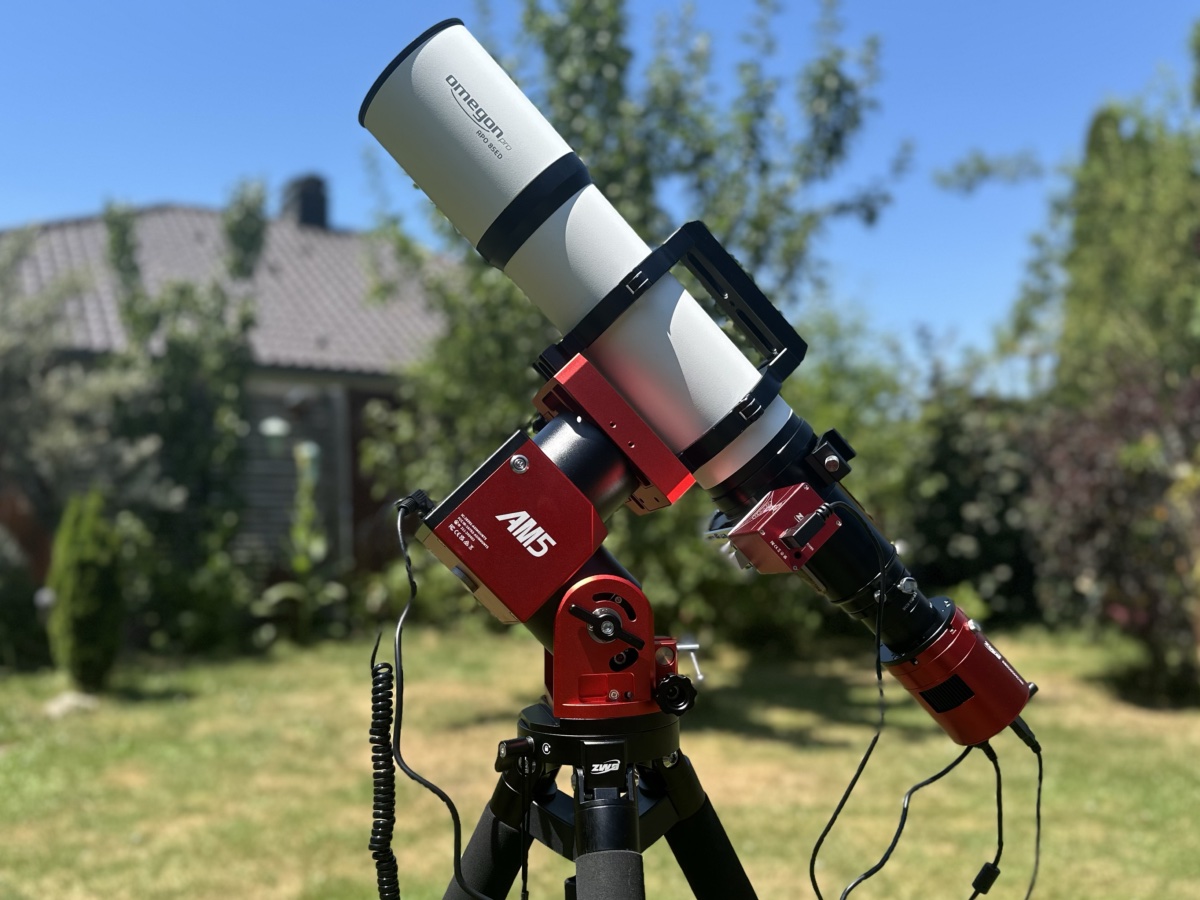
ZWO ASI585MC Air: Finally, Less Cable Clutter
A power cord. That's it.
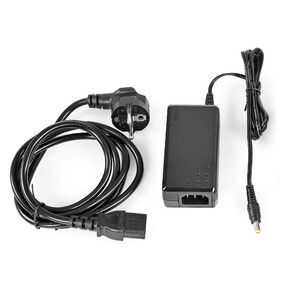
The camera requires a 12V power supply via a 5.5×2.1mm connector and at least 3A of current. That's it. Everything else is wireless and has a range of up to 20 meters.
That means 90% fewer cables than with standard setups. Do you have a modern mount with Bluetooth? If so, all you really need is that one power cable. The ASIAIR app takes care of the rest.
If you need more
Do you have a mount without Bluetooth, or would you prefer a more stable connection? In that case, you'll need a USB cable. The camera has four USB ports for focusers and filter wheels, plus a USB-C port for data transfer. Two 12V ports provide power to your accessories.
The ASI585MC Air finally makes astrophotography easy. Instead of ten cables, you’ll need just one or two—and one more if you’re using a focus motor. Instead of dealing with laptop clutter, you can control everything from your phone. That’s the difference between fiddling with equipment and relaxed photography under the stars.
In our setup, we use:
- A power cable for the camera
- A short connection cable between the mount and the camera to supply power to the mount
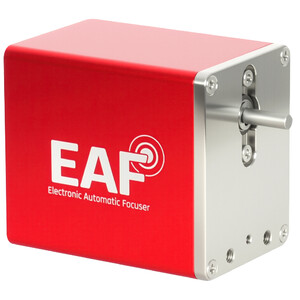
- A connecting cable between the focus motor and the camera (although there is now also a wireless version of the focus motor, the ZWO EAF Pro)
Key Benefits: Why the ZWO ASI585MC Air Is Especially Exciting for You
Plug & Play Instead of Technical Frustration
Okay, here's the scenario: You unpack a DSLR. Camera, lens, insert the memory card, check the settings—done. The ASI585MC Air is just that simple. Plug it in, open the app, take a photo. No hours spent configuring software or figuring out how to wire the components.
Until now, all amateur astrophotographers have bowed down before the majesty of “astrophotography with cooled astro-cameras.” Sure, it’s still the gold standard. But it does go a long way toward alleviating the fear of dealing with too many components, cables, and connectors. So you don’t have to worry as much about that aspect.
As compact as a camera lens
With a diameter of just 78 mm, the camera fits in any backpack or in the smaller compartment of your accessory case. Yet it packs the power of a complete astrophotography system. We also think this camera is perfect for trips to dark sky locations or when space on the balcony is limited.
Forget about complicated PC software. The intuitive ASIAIR app turns your cell phone into a truly professional astrophotography hub. Polar alignment, plate solving, autoguiding—you can control everything right from there.
Cooled sensor for noise-free nighttime shots and internal memory
While your DSLR tends to get “hotter” during long exposures, causing image noise to increase, the built-in cooling system keeps the sensor up to 35°C below ambient temperature. The result: crystal-clear images even with 10-minute exposures.
No more stress over full memory cards in the middle of the night. The built-in memory is enough for hundreds of photos, and you can even connect external hard drives via the USB ports.
Technology That Inspires: What's Really Inside the ASI585MC Air?
At the heart of the camera is the Sony IMX585 sensor with STARVIS 2 technology. It produces virtually no noise and is highly sensitive.
8.29 megapixels in 4K resolution (3840 x 2160 pixels)
2.9-micrometer pixel size ideal for medium focal lengths
91% quantum efficiency—meaning high light output; many photons are utilized
No amp glow for clean dark frames
Only 0.7e readout noise in HCG mode
What is the right focal length for my astro camera?
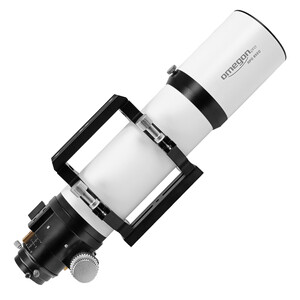
Sometimes the question arises: Which telescope is actually compatible with my camera? We’ve put together our own recommendations for our Omegon cameras. But basically, it’s simpler than many people think: Stars should remain round and not turn into pixelated blocks. And fine details shouldn’t get lost in the noise.
The rule of thumb is: Two pixels should cover about one arcsecond. This allows you to make the best use of the camera's resolution without sacrificing detail or artificially stretching the seeing.
What does that mean? The smaller the pixels, the shorter the focal length can be. And the better the seeing at the location, the more it pays to increase the focal length.
Want the calculation formula?
Focal length (mm) = Pixel size (µm) × 206.265 / desired resolution (″)
Example: Your camera has pixels that are 2.9 µm in size, and you want to achieve 1″ per pixel. In that case, you'll need a focal length of approximately 600 mm.
This is where your setup reveals fine details, but is also forgiving when tracking isn't perfect.
Two-stage TEC cooling: Professional-grade cooling
The cooling system lowers the sensor temperature to 30–35°C below room temperature. This results in virtually noise-free images even with 10-minute exposures—a luxury you’ll never achieve with a standard camera.
Integrated Guiding Camera: Two Sensors in a Single Housing
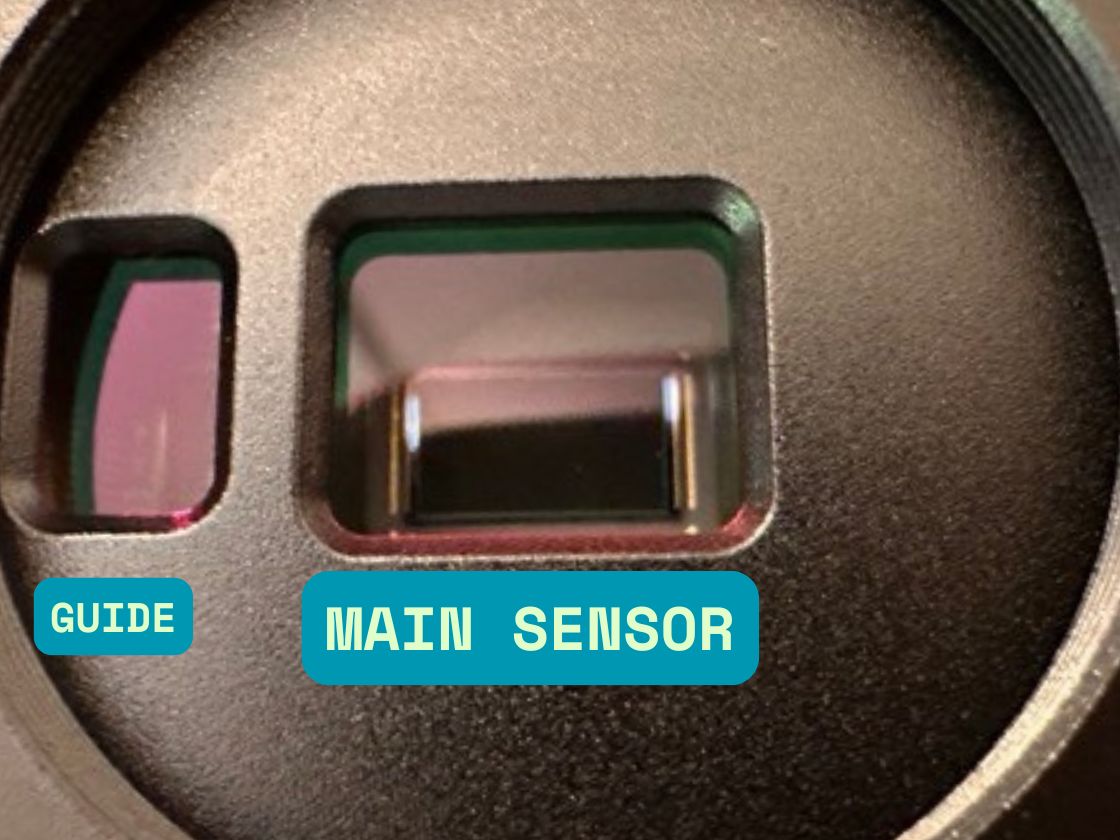
The second sensor (SC2210) handles autoguiding. That means: no separate guidescope, no additional guiding camera, and no extra cables. The system tracks automatically, so you can focus on composing your image.
The Connection of the Future
Dual-band Wi-Fi (2.4 and 5 GHz) for a stable connection up to 20 meters
Bluetooth for wireless mounting control
4 USB 2.0 ports for the focuser, filter wheel, and accessories
USB-C for fast data transfer
Two 12V ports for power supply
From DSLR to Astro Camera: How to Make the Transition to Professional Astrophotography
 Four USB 2.0 ports, one USB-C port, and two power ports
Are there reasons why you should switch from a DSLR or mirrorless camera to an astro camera? Yes, there are, but it's also a matter of personal preference. Let's take a look at the differences.
With a DSLR: The sensor heats up during long exposures, which results in more noise. There is no built-in guiding function, and in addition to the guide camera, you'll usually need a laptop. Of course, the batteries can run out, or you'll have to make sure they're always charged.
With the ASI585MC Air: The sensor is cooled, and you can expose for up to 10 minutes without noise. The built-in autoguiding feature is brilliant and ensures round stars. All you need is a cable for the 12V power supply; everything else is already built in. The internal memory offers 256 GB and can be expanded later.
The Difference in Practice
What does a photo of the Orion Nebula look like? With a DSLR, you take 100 2-minute exposures (any longer isn't possible without guiding). With the ASI585MC Air, you take 20 10-minute exposures. The result: less noise, perfect tracking, and twice as much signal.
Setup is a breeze: Ready for the night in 5 minutes
So you’ll benefit from an all-in-one astro camera. But how exactly do you set it up? You can break it down into five simple steps. Let’s take a look:
Step 1: Mount the camera on the telescope
The included adapters ensure the correct 55mm back focus. Simply stack the two spacer rings and attach them to your focuser.
Step 2: Connect the power supply
A 12V cable for a power bank or power adapter. We carry a variety of affordable devices. That's it for the cables.
Step 3: Open the ASIAIR app
You'll need to download the app first. You'll find the link in the instructions. The app will then automatically detect the camera and connect via Wi-Fi.
Step 4: Connect the accessories
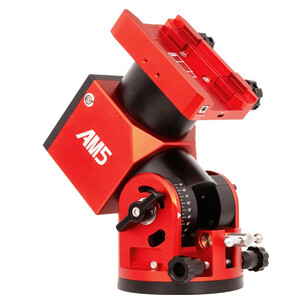
If you'd like, you can also connect a focus motor, though not all astrophotographers do this. You can connect the mount via the camera's USB port. With ZWO mounts, this can even be done wirelessly via Bluetooth.
Step 5: Get Started
Select an object, set the focus, and calibrate the guiding. You can do all this through the app. The first images will start coming in after 5 minutes.
The best part: The app guides you through every step. Even as a beginner, you'll get the hang of it right away.
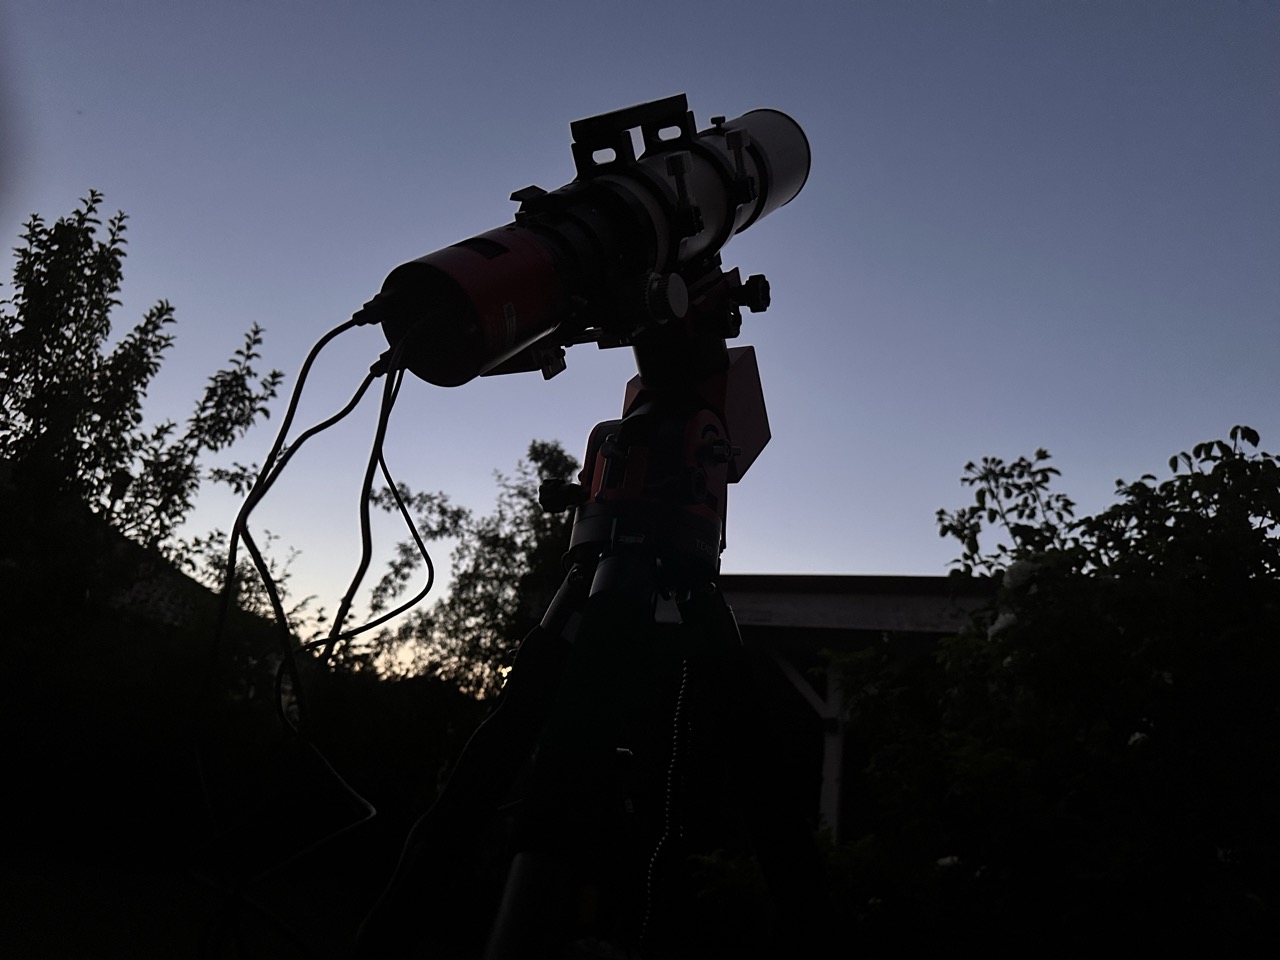 Polar alignment is also surprisingly easy—and, above all, precise. The app provides very detailed instructions for this.
Everything You Need: What's Included with the ZWO ASI585MC Air
When you open the package, you'll find: The ZWO ASI585MC Air camera itself, with a built-in Wi-Fi antenna. Also included is a high-quality carrying case.
Mounting accessories for optimal back focus
M48M-M42F (0mm)
M42M-M48F (16.5mm)
M42M-M42F (21mm)
Cables and Accessories
1.5-meter USB extension cable
12V Power Cable
USB 2.0 Connection Cable
Velcro fastener for cable management
Allen wrenches for assembly
Pro tip: You don't need to buy anything extra. Everything you need to get started right away is included.
Adjust the back focus like a pro: Here's how to get the most out of your flattener
The right baking focus is crucial for perfect stars all the way to the corners. Here are the step-by-step instructions:
What is back focus?
The back focus is the distance between your flattener/reducer and the camera sensor. For most telescopes, this is 55 mm.
Here's how to set the 55mm back focus:
Without additional components:
1. M48M-to-M42F adapter for the flattener (0 mm)
2. M42M-M48F ring on top (16.5 mm)
3. M42M-M42F 21mm Ring (21mm)
4. Camera directly on it (17.5 mm)
5. Total: 55 mm ✓
With a filter wheel: The filter wheel is usually 20–25 mm deep. In that case, omit the 21 mm ring and use only the other components.
Checklist for Perfect Back Focus:
[ ] Stars in the center of the image are round and sharp
[ ] The stars in the corners are also round (not oval)
[ ] The image area is evenly lit
[ ] No visible vignetting
Pro tip: Take a test shot of a bright star and check the corners. If the stars appear oval there, the back focus is incorrect.
 Use these two adapters to set the back focus.
Are there any limits? Here's what you should know before you get started
Honesty is important to us. Here are some points you should keep in mind:
No individual components can be upgraded: If you want a better sensor later on, you'll have to replace the entire camera
ASIAIR dependency: The camera is optimized for the app. PC software works, but is more cumbersome.
Limited planetary photography: The ASIAIR system limits the frame rate to 10 fps (the sensor is capable of 47 fps)
Small sensor size: The IMX585 is compact. The ASI2600MC Air is better suited for very large fields of view.
Optimal focal length: 700–1000 mm is ideal. At very long focal lengths (over 1500 mm), the 2.9 µm pixels may be too small
When is the camera NOT the right choice?
You plan to focus primarily on planetary photography with high frame rates. In this case, the internal PC might read the images too slowly. You already have a complete astrophotography setup and just need a new camera. You mainly want to take wide-field images. You prefer PC-based control and don't want to use smartphone apps.
Why Now Is the Perfect Time for Your First Astrophotograph
The ZWO ASI585MC Air is more than just a camera: it’s a real gateway to entering the amateur “pro league” of astrophotography. Finally, you can do more than just observe the beauty of the universe—and more than just take snapshots.
Why start with this ZWO camera right now?
The technology is finally ready! Complicated wiring and hours of software configuration are a thing of the past. This is also a commonly cited reason why many amateur astronomers shy away from it. The ASI585MC Air makes astrophotography much easier.
Astrophotographers are one of the most supportive communities out there. Their first nebula photos are celebrated on social media. And while others are watching Netflix, they’re being productive and creating works of art out of light that has traveled through space for millions of years.
With the ZWO ASI585MC Air, you’ll get presentable results after just the first night. After a month, your friends won’t believe you took these pictures yourself. And after a year? By then, you might already be planning your first astrophotography trip to the skies over the Atacama Desert.
The first step is the most important one
Thousands of astrophotographers started right here: with the courage to take that first step. The ASI585MC Air takes care of the technical hurdles for you, letting you focus on what matters most: capturing the beauty of the cosmos.
The universe has been waiting a long time. What's stopping you from getting started right now?
Author: Marcus Schenk
Marcus is a stargazer, content creator and book author. He has been helping people to find the right telescope since 2006, nowadays through his writing and his videos. His book "Mein Weg zu den Sternen für dummies Junior" advises young people, and those who are still young at heart, what they can discover in the sky.
As a coffee junkie, he would love to have his high-end espresso machine by his side under the starry sky.