

It is part of everyday life. We all have to wear a face mask in public from now on. We, therefore, have an unconventional craft tip for everyone with a 3D printer.
With our free downloadable 3D file and a simple tissue, you can quickly make your own makeshift mask.
Once printed you can make up a mask in only a few minutes.
So how does this work exactly?
Normally our production department develops new products and telescopes for our Omegon brand but, due to the Coronavirus outbreak, we are having a rethink. So our developers have designed a holder, using which you can create a sturdy mouth and nose cover using kitchen roll.
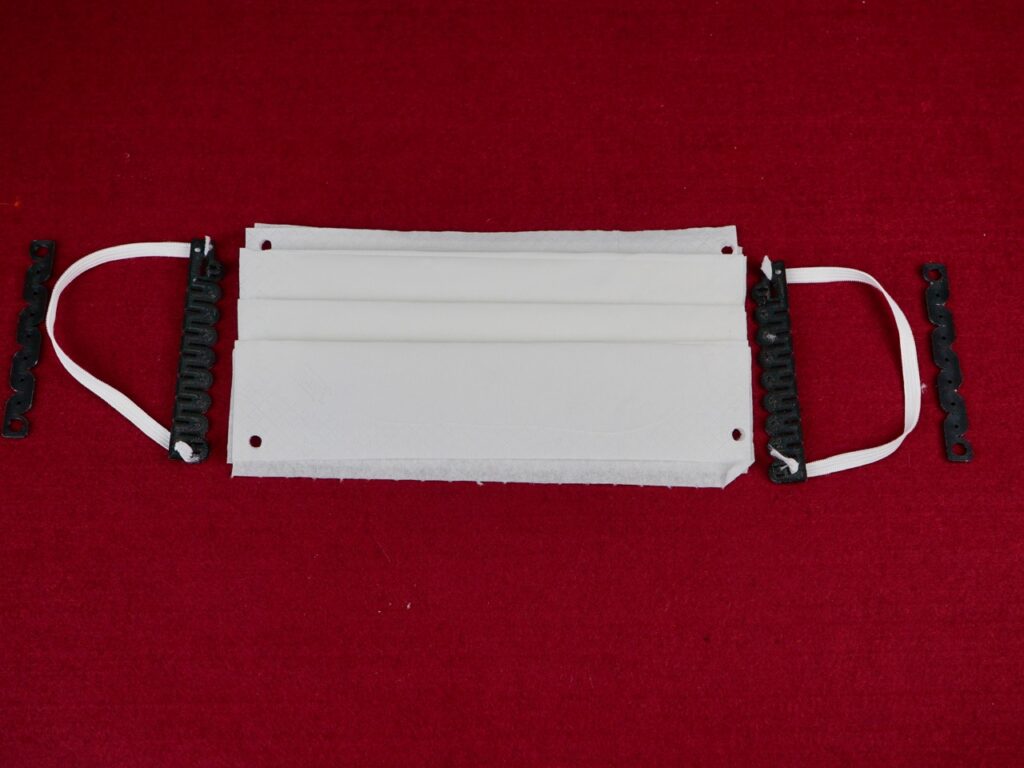
But how? You attach two of the four frame sections created in the 3D printer to the outer edges of the sheet of kitchen roll. Even a sharp tug will not tear the paper, it will remain sturdy. You can then attach a rubber band to the sections of frame and, voila, you have a mask!
And this is how it works:
- Download the files Holders.stl and Top.stl and save them to a card which is suitable for your 3D printer.
- Place 1x Holders.stl and 2x Top.stl into the work area and start the 3D print.
- Around 3 hours later you will have the following components:
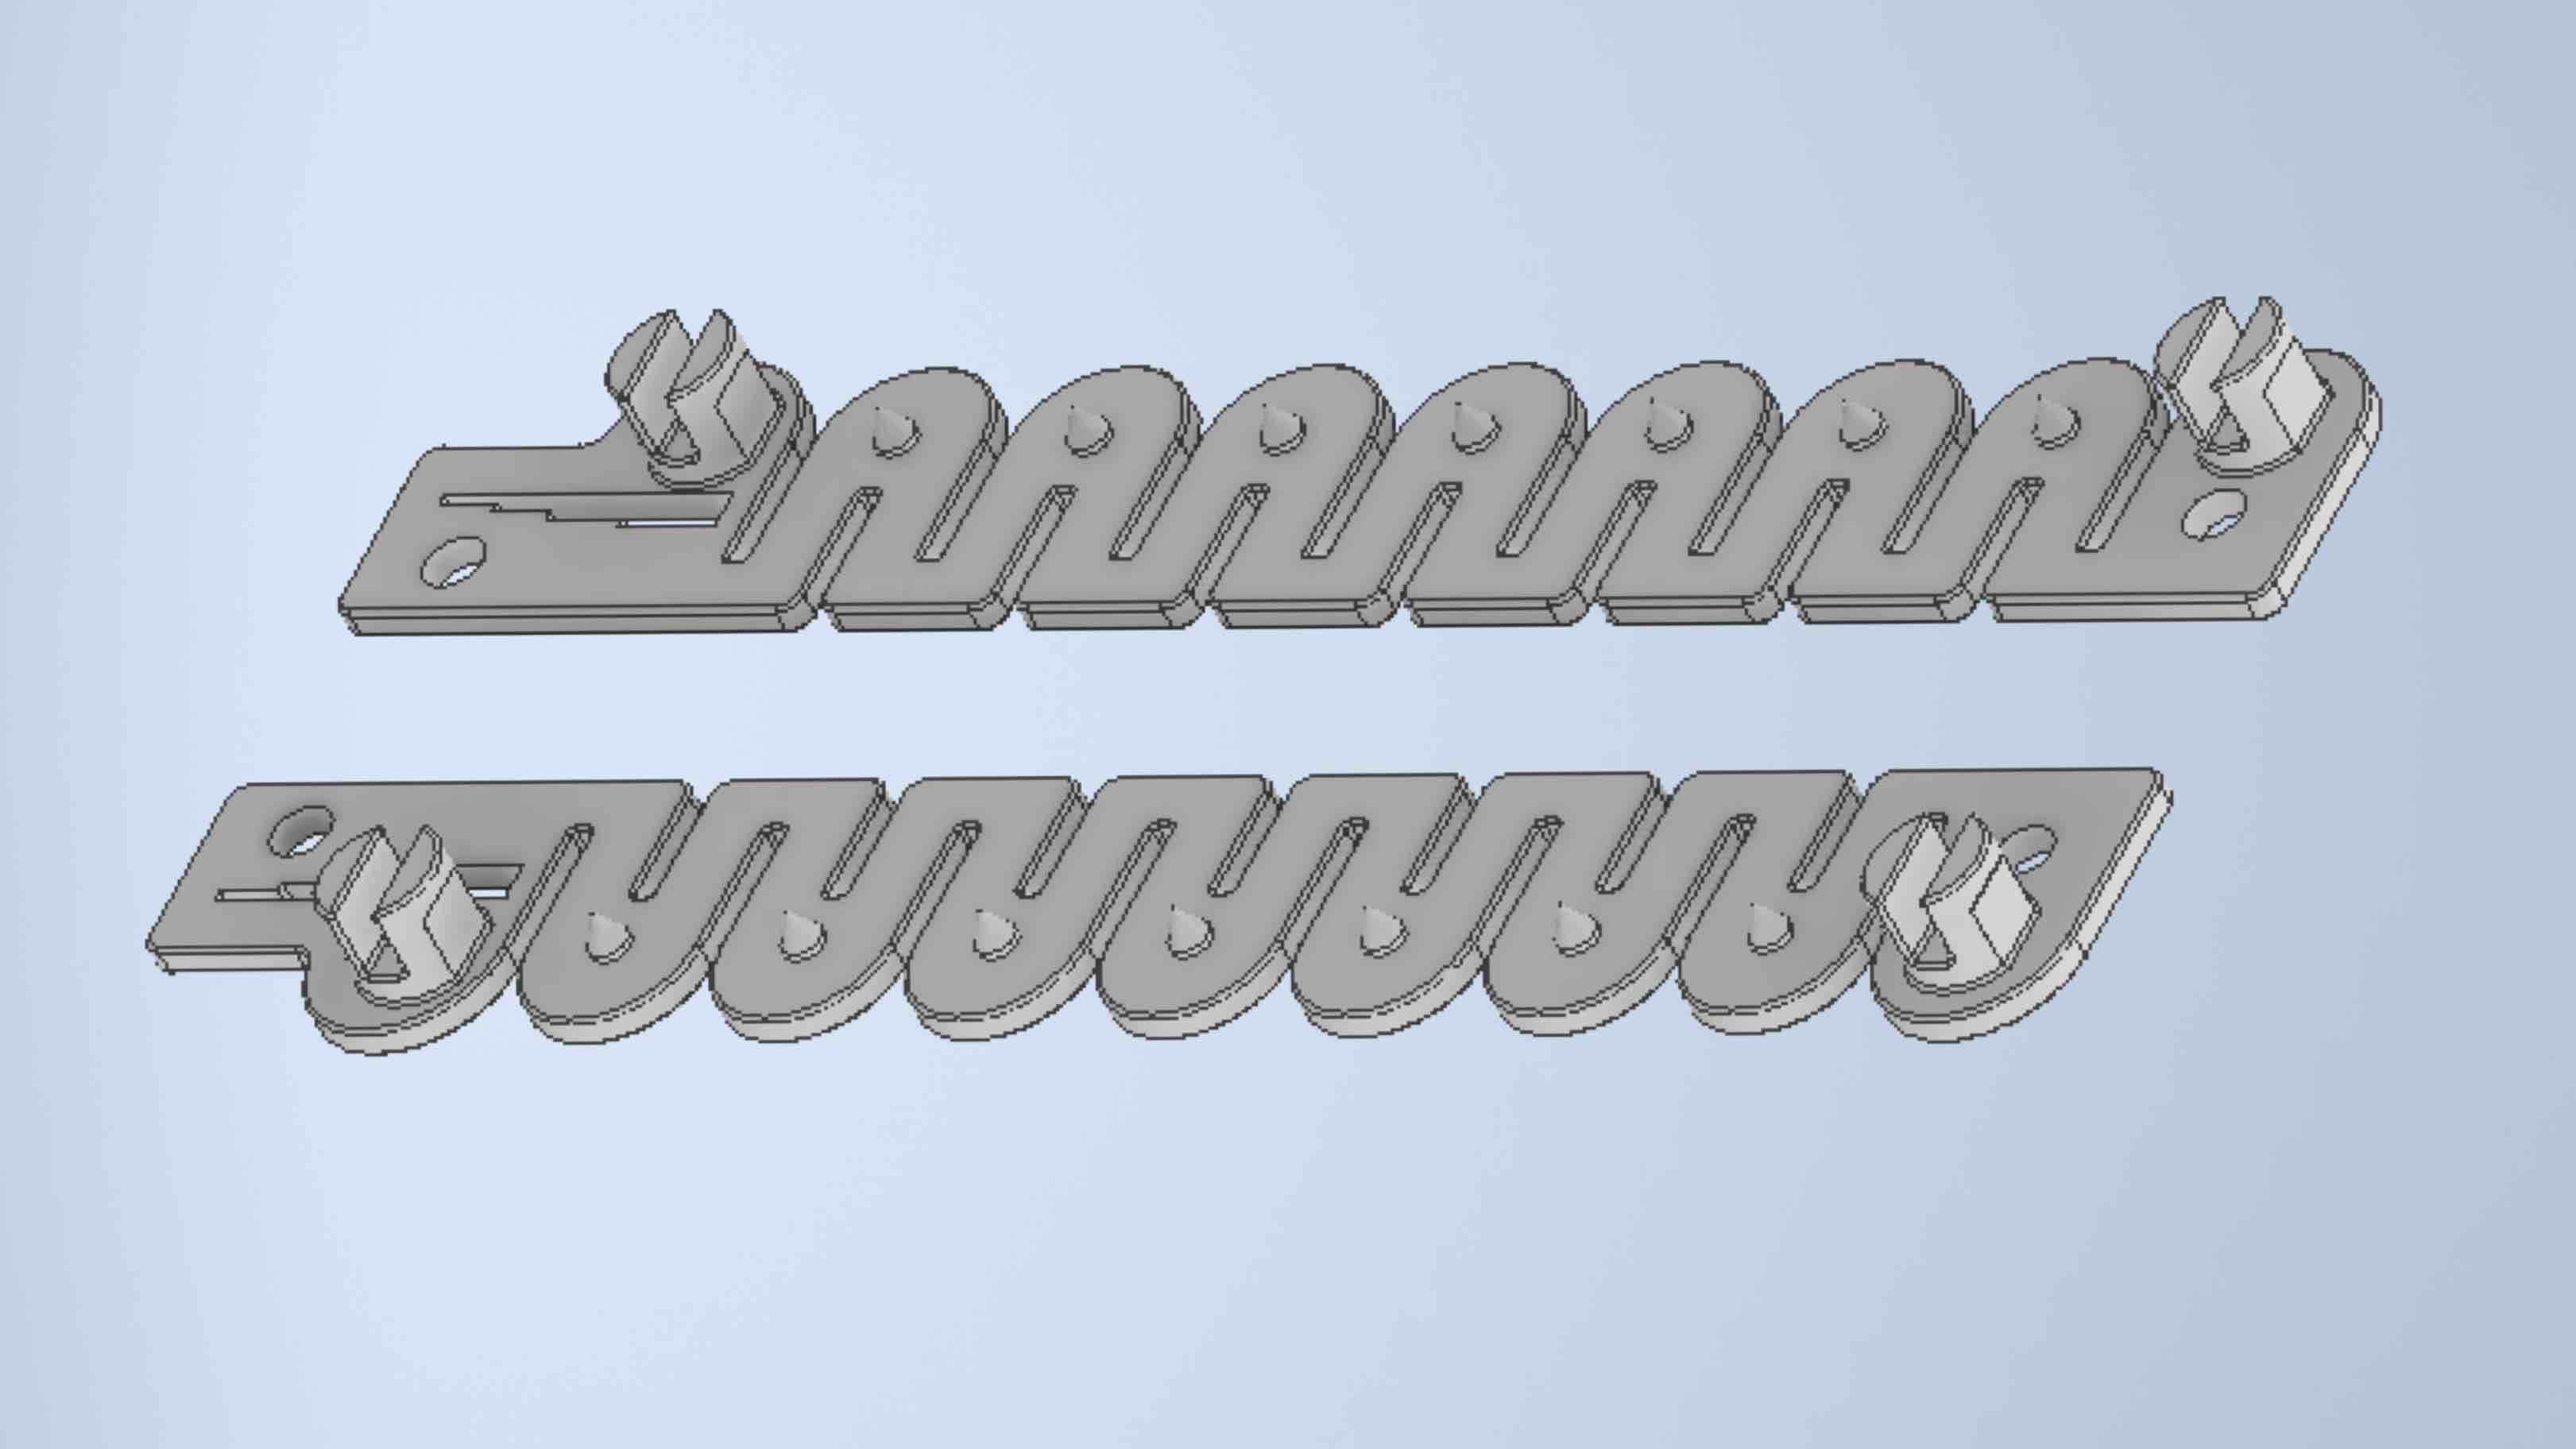
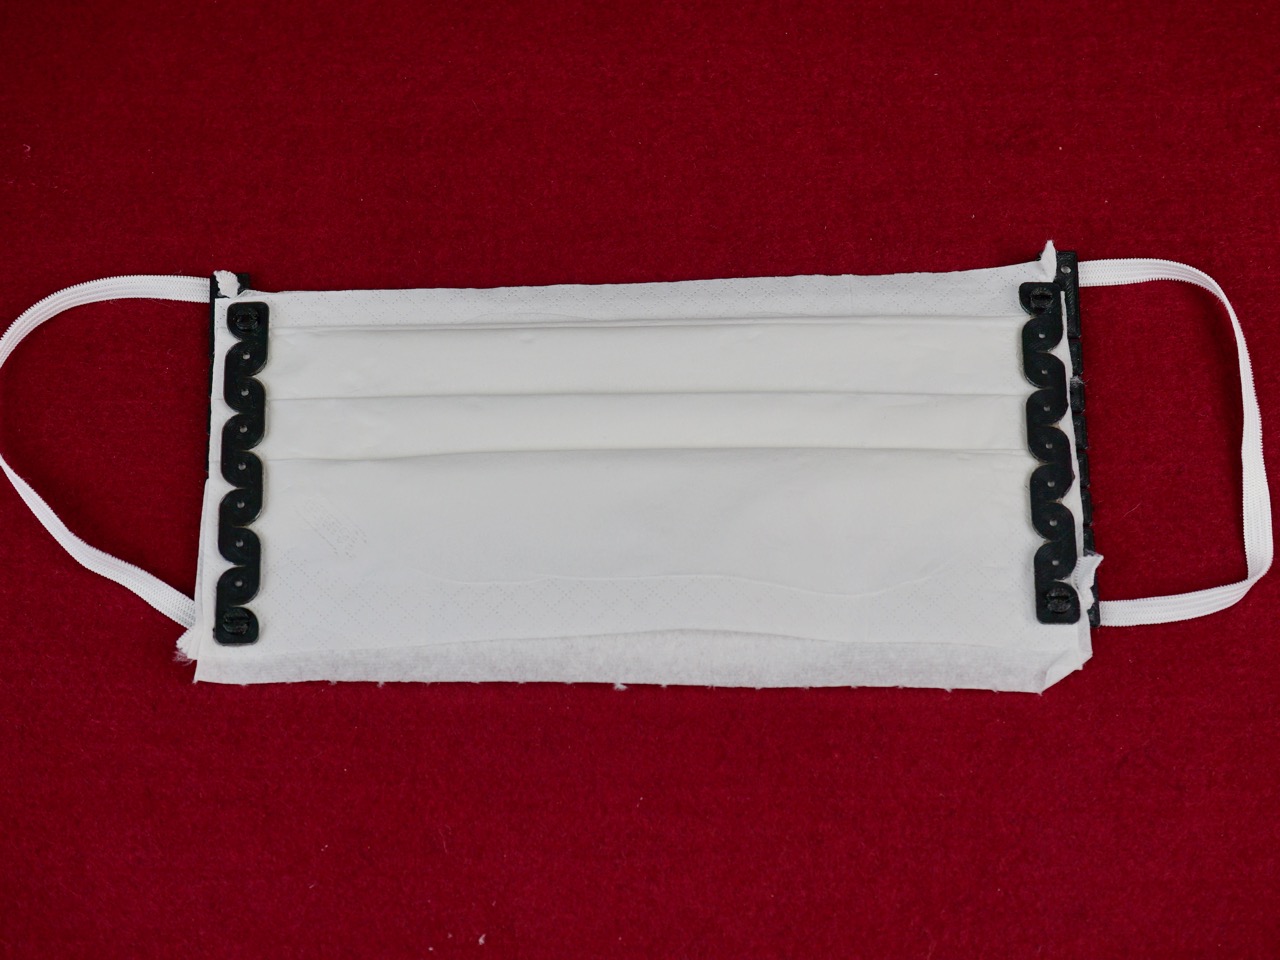
One of two upper sections, each of which clicks into a lower section with the inlaid paper.
Step-by-step guide to making your mask:
- Lay out one disposable tissue and two sheets of kitchen roll. Ensure that you use a good quality tissue – it should be thick and dense enough not to become saturated. Lay one sheet of kitchen roll in front of you and place the other on top of it at a 90 degree angle. Finally place the unfolded tissue on top.
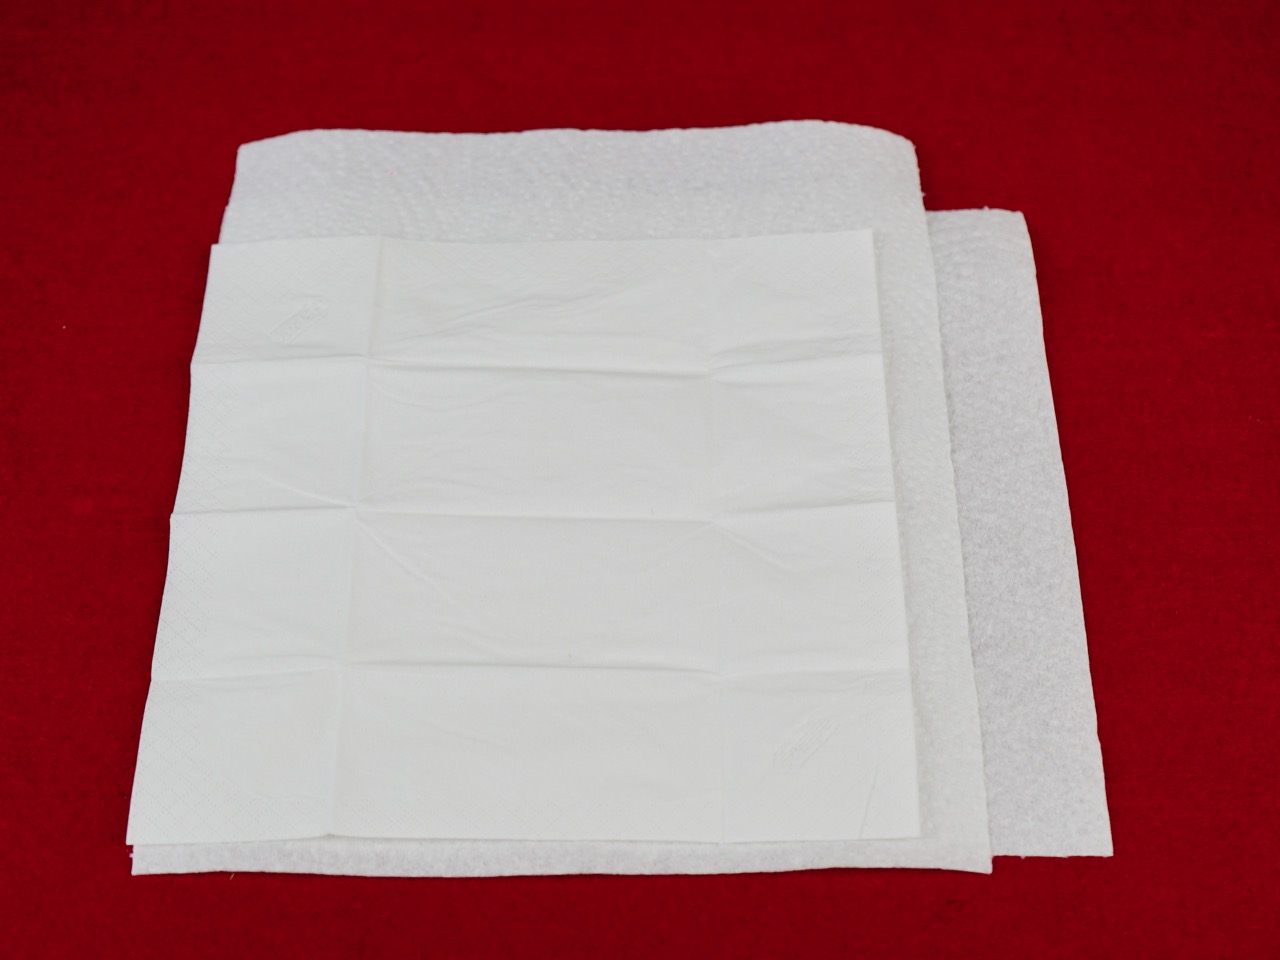
- Cut both sheets of kitchen roll to the same size as the tissue.

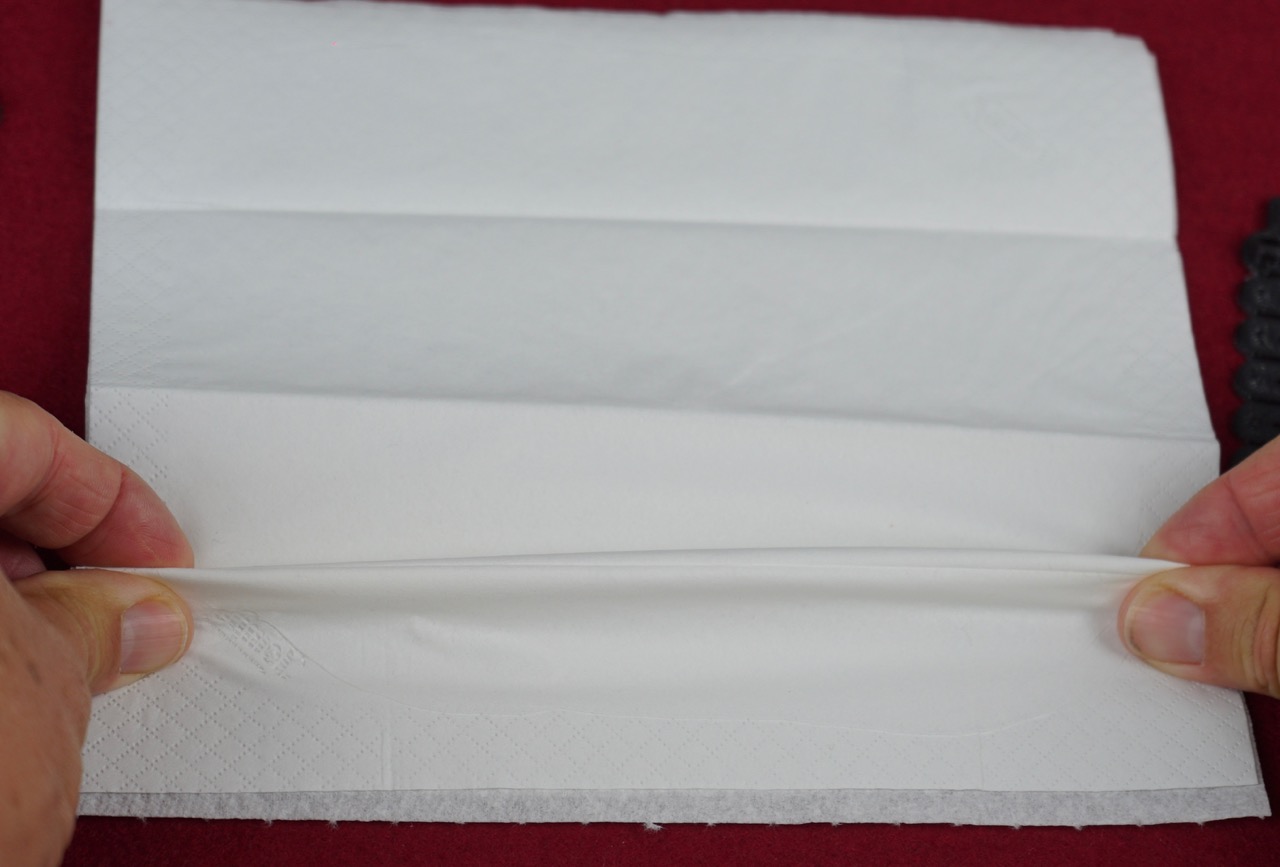
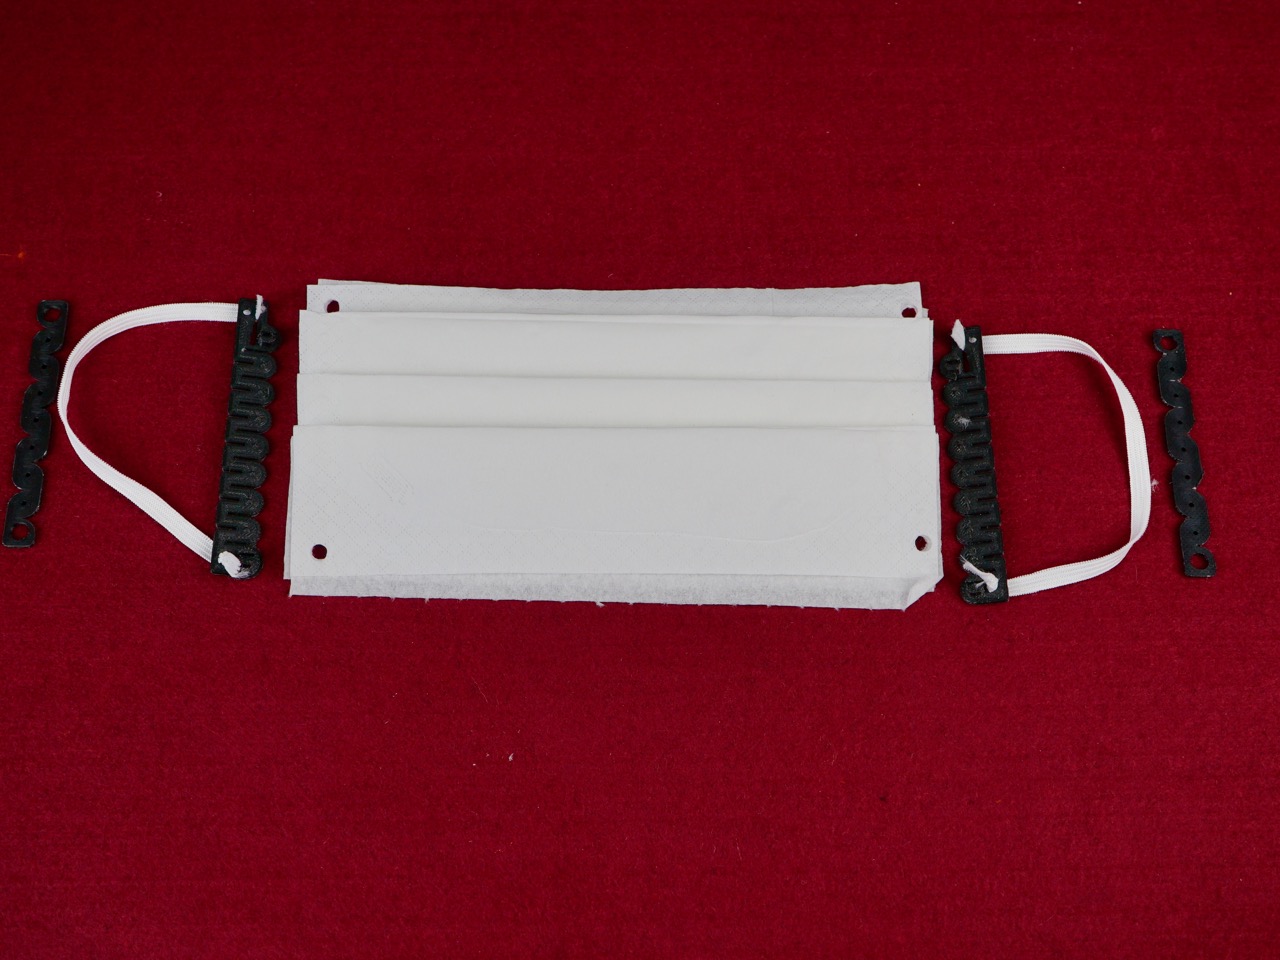
- Using the tissue’s folds as an aid, create three mountain folds in order to achieve the classic mask design. Pinch the creases together at the sides (as shown in the image) and place the crease towards the top edge. Do the same with the other folds.
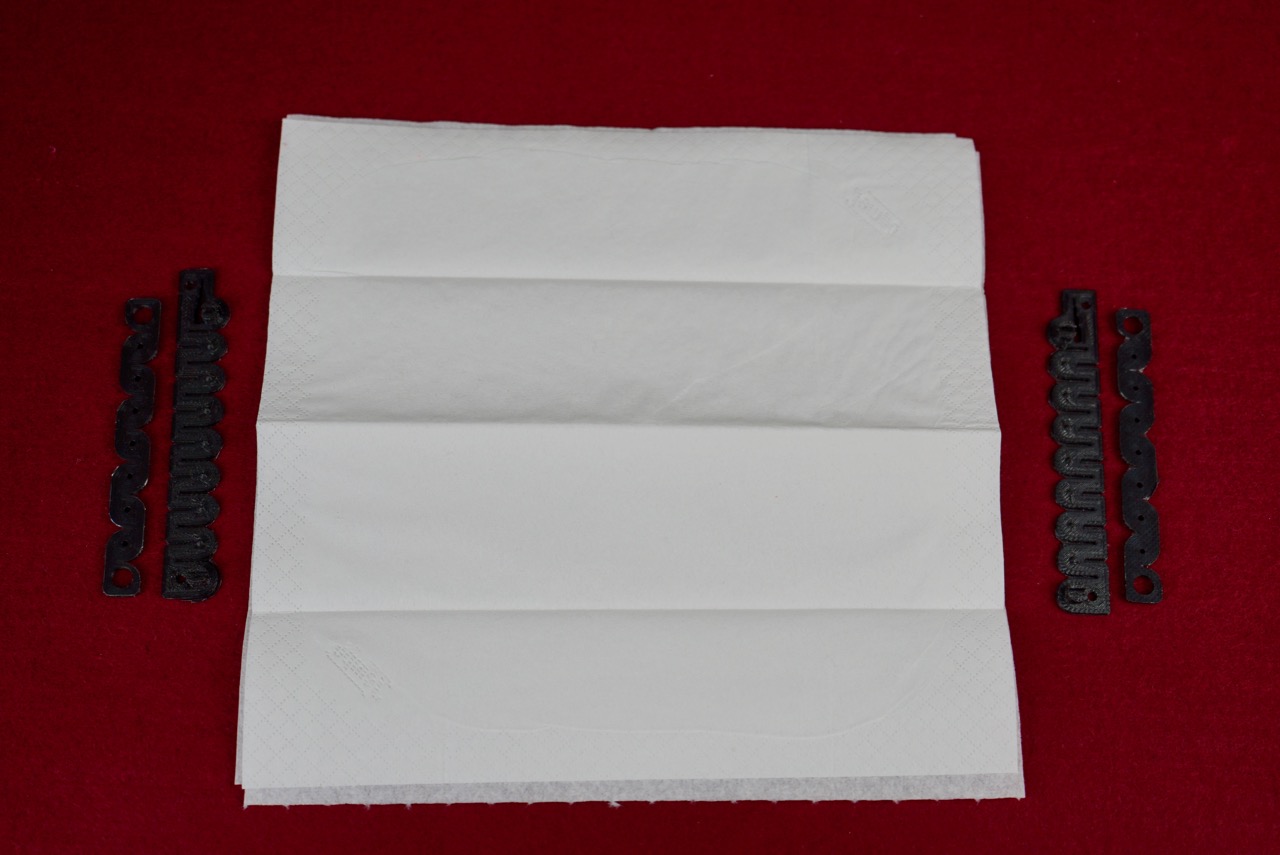
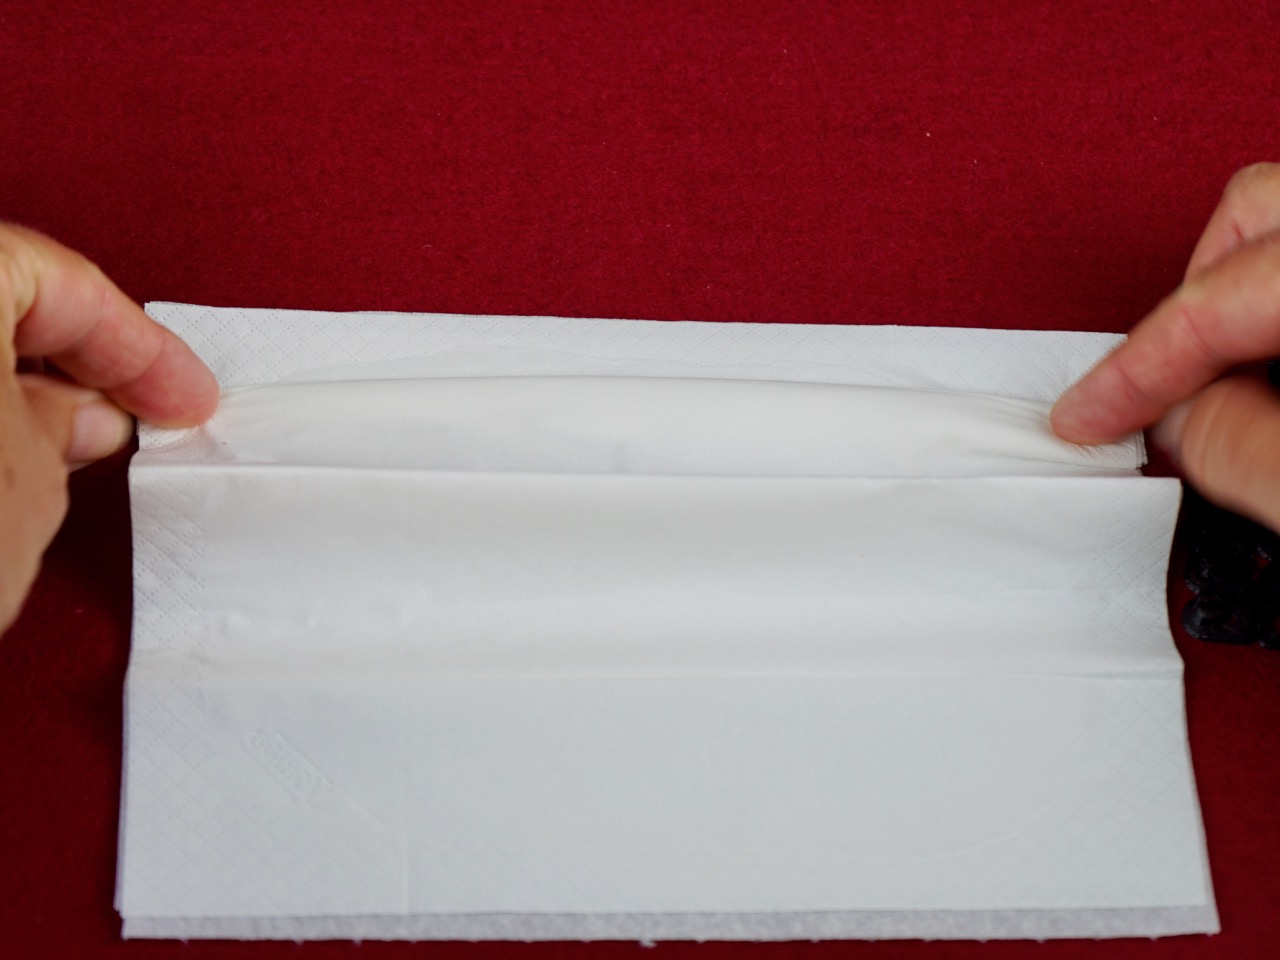
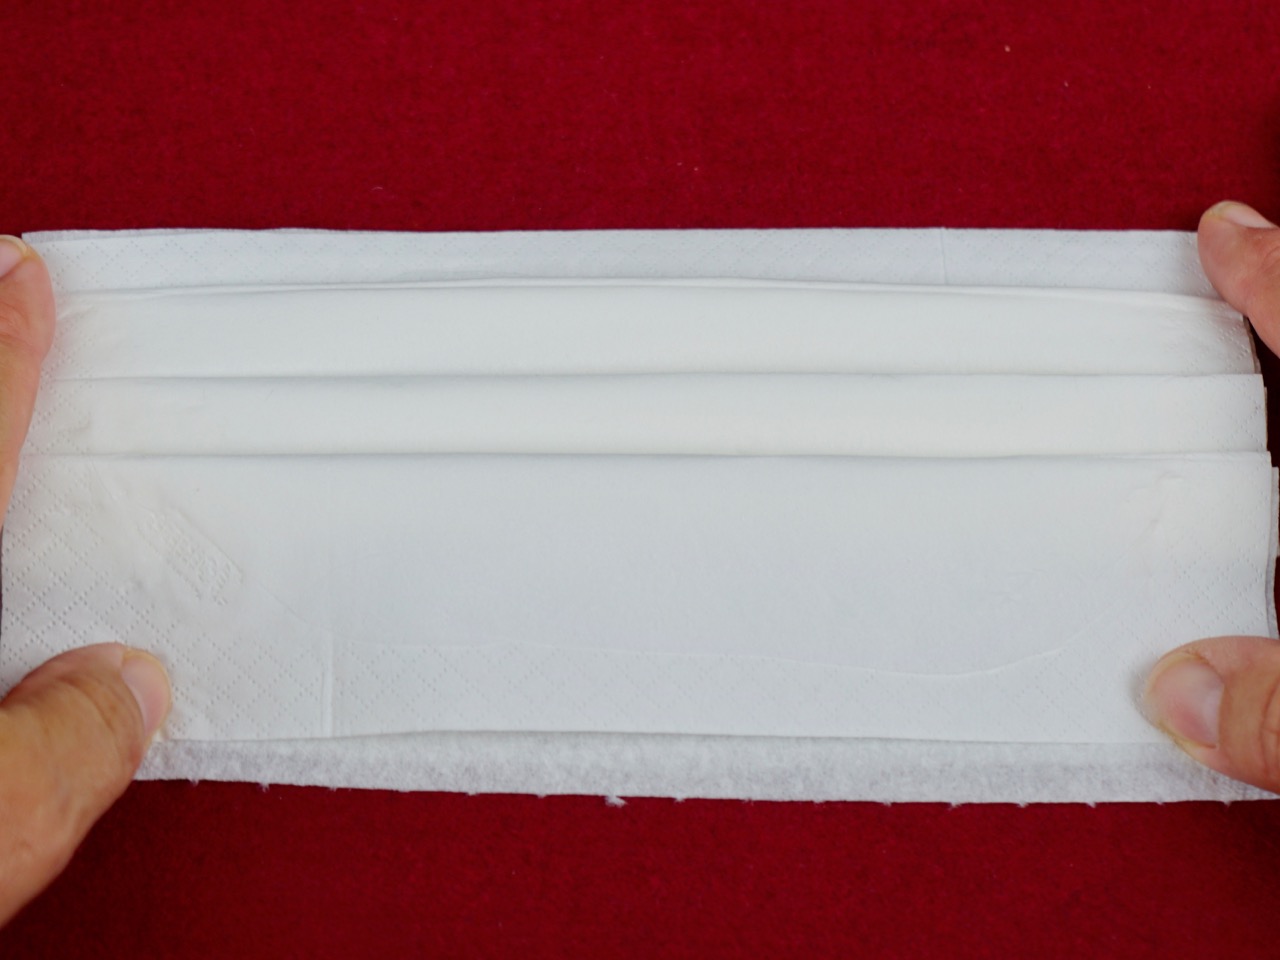
- The folds should resemble those in the following image:
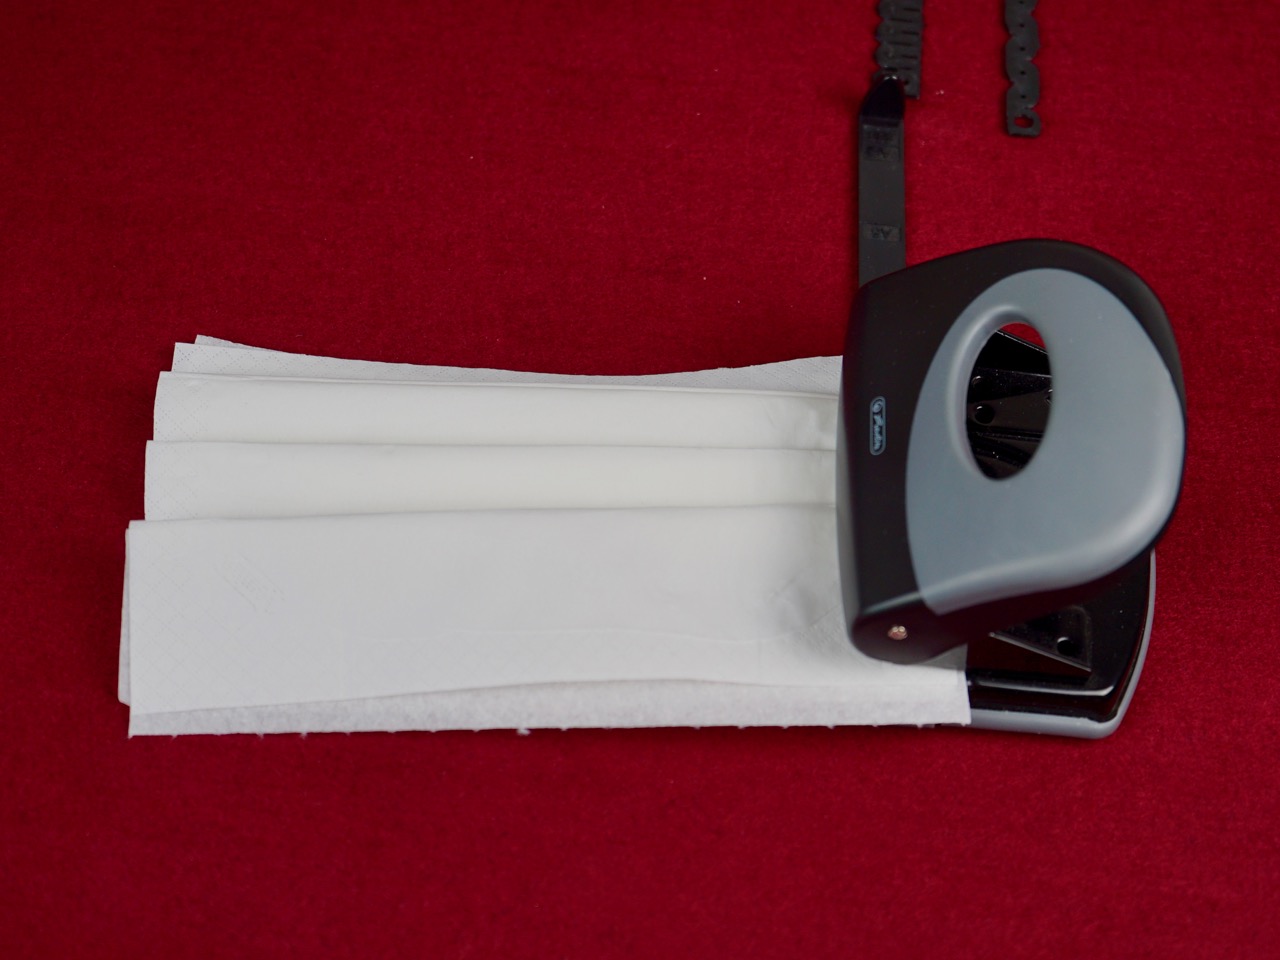
- Now take a standard hole punch and punch holes in the right and left-hand sides.
- Find a rubber band and cut it into 20 centimetre sections. The holders have a small hole at one end and a tapered slit at the other end to hold the rubber band. Tie the rubber band at one end, feed the other end through the small hole and pull the band through until it stops at the knot. Feed the untied end into the slit and wedge it in. Do the same with the other rubber band.
- Place the mask with the pre-punched holes into the designated holder lugs and attach the mask to the upper sections. Press down firmly, pressing the spikes into the sheets as you do so.
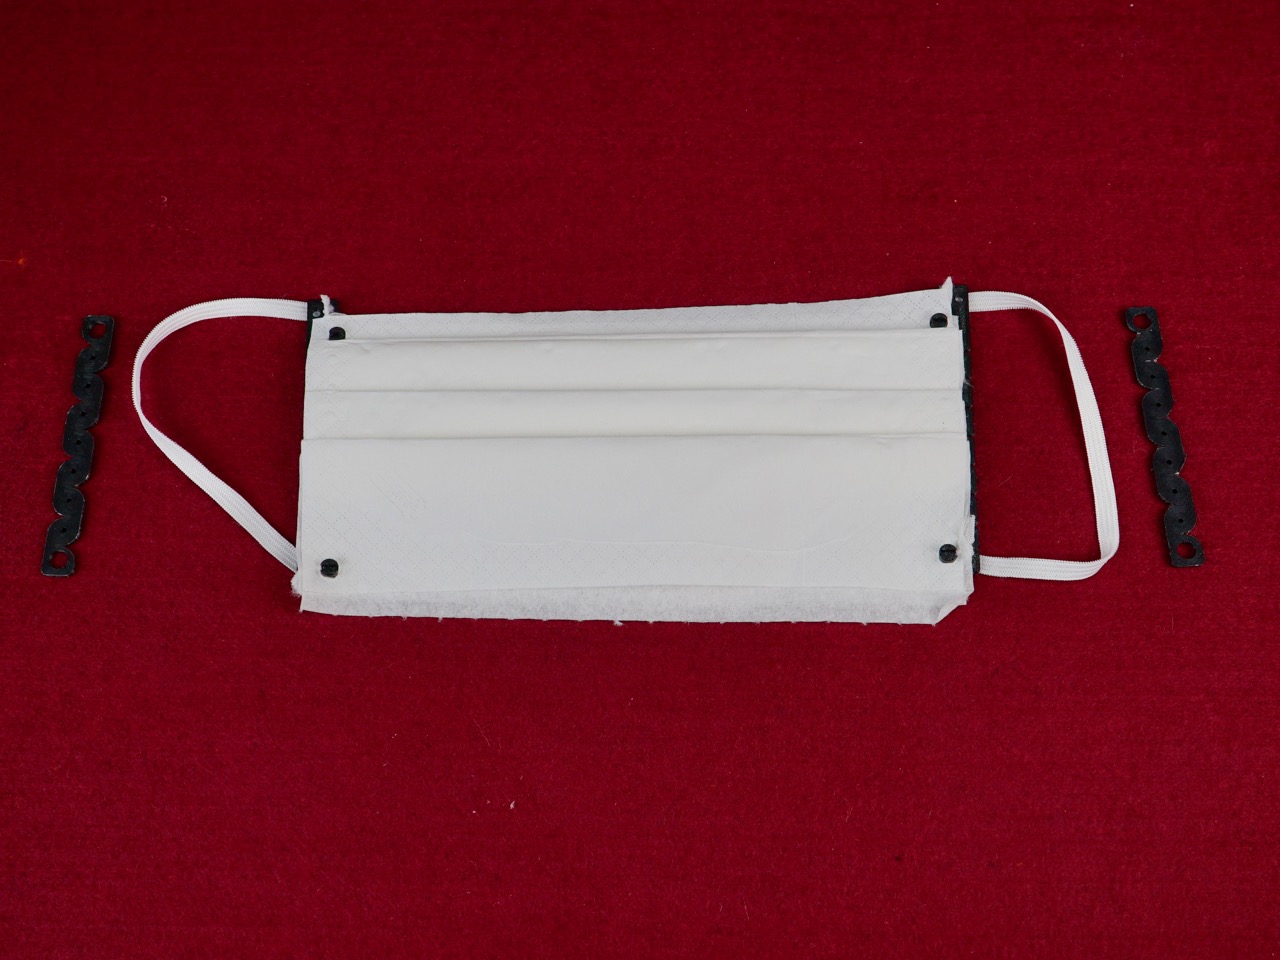
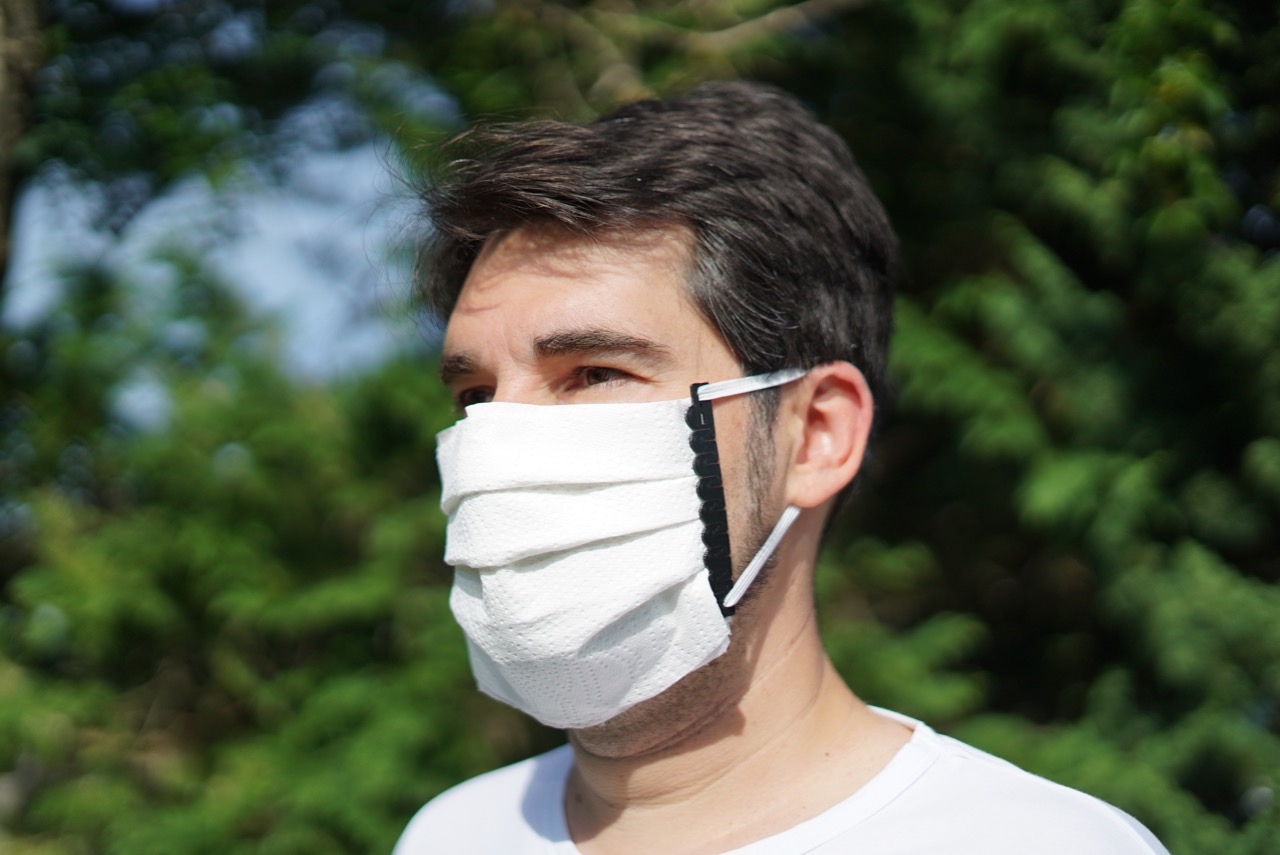
- Your mask is now ready and you can try it on as shown in the top image.
Bear in mind that this is only a makeshift mask and you should replace the tissues after use. However, the plastic units which you produced in the 3D printer are reusable.
Note: These masks reduce the risk of transmission due to airborne infection in the environment. This is not a medical product as defined by the Medicinal Devices Act and does not constitute personal protective equipment (PPE).
Enjoy printing and making.