

Journey into Darkness
Places free from light pollution are every amateur astronomer’s dream. In this magazine article, I’ll introduce you to some worthwhile destinations and explain what you absolutely must bear in mind when planning your trip.
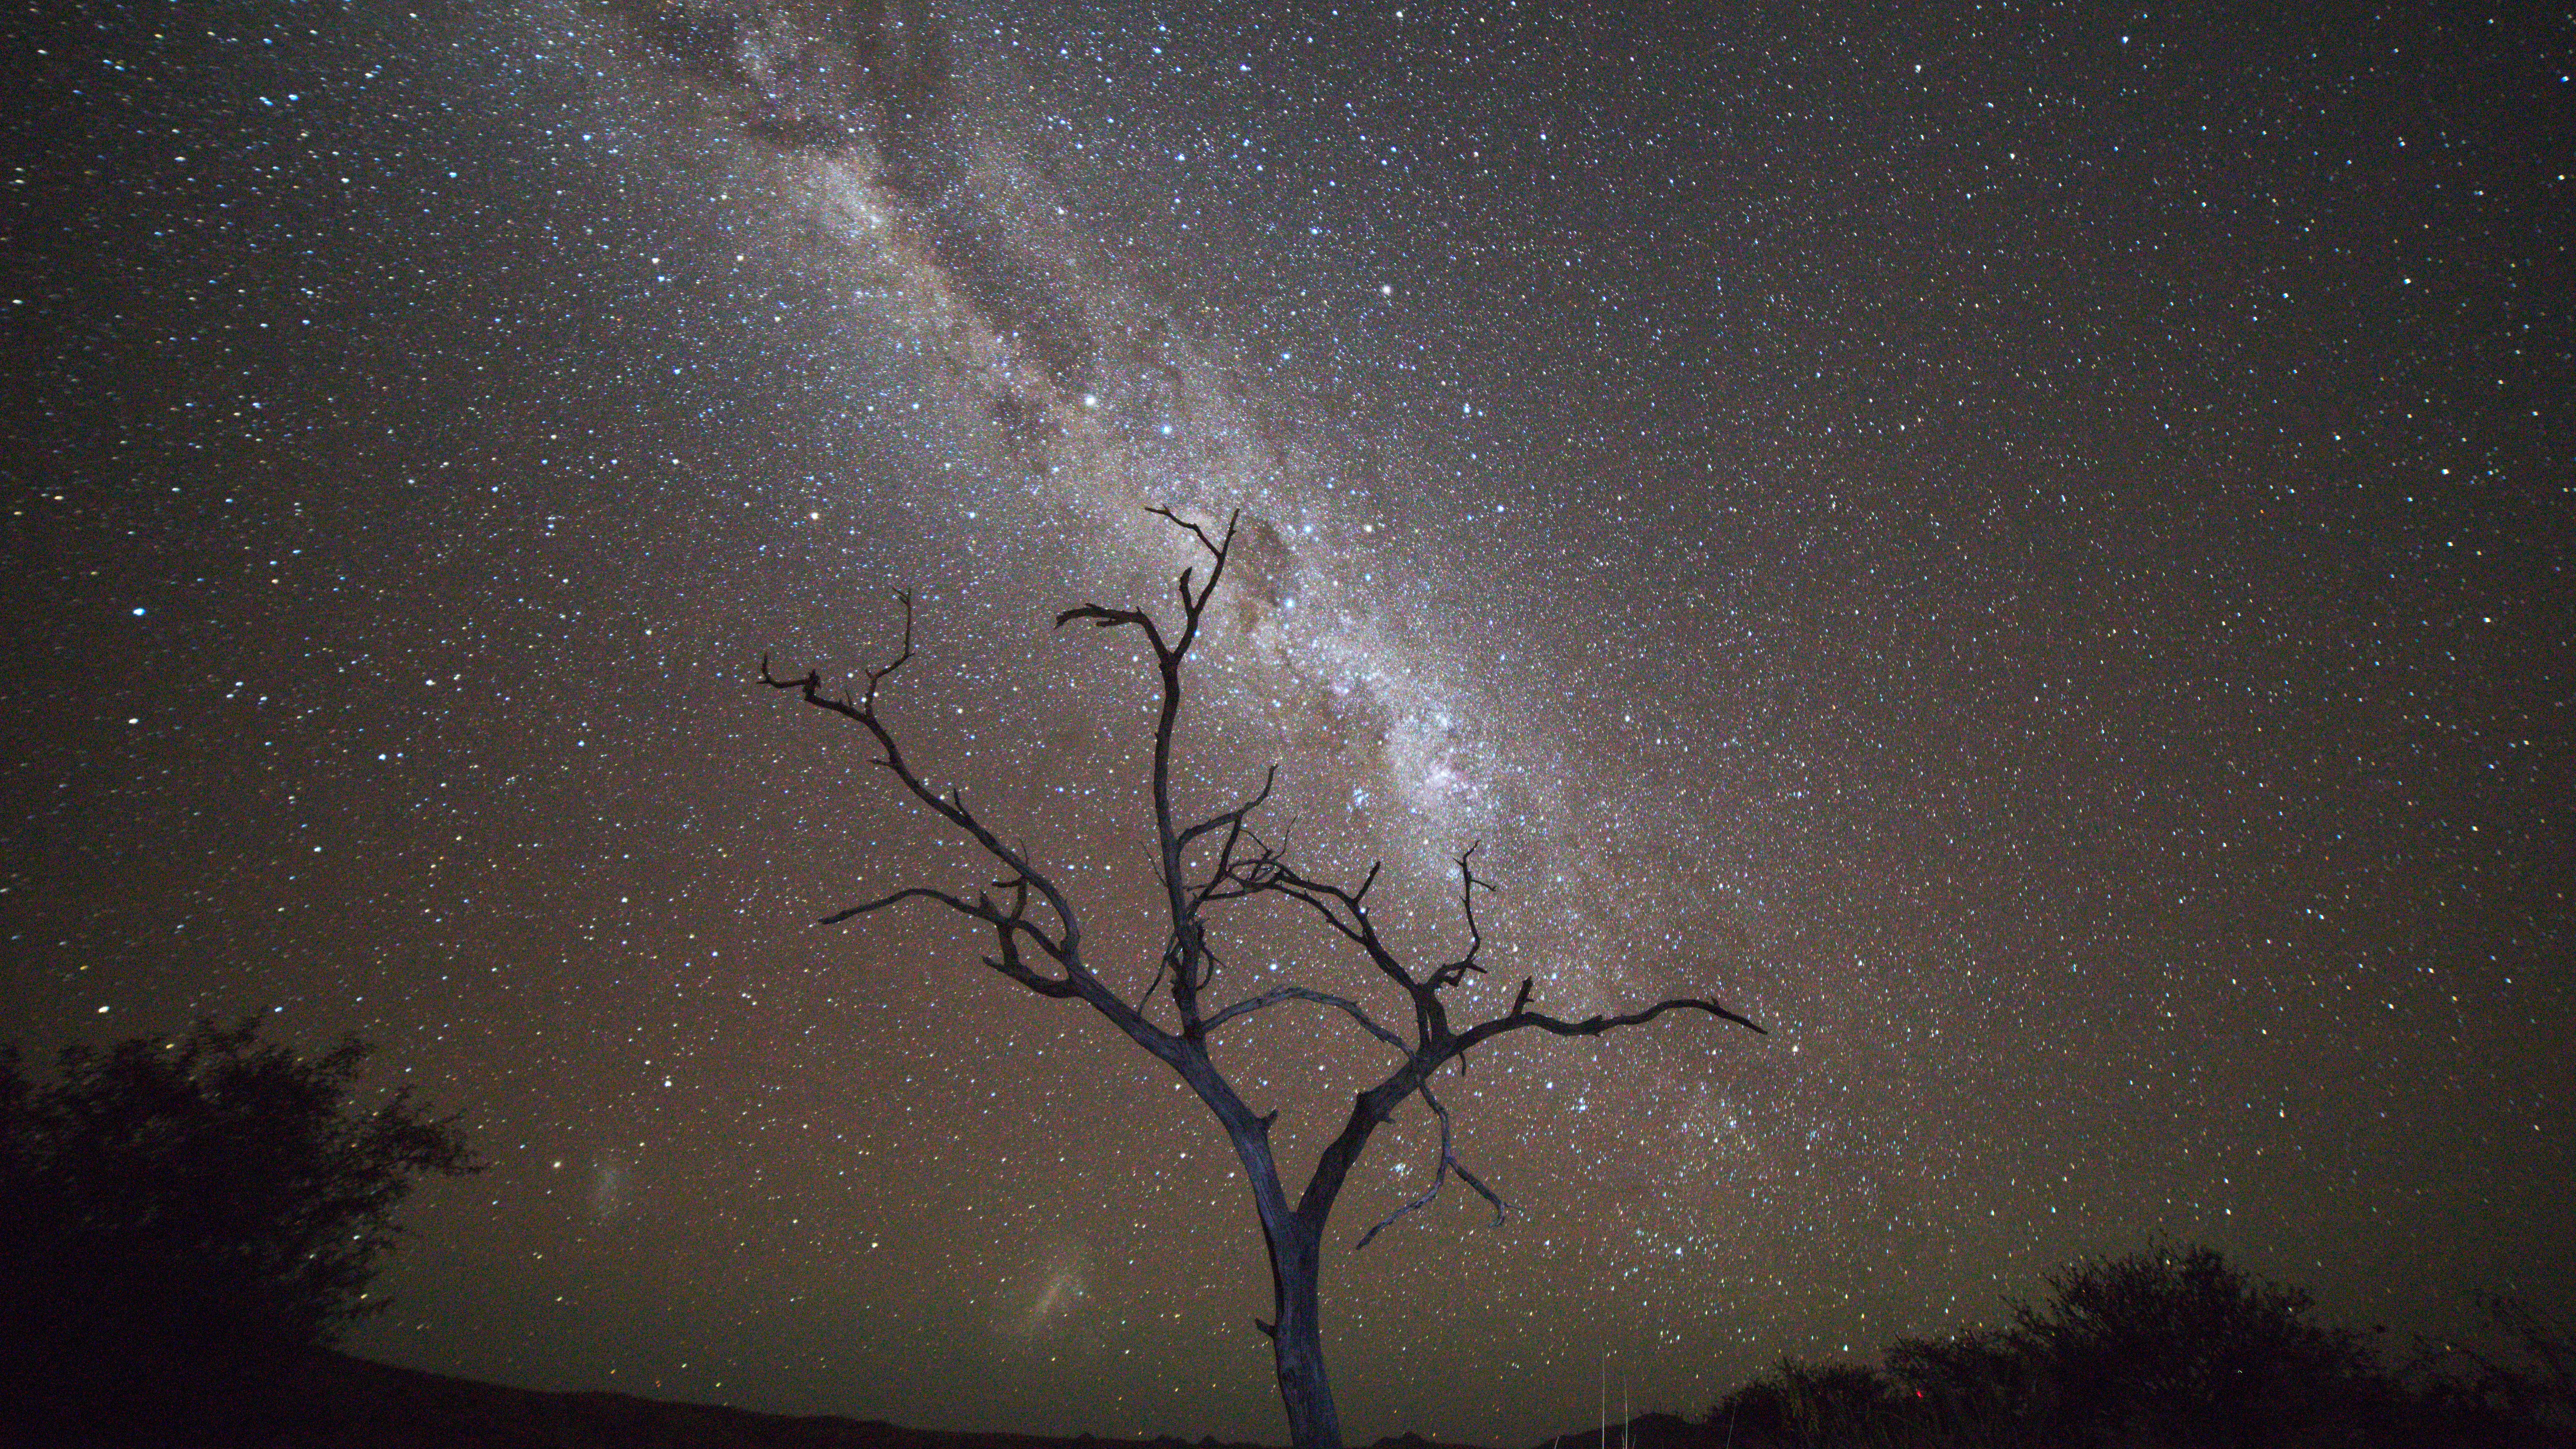 The Milky Way in Namibia, July 2026. A 30-second single exposure!
Choosing the location
Germany
First, the good news: you don’t have to go on a round-the-world trip straight away. We’ll start right on our doorstep – because yes, Germany has some beautiful, secluded spots too!
We’ve actually written our own magazine article about the best German stargazing parks: 👉 Journey to the Stars – The most beautiful stargazing parks in Germany
Please have a look there and then come back here to find out more about the specific travel arrangements.
La Palma
Within the EU, there is another destination that is extremely popular amongst astronomers: it takes just five hours to fly from Munich to La Palma. High above the clouds, on the Roque de los Muchachos mountain, you realise for the first time what a truly dark sky really means. As the cloud cover shields the island from light pollution below, it is the perfect place for observing and photography. At an altitude of over 2,000 metres, atmospheric turbulence is also significantly lower – a huge advantage for astronomy.
As a private individual, you can’t set up your equipment right next to the professional observatories (strict rules apply there), but that’s no problem: you’re allowed to gaze at the stars along the LP-4 country road or, even better, at the so-called ‘Astro-Miradores’ – observation platforms set up especially for us astronomers.
The best times to visit & tips for La Palma:
- Best months: June, July and August. During this period, the Milky Way is spectacularly high in the sky. You can capture breathtaking panoramic views of the Milky Way and deep-sky images.
- More celestial objects: Due to the geographical latitude of approximately +28° N, you are closer to the equator. As a result, even at the summer solstice, the nights are completely dark for at least six hours. Celestial objects become visible that are rarely or never seen here in Central Europe – it’s well worth looking deep towards the south!
- Pleasant weather: Temperatures in summer are very pleasant both during the day (around 25 °C) and at night (around 9–12 °C). However, you should pack a warm jacket and a hat for the night, as it can get windy.
- Getting there & logistics: Condor, for example, offers affordable direct flights from Munich on Wednesdays, so you can avoid having to change planes. With a hire car, the well-paved mountain road is easy to drive along. By the time you break through the cloud cover, you’ll know you’re well on your way to the summit. The journey from the airport to the top takes about 1.5 hours.
Benefits at a glance:
- Easy to get to (e.g. by direct flight from Munich)
- EU country: No visa or currency exchange required
- Freely accessible, very safe observation points
- Affordable holidays (approx. €900–1,300 per week per person)
- The island offers some fantastic places to visit, even if you’re not interested in astronomy
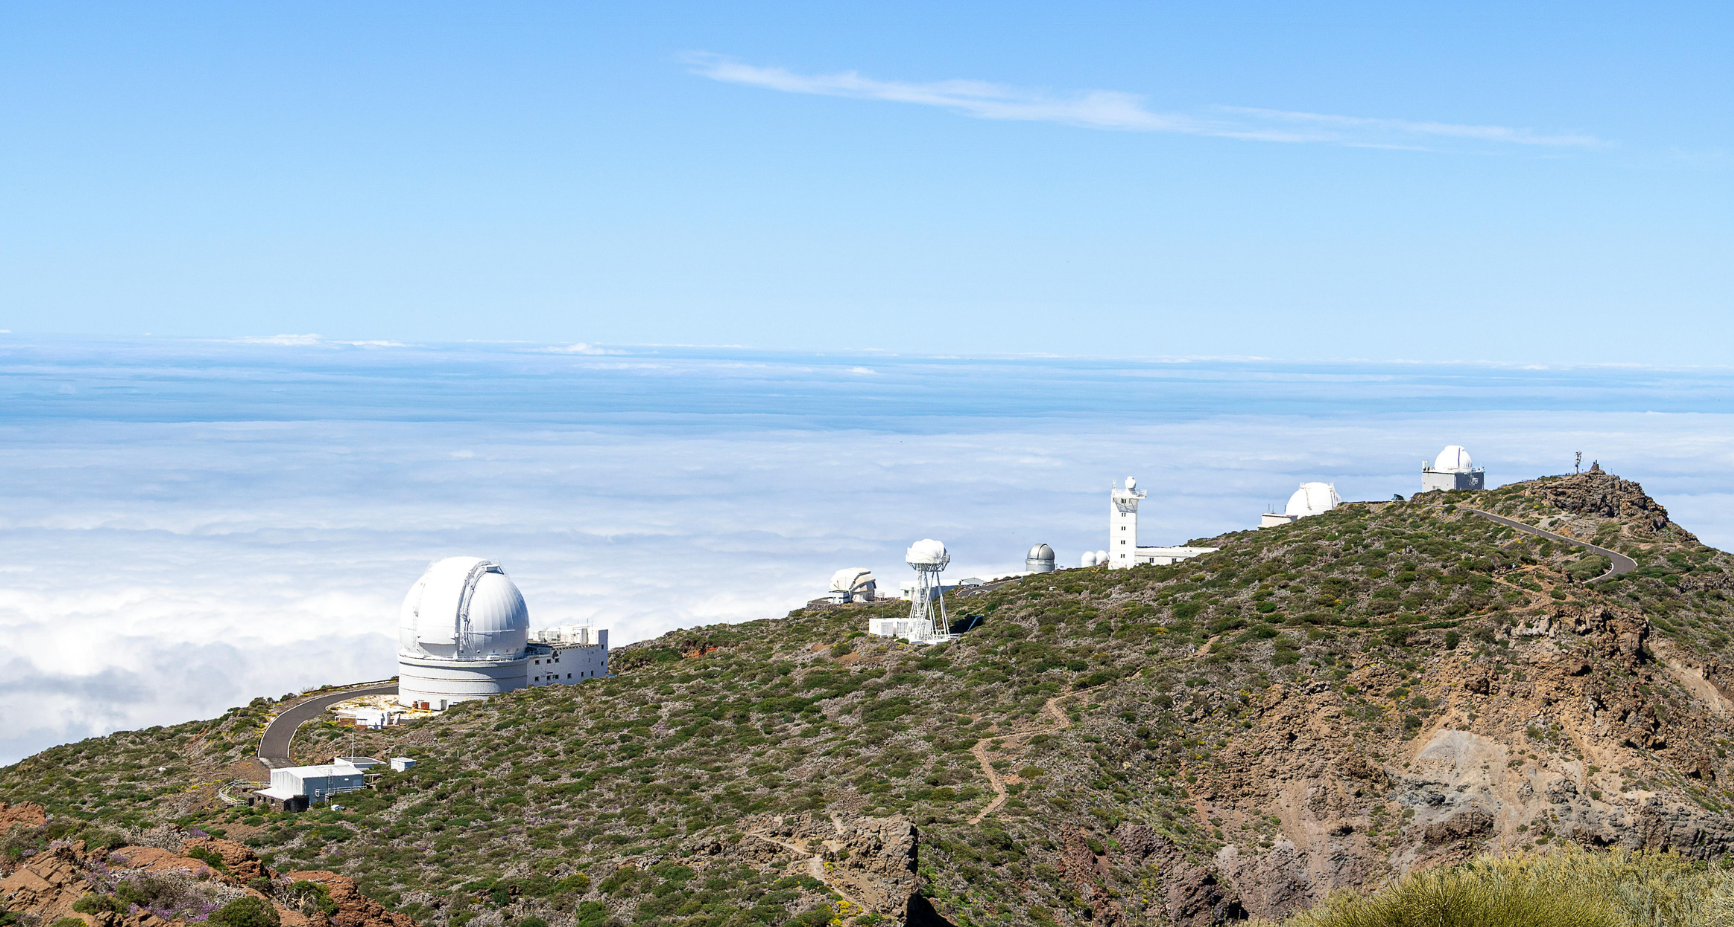 The Roque de los Muchachos Observatory on the highest mountain on La Palma
Namibia
Namibia is arguably the most popular and one of the best destinations for stargazing in the world. After a flight of around 9.5 hours from Munich to Windhoek, you can look forward to an extremely dark sky and a whole new constellation that is otherwise hidden from Europeans. Namibia is home to numerous specialist astro-farms that provide comprehensive catering, activities and, if necessary, even equipment.
A big plus: as Namibia is in the same time zone as us, there’s no jet lag!
The best time to visit is the dry season between June and August. This is winter in the southern hemisphere, which offers several advantages:
- Long nights: It gets dark early – you can take photographs or observe the area continuously from around 7.00 pm until 5.00 am.
- No pests: Insects such as mosquitoes are virtually non-existent at this time of year.
- Clear weather: The chances of rain and cloud cover are virtually zero.
- A perfect sky: the Milky Way is right at its zenith at this time.
- Mild temperatures: It’s pleasantly warm during the day. At night, it’s similar to our summer nights – though it can sometimes be a little cooler, depending on the location.
As well as stargazing, you can book guided day trips or explore the region at your own pace.
What do you need to bear in mind when visiting Namibia?
- Visas & Road Traffic: You will need a visa, which can be obtained in advance online or on arrival. Please note that traffic drives on the left.
- Car hire: Many astro-farms offer transfers. If you wish to hire a car yourself, you should definitely choose a 4x4, as most roads outside Windhoek are unpaved. Please drive with due care in these areas.
- Clothing & Nature: Animals aren’t a major problem in winter. Nevertheless, sturdy footwear and long clothing are recommended. Reptiles sometimes become active in the mornings – so it’s advisable to keep a close eye out.
My personal experience: The Hakos Astro Guest Farm
Speaking from my own experience, I can highly recommend the Astro-Gästefarm Hakos. Located about 2.5 hours from Windhoek, you’ll be welcomed by extremely friendly hosts. The excellent, varied food is particularly worth mentioning. The rooms are well-maintained and lovingly furnished, and the whole complex offers a wonderful atmosphere in which to relax during the day.
You can set up your equipment on one of the three large terraces. The trained staff will be on hand to provide prompt assistance in the event of technical emergencies (such as missing adaptors or cables).
Whilst I was there, I had the chance to hire a large Dobsonian telescope and enjoy this unique sky through the telescope. At an altitude of around 1,800 metres, atmospheric turbulence is extremely low, which is a huge advantage for both photography and visual observation.
The natural surroundings of Hakos are also breathtaking: nestled in the mountains, as well as the night sky, there are fantastic walking routes through dry riverbeds and acacia forests, where, with a bit of luck, you might spot zebras or springboks.
Duration & cost: I recommend a trip lasting 7 to 10 days – you’ll need the first few nights just to get used to these breathtaking sights anyway! In terms of cost, a trip like this works out at around €1,900 to €2,500 per person (including flights and visa), depending on the hire car and meal plan.
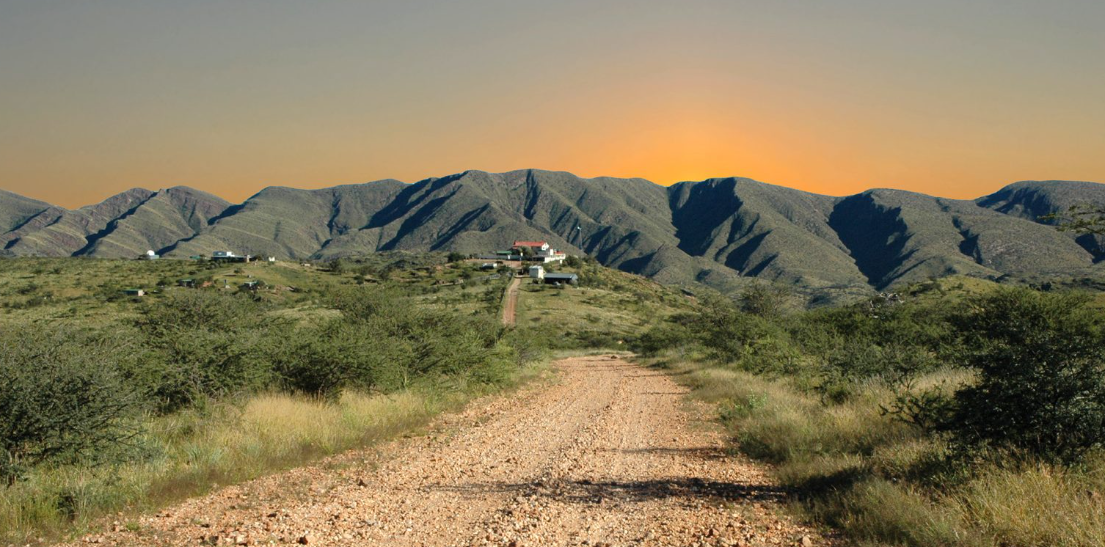 View of the Hakos Astrofarm, just before arrival
Have you chosen your holiday destination? Then let’s get on with the preparations!
The first question that comes to mind is: What should I take with me? As well as plenty of clothes, the astronomy kit must, of course, be packed securely.
1. Don’t forget your binoculars
I recommend that everyone – whether you’re purely an astrophotographer or a visual observer – takes a pair of binoculars with them. They weigh next to nothing, are very useful during the day and allow you to spend hours at night leisurely wandering through the constellations. What’s more, they fit easily into any hand luggage.
2. Packing hand luggage and suitcases properly
If you are travelling with larger items of luggage, you should check with the airline in advance. In most cases, one small piece of hand luggage (to be stowed under the seat) and one wheeled suitcase are permitted in the cabin.
- The following items should be carried in your hand luggage: cameras, eyepieces and sensitive optical equipment.
- The case (checked luggage) can hold: the mount, tripod, cables and protective cover.
- Tip for mounts: Tighten azimuth screws and other protruding parts fully, or unscrew them completely for transport to prevent anything from becoming bent.
3. Choosing a mount
If you’re thinking about buying new equipment for your trip, your best bet is a Strain-Wave-Drive mount (Harmonic Drive). You’ll save yourself the hassle of heavy counterweights, and the mounts are extremely compact. They’re often supplied in a suitable carry bag. I’d also recommend adding a small star tracker so you can even take dual exposures if needed.
4. Power supply & batteries (Important!)
Although most astro farms provide an on-site power supply, you should take care when using your own power banks and rechargeable batteries:
- Larger batteries must be carried in hand luggage and, above certain capacities, are not permitted on board by airlines at all.
- Check in advance the permitted milliampere-hours (mAh) or watt-hours (Wh) allowed by your airline and, if in doubt, take the battery’s technical safety data sheet with you.
5. Compact control unit
If you want to take photographs, you should keep your setup as simple as possible. Smart control units or cameras with built-in controls (such as the ZWO ASIair series) combine guiding, camera and mount control in a single device. There’s no need for a PC or a separate tracking tube at all – you can control everything conveniently via a smartphone or tablet. This saves a huge amount of weight and prevents a tangle of cables!
I took the following equipment with me to Namibia:
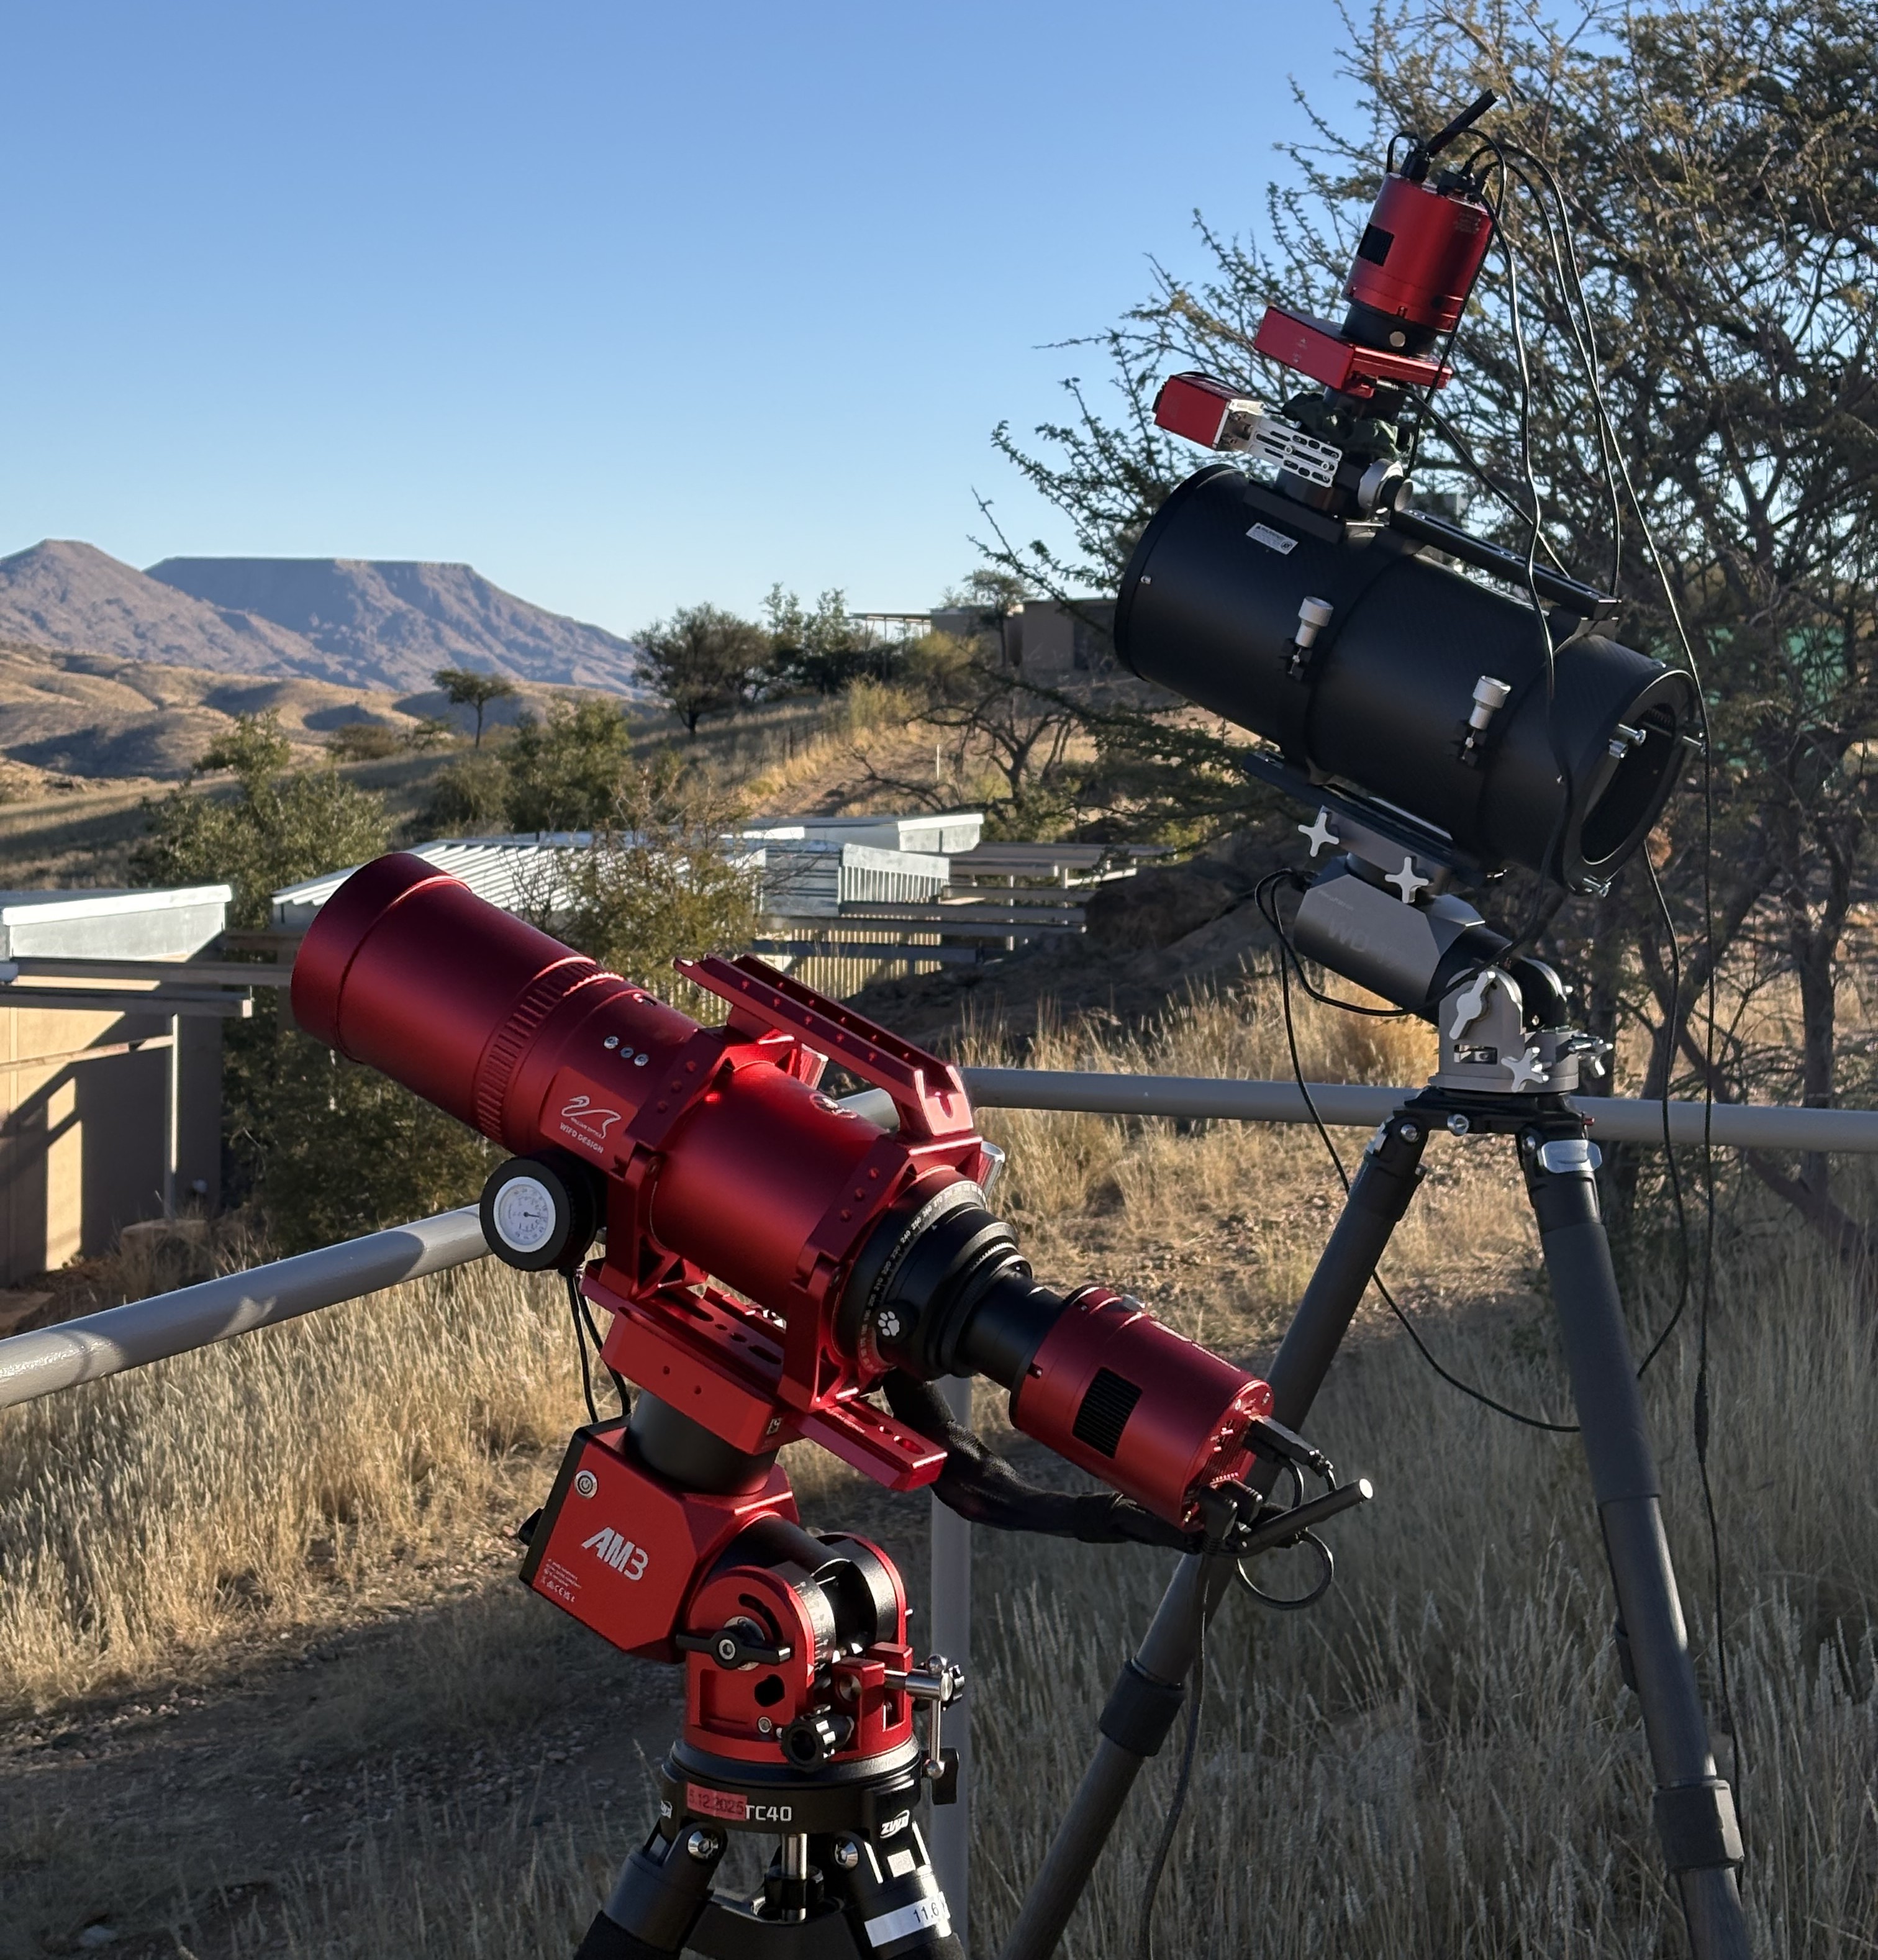
Setup 1:
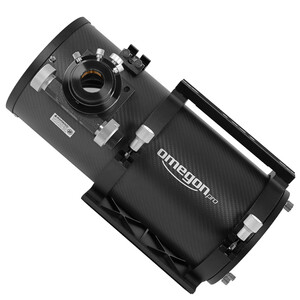
- Telescope: Omegon 150/500
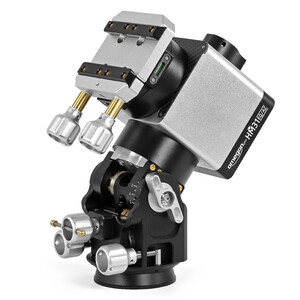
- Mount: Omegon HEMI 31
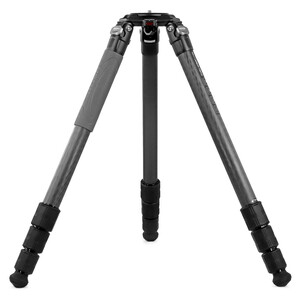
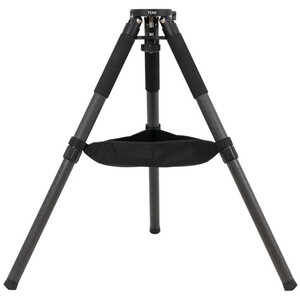
- Tripod: Omegon tripod
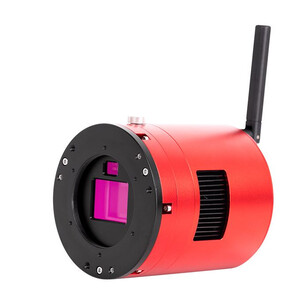
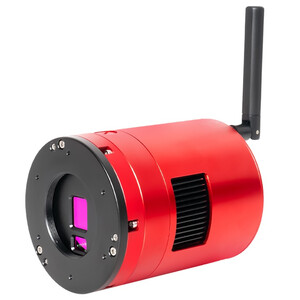
- Camera: ZWO ASI 2600 MC Air
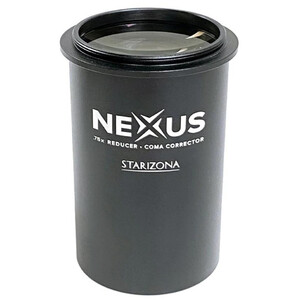
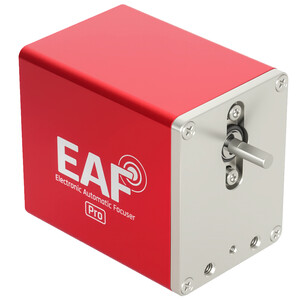
- Accessories: ZWO CAA Rotator, ZWO EAF PRO, Starizona Nexus
Setup 2:
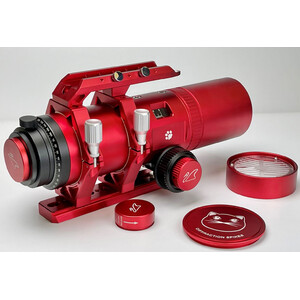
- Telescope: William Optics RedCat 71
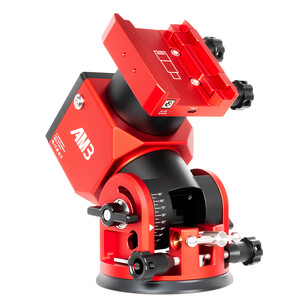
- Mount: ZWO AM3N
- Camera: ZWO ASI 585 MC Air
- Tripod: ZWO TC-40
- Accessories: ZWO EAF Pro
Project planning and framing
Before you finalise your choice of equipment, you should plan which subjects you’d like to photograph in the Southern Hemisphere or at your destination. This will help you quickly work out which focal length and frame composition you’ll need.
1. Use the software: Use the free Stellarium software (for PC or smartphone).
2. Enter data: Enter your sensor size, the telescope’s focal length or the eyepiece specifications.
3. Simulate framing: Use the eyepiece/camera simulation to find the best frame for your chosen subjects.
4. Finding inspiration: Celestial objects can be discovered either directly in Stellarium or through specialist literature (e.g. the books by Ronald Stoyan). Personally, I prefer the 3D simulation in Stellarium, as it allows you to perfectly assess the path of the objects across the sky throughout the night.
My tip: Before you set off, make a detailed list of things to look out for – things that aren’t visible from where you live. After all, who knows when you’ll next get the chance!
Author: Marc-Antonio Fischer
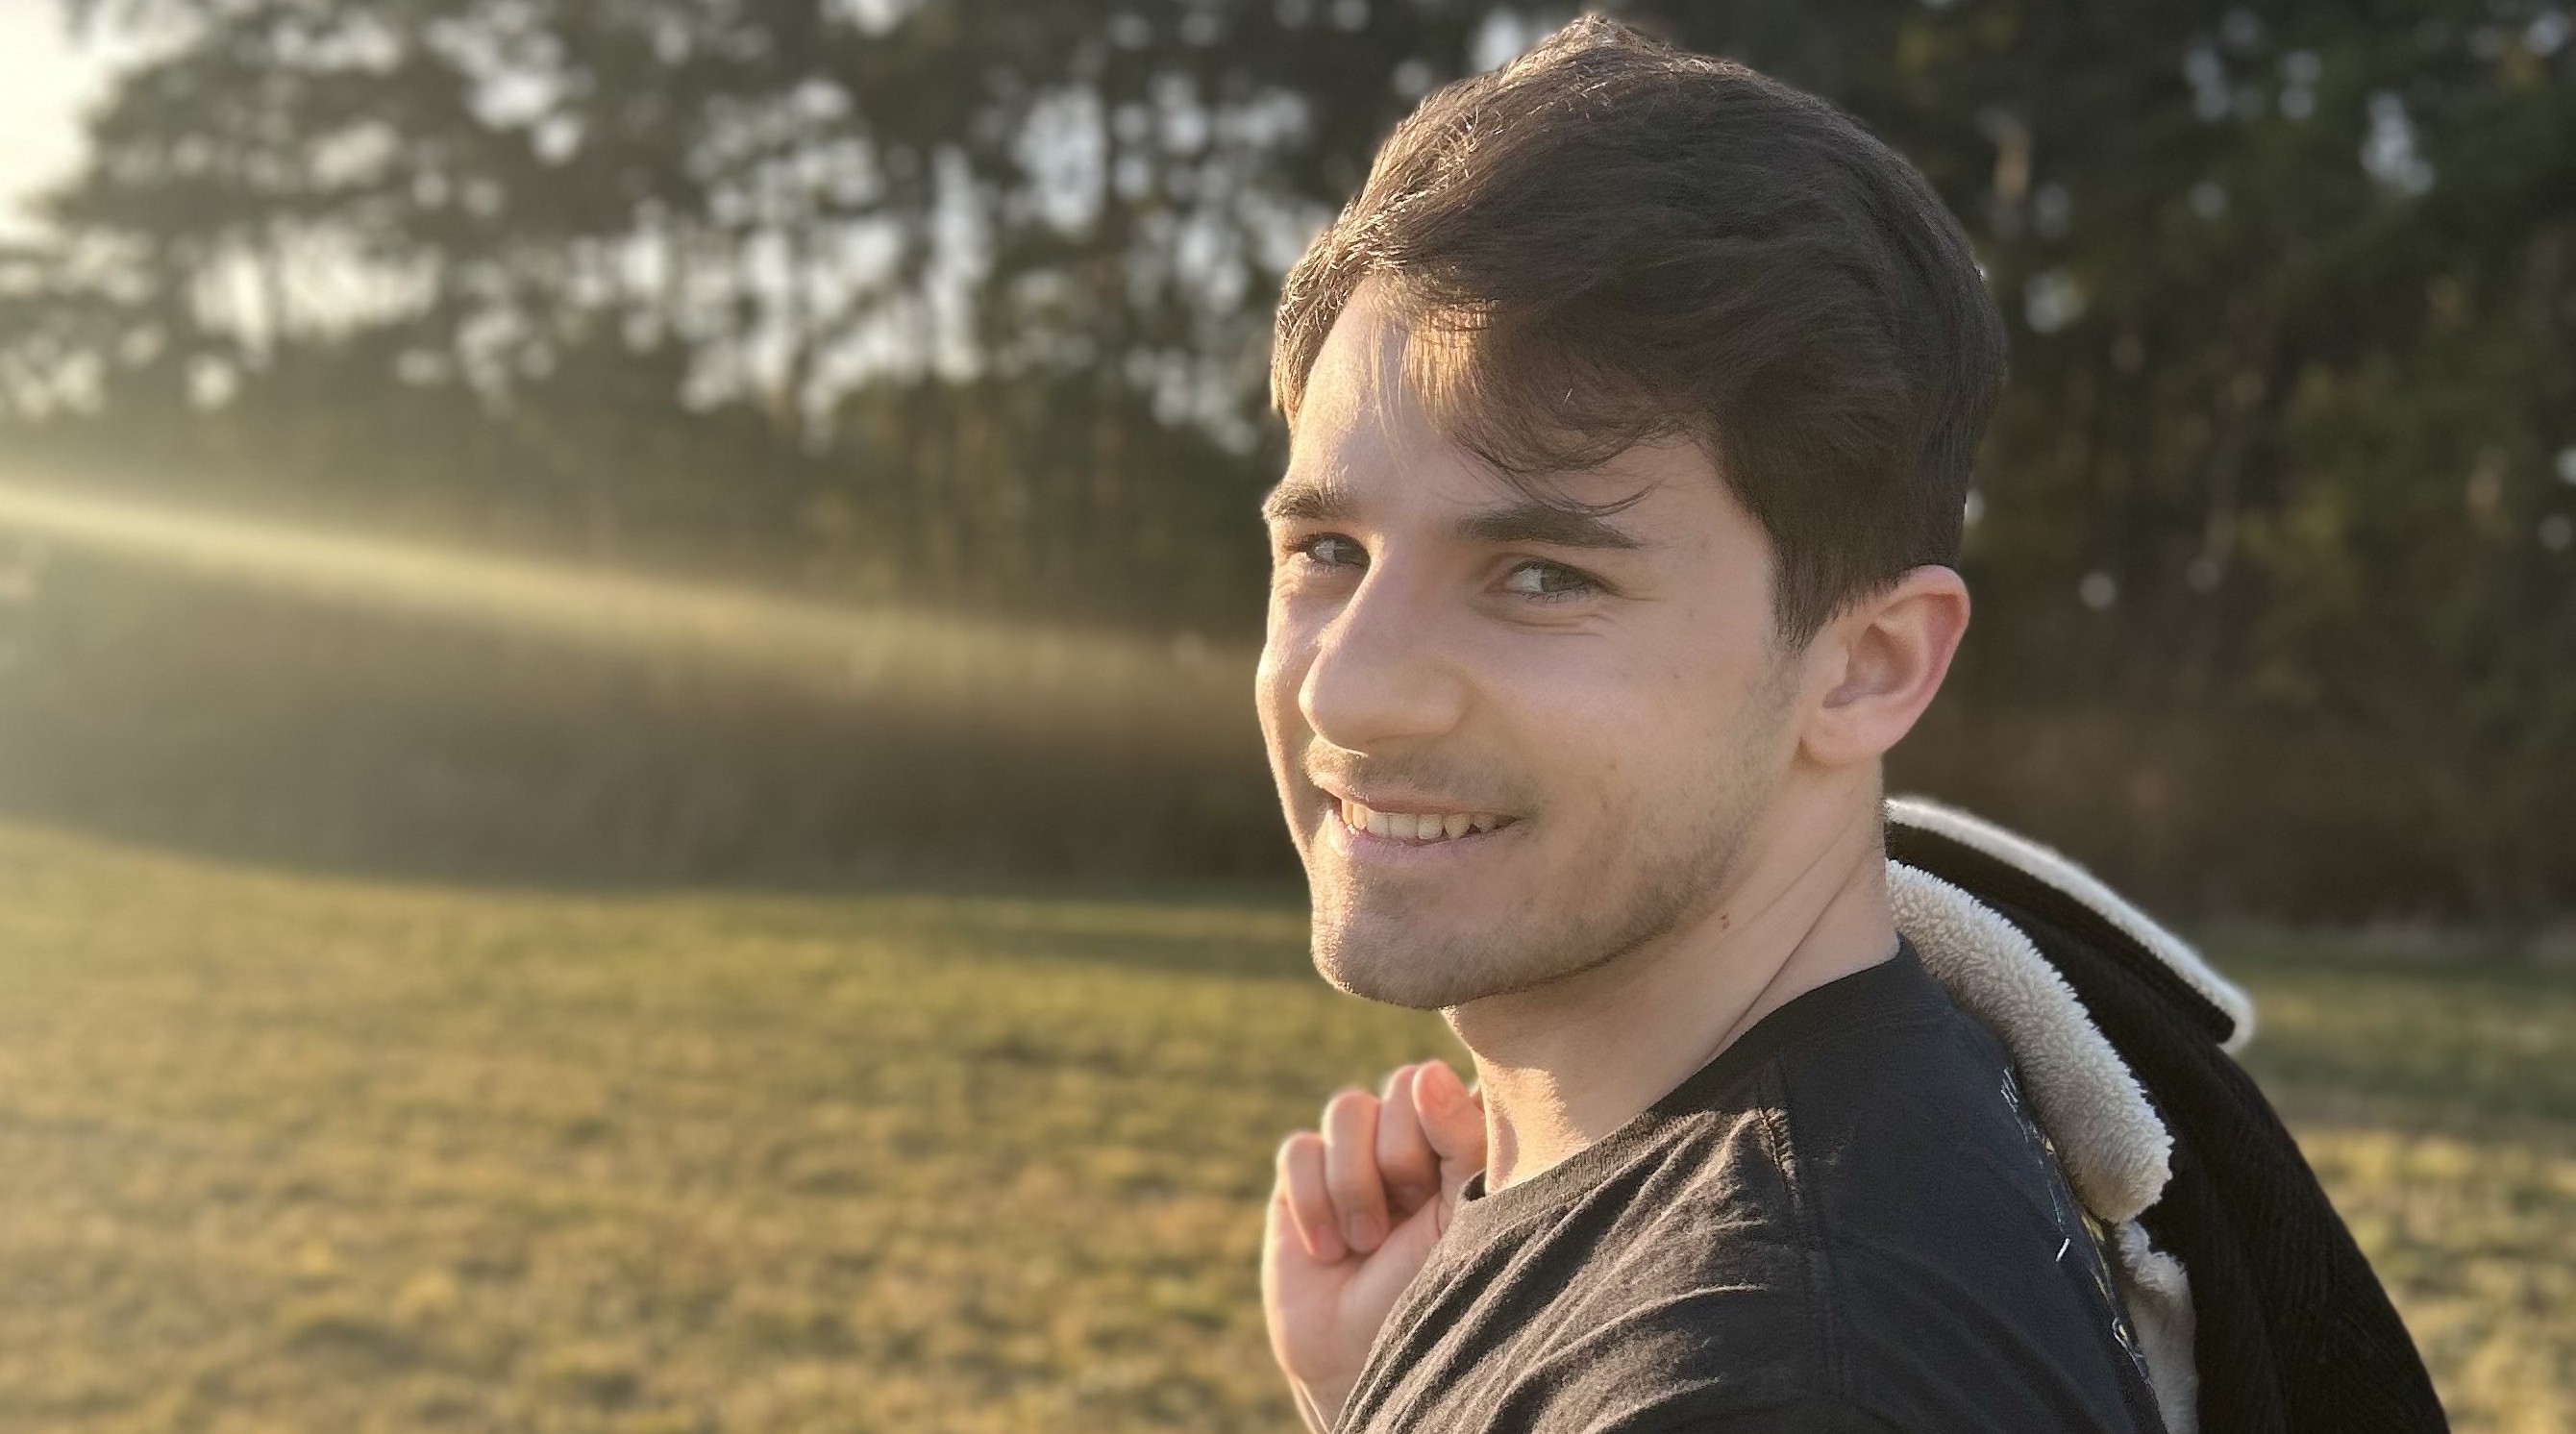
Marc-Antonio, also known online as astronomical_horizon, is a passionate astrophotographer who specialises in fast reflector telescopes. His speciality: small planetary nebulae. When he’s not gazing at the stars, his heart lies with botany. He knows the local flora like the back of his hand. If he has any time left over, he picks up his electric guitar.