

Capturing shooting stars
Meteor imaging technique
There are many meteor showers over the course of the year. What is the best way to capture these brief luminous phenomena?
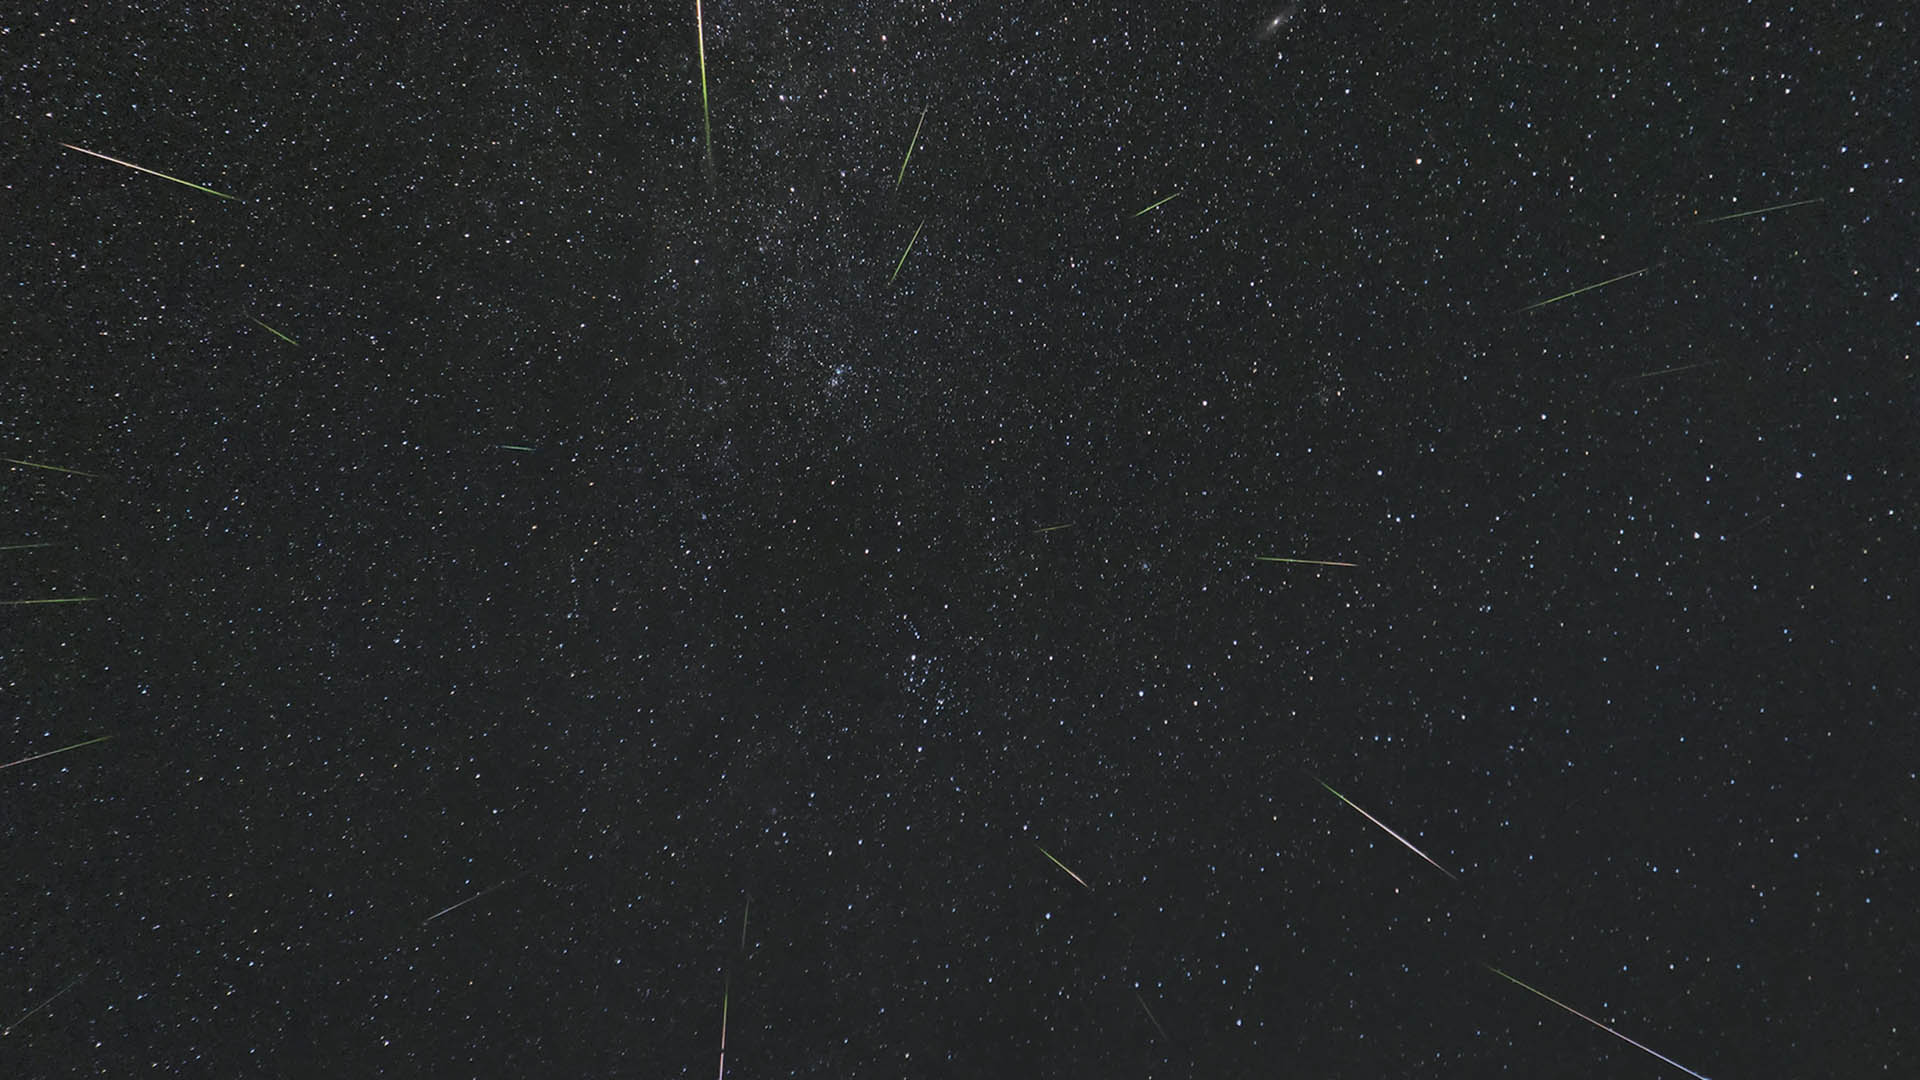 The Perseids – here in a photograph from 2016 – are volunteering themselves for photography experiments this year. Image data: Leica D-Lux (type 109) at ISO 1600, 24mm focal length. Michael Schmidt
There are many different meteor showers throughout the year, each causing an increased occurrence of shooting stars. Among the most well-known and with the highest incidence rates are the Geminids in December, the Quadrantids in January, and the Perseids in August. What is the best way to capture these brief luminous phenomena?
Meteors are caused by fine pieces of debris which are, for example, left behind by comets travelling through space. They meet the Earth's atmosphere at relative speeds of around 20km/s to 70km/s. Friction slows them down and, in the process, air molecules are stimulated to emit light. The resulting trails of light are only visible for fractions of a second. This makes them quite unlike almost any other astrophotography subject. In addition, only a rough prediction of the expected incidence rate is possible, and it is not possible to say in advance from where in the sky individual meteors will appear. Targeted photography is therefore not possible – you could say it’s another type of "lucky imaging". Nevertheless, some parameters can be optimized to make a lucky hit more likely and to create a better image.
Dunkler Ort und stabiles Stativ
The first really important factor has nothing to do with technology: as is so often the case in astronomy, you should first find a site that is as dark as possible. This is especially the case if you have found a beautiful backdrop or a striking constellation to include in your image, then you need to be sure that there is no stray light from a nearby town in the direction of your shot. A quick look at a light pollution map is helpful here. Meteor photography is actually quite simple: we photograph a large area of the sky for a longer period of time. This means that it requires only a small amount of technical effort; basically, just like for star trail photography, a steady camera on a tripod is all you need. Besides star trails, you will hopefully also find one or the other meteor in the picture. Such images can look even more attractive against a lovely horizon background. However, if a beautiful constellation or the Milky Way are to be used as the backdrop, it makes sense to also use tracking.
Short focal length, high light gathering capability
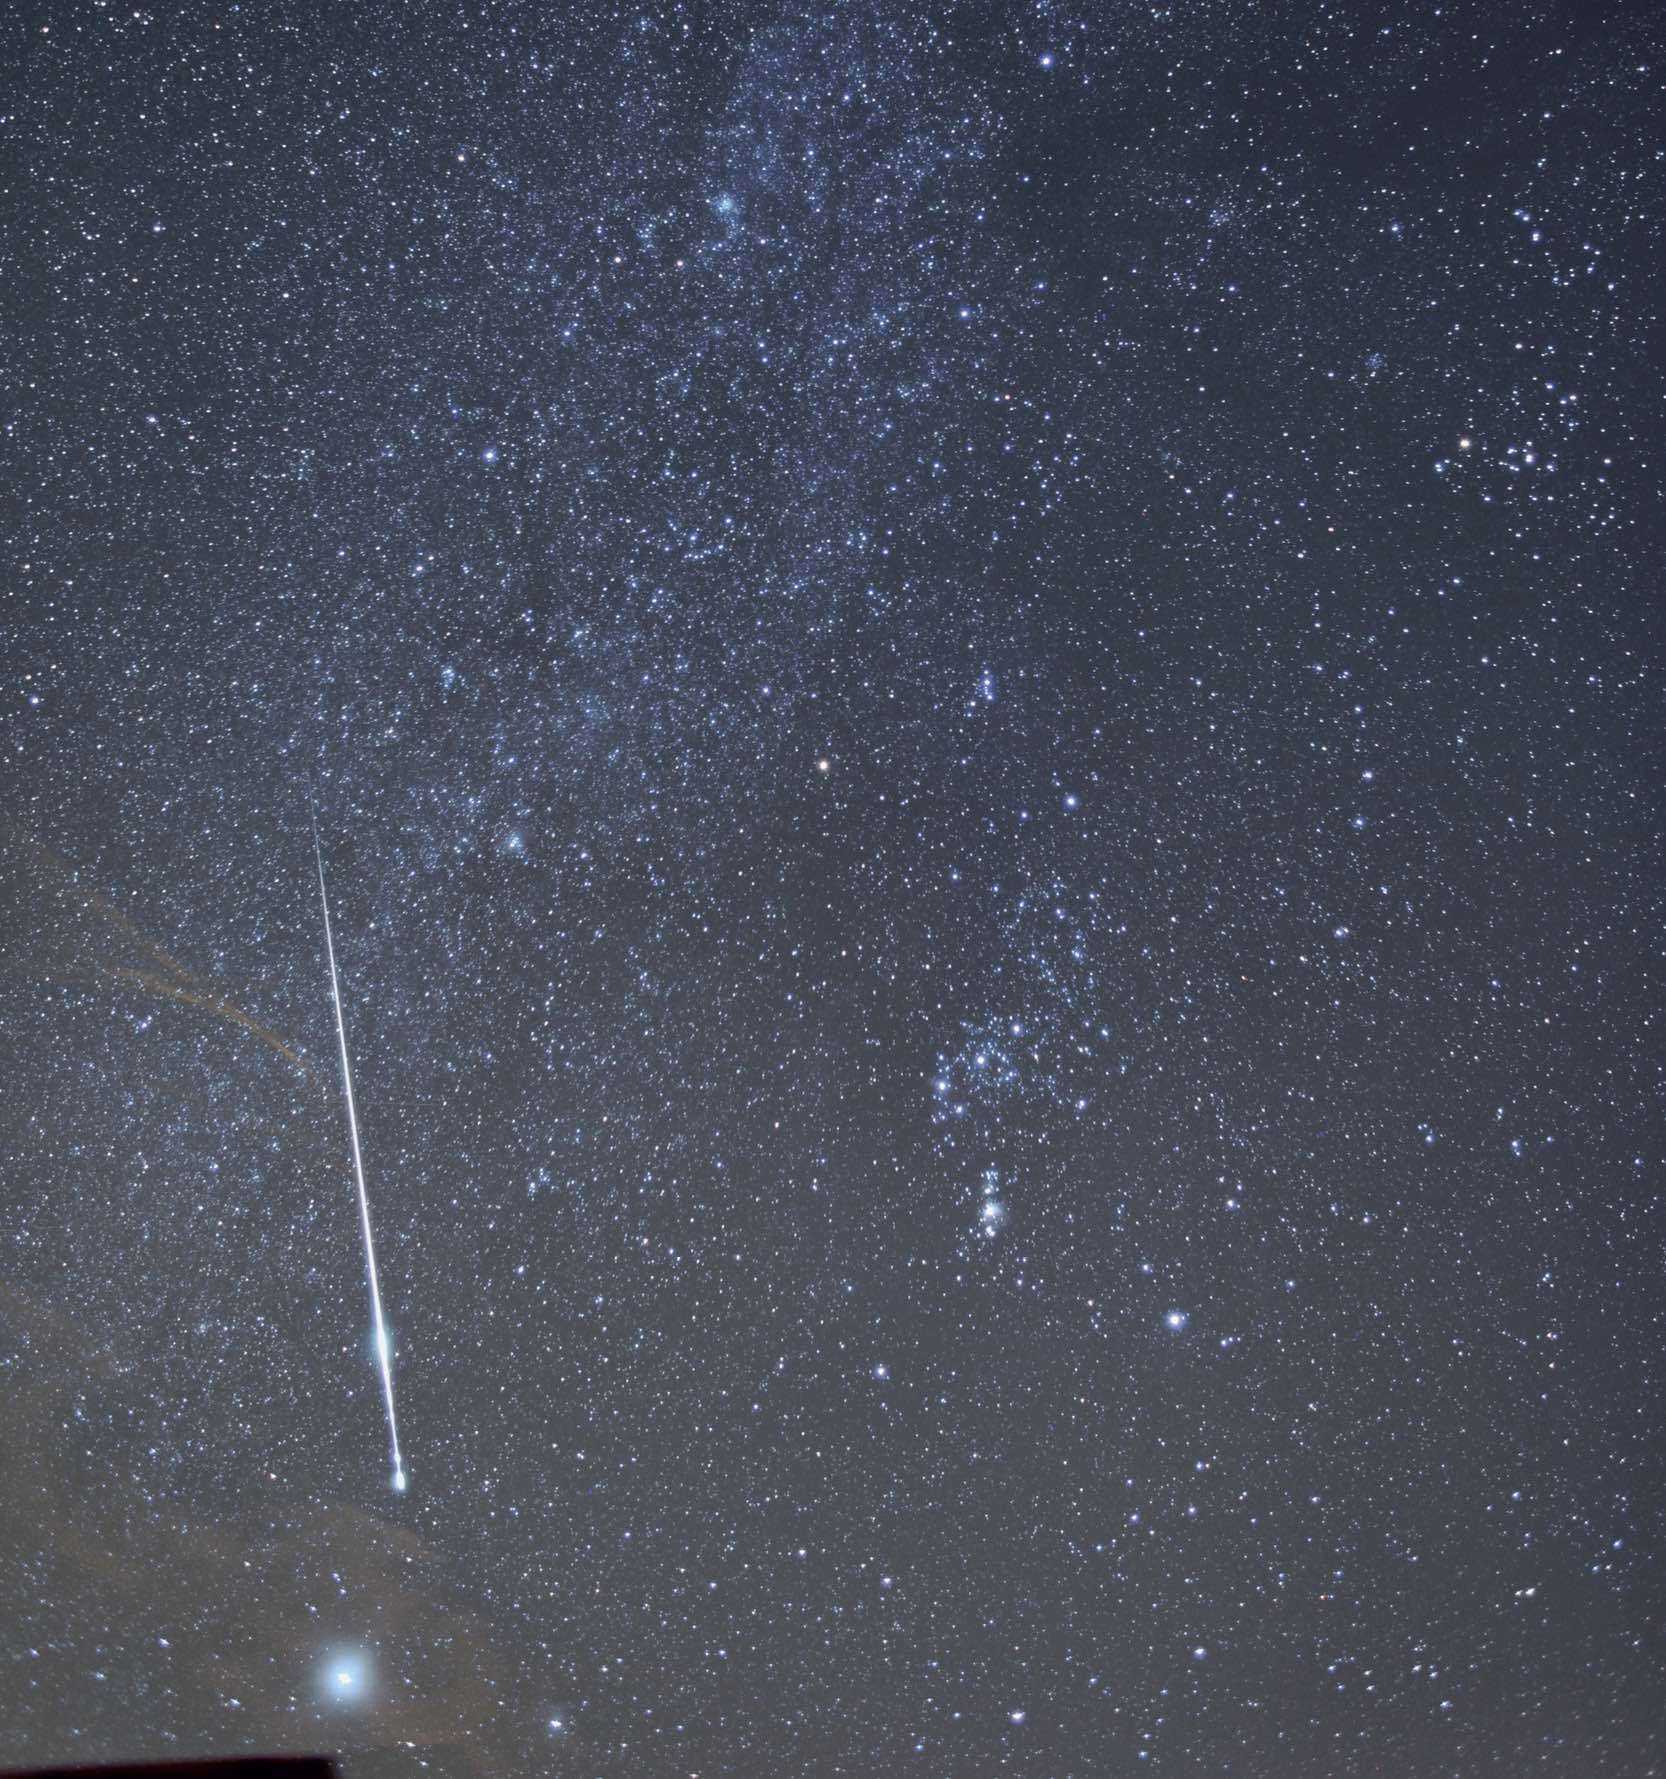 A very bright meteor in the constellation of Orion. It even left behind a small "smoke trail", which was still visible in the subsequent images in the series. Image data: Canon EOS 5D Mk II at ISO 800, 24mm focal length and f/2.2 aperture M. Weigand
Because meteors are such a short-lived phenomenon, the camera sensor must collect as much light as possible over a short period of time. Therefore, a fast lens is probably the most important point to consider. A f-number of 2.8 or lower is optimal. Even the most expensive lenses will usually need to be stopped down to avoid aberrations in the corners of the images. Normally, the exposure time would simply be extended to compensate for this. You don't have that luxury here, so the aperture should be wide open.
For the maximum possible chance of success, it is advisable to select a large area of the sky, which is why wide-angle lenses with focal lengths of 24mm or shorter are recommended. Fisheye lenses are an interesting option because they can capture the entire sky. However, in most cases, aperture trade-offs have to be accepted – there is nothing better than f/2.8 here.
Programming a series of images
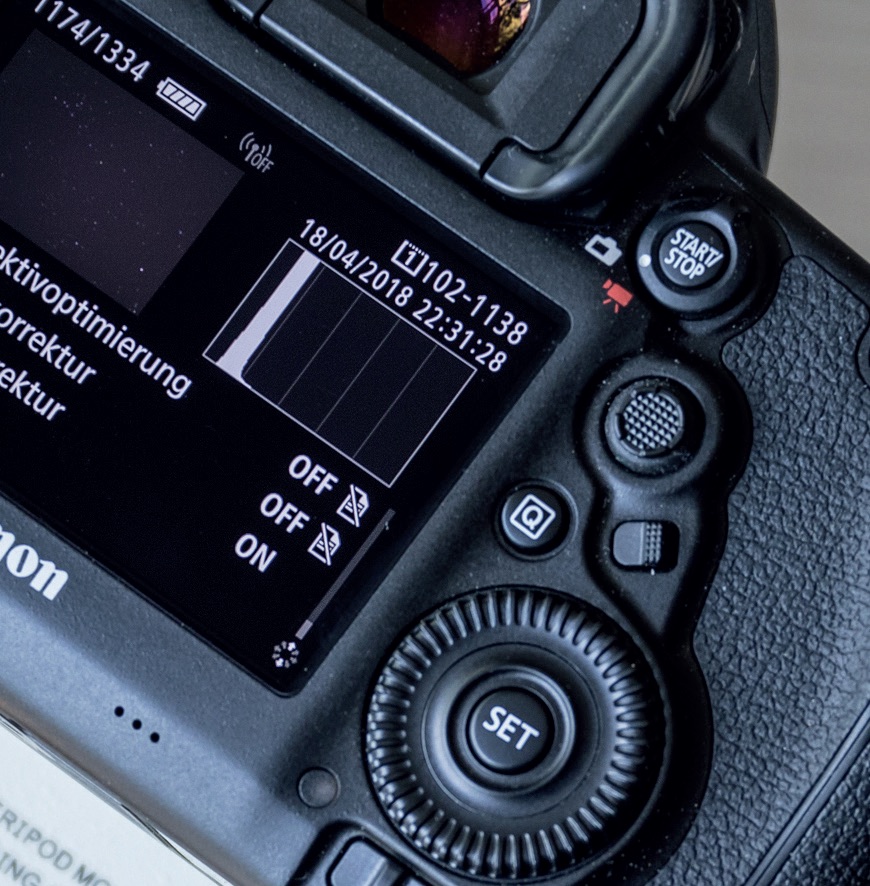 A look at the histogram is helpful to identify the correct exposure time. The sky typically stands out there as a clear maximum, which should be around 10% to 20% of the value range. M. Weigand
Depending on your camera model, it should be operated in Manual mode M or directly in Bulb mode B, giving you full control of all important parameters. For sensitivity, an ISO value between 800 and 3,200 is recommended. The picture format should be changed to RAW for the best possible image quality. Furthermore, any built-in noise reduction filters should be deactivated. The lens should also be switched to manual mode and, if appropriate, any image stabiliser switched off. Finally, we need to focus carefully, as a slightly incorrect focus point will render fainter meteors completely invisible. The easiest way to focus is to first set the distance scale on the lens to infinity. In the second step, use the live image on the camera display at maximum zoom to exactly focus on a bright star or a distant object on the horizon.
Due to the unpredictability of meteors, you need to capture a region of the sky using as long an exposure time as you possibly can. It is best to create a series of images with a few minutes’ exposure time per image using a programmable shutter release. The darker the sky, the longer the exposure time can be, the best exposure time can only be found by trial and error.
Luck and patience are also required
You will generally need a large number of images are before you catch your beautiful meteor. So you also need patience above all for meteor photography. It makes no sense to try to chase the meteors with your camera, just because a few bright ones have just passed through your field of view. This is never worthwhile!
It makes sense to stack successful images when processing, that way you can show all the meteors captured together in one picture. You do this in Maximum mode in much the same way as when imaging star trails, this means that the brightest values are selected for each pixel. We recommend the Startrails program for this task, its operation is self-explanatory. Finally, all that remains is to wish you lots of luck!
Author: Mario Weigand / Licence: Oculum Verlag GmbH