

The perfect flat field
The road to error-free astronomy photos
With correcting or flat field frames, you can combat errors caused by dust or uneven illumination.
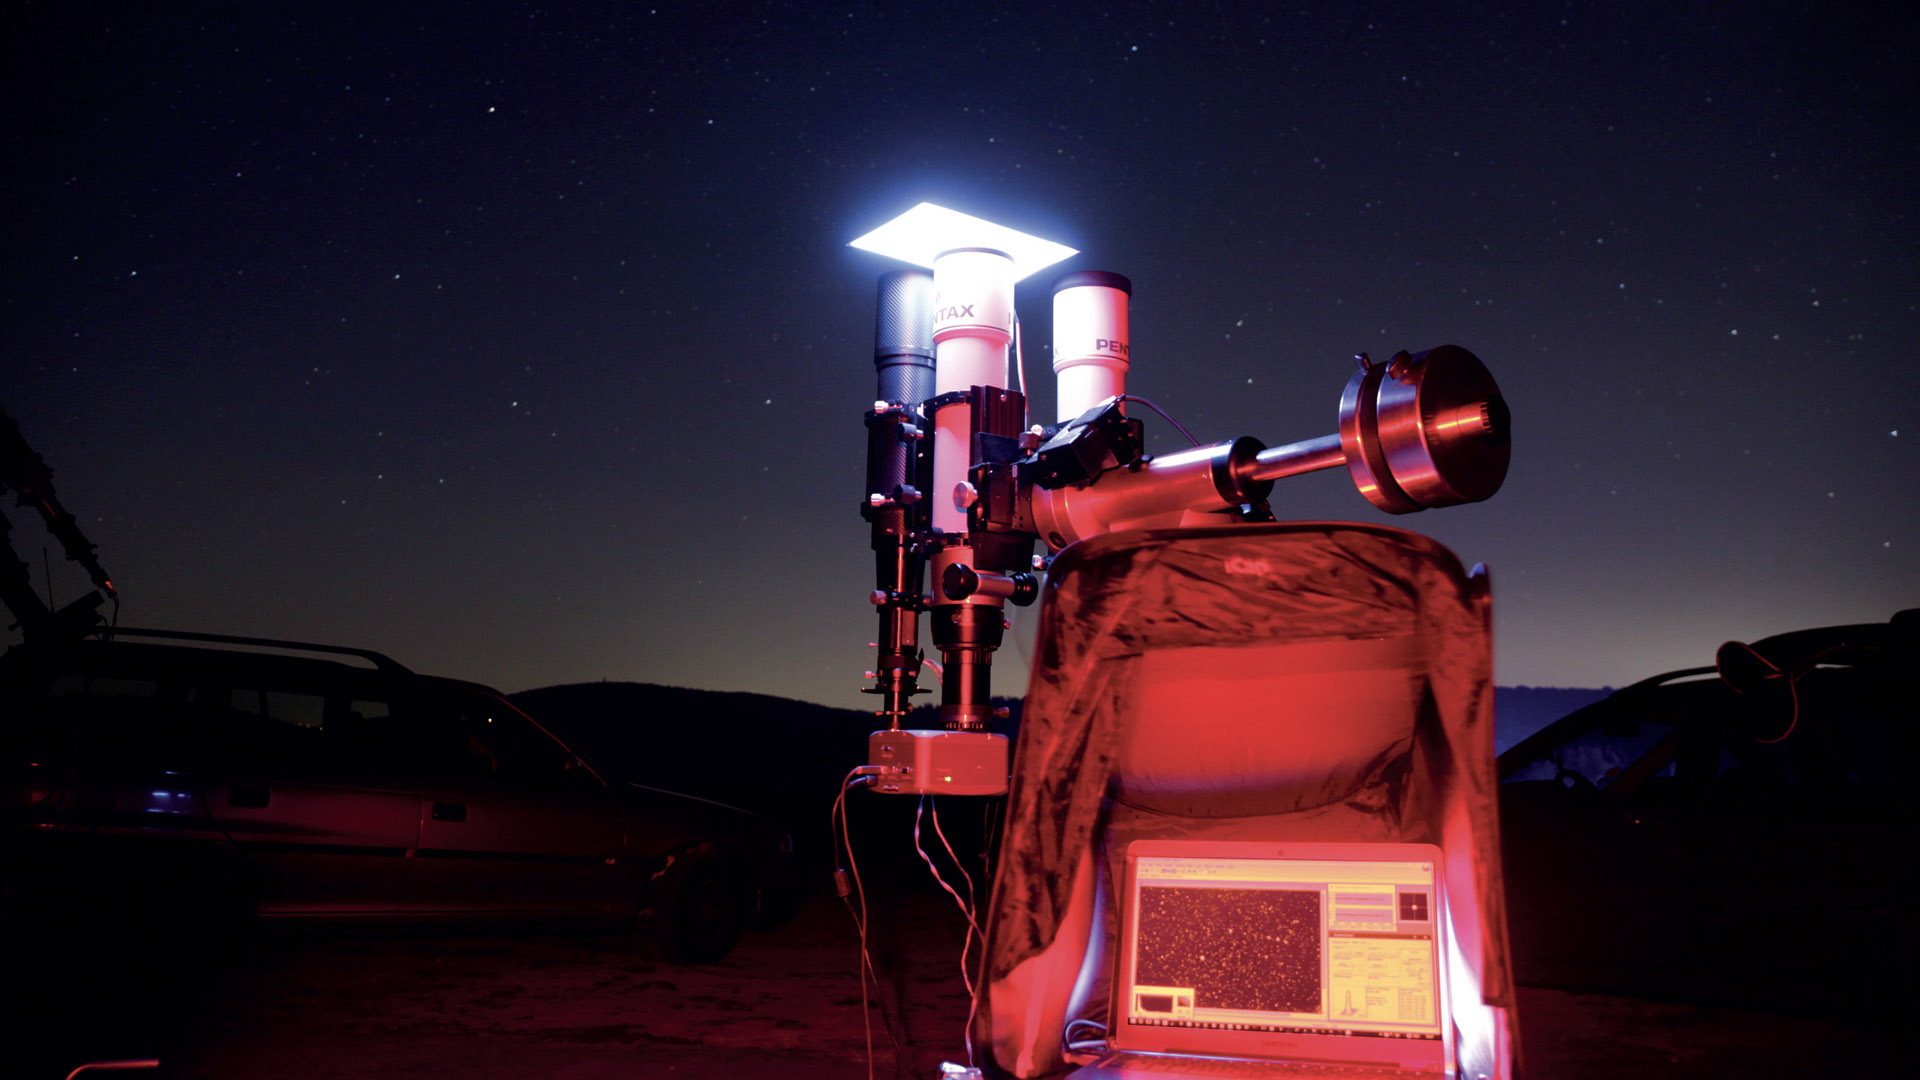 Creating flats with an electroluminescent foil in front of the telescope aperture. M.Weigand
There are various reasons why astrophotography raw data always show a distorted image of the sky. The combination of telescope optics, filters and camera results in uneven illumination across the field of view.
If you want to increase an image’s contrast later during image processing, you will not only improve the visibility of the object, but unfortunately also the image defects. Especially in the case of images of faint and diffuse objects such as nebulae or the outer areas of galaxies, the correction of these errors determines whether the object is correctly displayed in all sections of the image. In the case of photometric images that are used to measure the brightness of objects, image correction is not only useful for a correct interpretation, but is absolutely essential.
Therefore, one of the most important tasks in astrophotography is to create correcting images in order to compensate for such errors. Properly produced correcting images only contain information about the brightness distribution across the image plane. This flattens the astronomical images, which is why they are called flat fields. Flattening is done by calibrating each raw image with the flat field image, a feature offered by any common CCD image processing software.
Uneven image brightness
Each component of the system can cause uneven illumination. The dominant factor is usually vignetting, which is generated by the telescope itself. Only the area that lies in the focal plane from which the entire telescope aperture is visible will not be subject to vignetting. Furthermore, over time dust particles become attached to the optical surfaces. Dust on the objective lens is barely noticeable because it is far outside the area of sharp focus. However, on filters, on the window of the chip chamber or on the chip itself, dust particles appear as dark spots on the images.
Finally, the sensor itself can also be a cause: the sensitivity of each pixel varies slightly and also needs to be corrected.
 A typical flat field frame with telescope vignetting and circular dust spots. M.Weigand
A flat field forever?
The flat field frame should accurately reflect the illumination situation during the exposure. Therefore, flat field frames generally need to be created at the same focus position, camera orientation, and level of binning.
Ideally, flat field frames are created for permanent used for a specific combination of camera, telescope, and filter. This is only possible if the chip centre is on the telescope’s optical axis and its vignetting is symmetrical. The flat field frame can, apart from the need to correct for any new dust spots, then be used in any camera orientation. If your set-up allows this, it is worth paying particular attention to cleanliness, because flat field frames can then be used for years. However, if the illumination is not symmetrical or if dust has accumulated on the optical surfaces, new flat field frames must be taken.
The optimal flat field
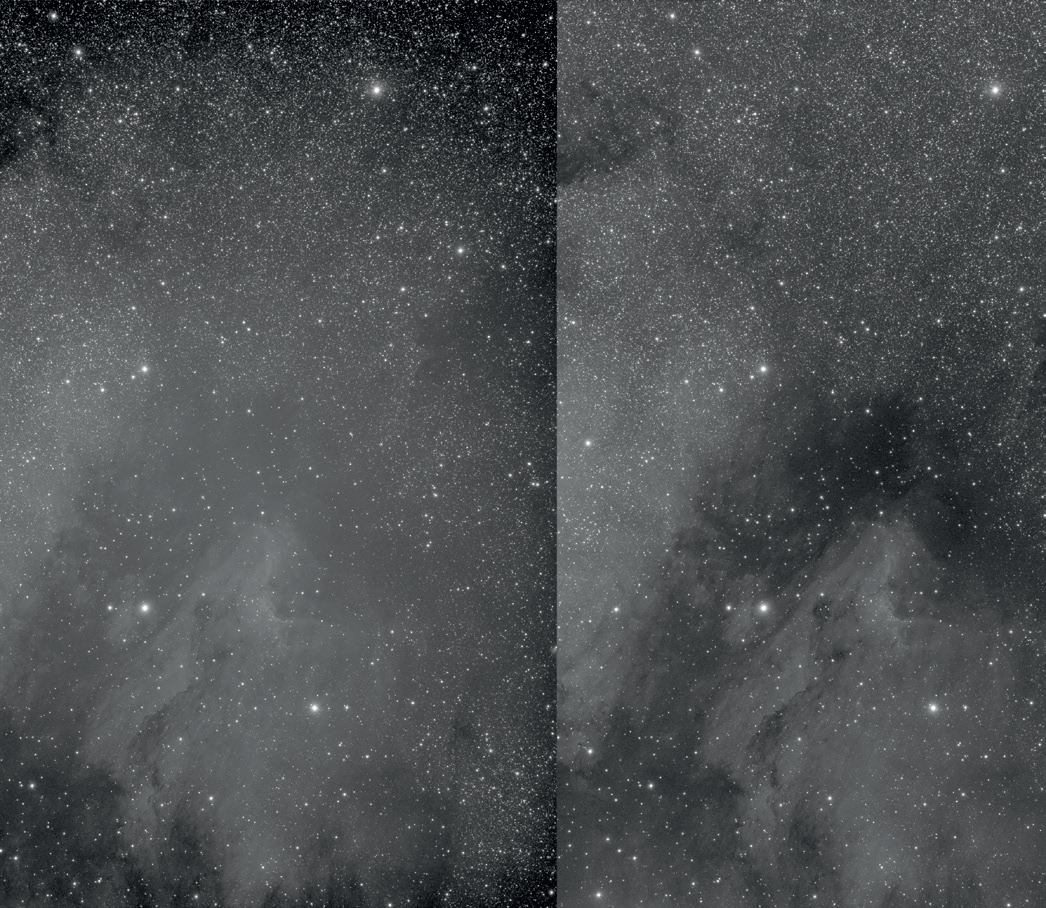 A contrast-enhanced CCD image of the Pelican Nebula before (left) and after flat field correction (right). The visibility of the structures and dark clouds improves significantly and the dark corners of the image disappear. M.Weigand
So what does optimal flat field data look like? In principle, the usual requirements for CCD photography also apply here. The aim is to create the most noise-free image possible. With the usual flat field capture methods (see "In detail"), the exposure times are relatively short and a good signal-to-noise ratio can be easily achieved. In addition, several flats can be averaged – preferably a few dozen - because under no circumstances should the signal-to-noise ratio of the astronomy images be worsened by the use of the flat field frame. It should be noted that, as with the actual astrophotography, dark frames that have been exposed for the same period and at the same temperature must be subtracted.
The exposure time of the flat field frame is selected so that the brightness values lie at approximately half the dynamic range of the camera. For cameras with a mechanical shutter, very short exposure times can be problematic. As the shutter closes, the chip is unevenly illuminated. A suitably long exposure time should be selected, so that the shutter speed is negligible by comparison.
In detail: methods of creating flat field frames
There are many methods of creating flat field frames, all of which rely on creating and photographing an area of completely uniform brightness. The surface must therefore have absolutely no texture. A frosted glass pane, white cloth, or paper in front of the telescope aperture are therefore all useful.
Sky flats
A twilight sky, before stars become visible, offers one possibility. Here, directly after sunset, the telescope is pointed towards the zenith. A type of diffuser in front of the aperture is recommended, as bright stars may become visible on the CCD images. However, the brightness of the sky changes continuously and the exposure time has to be adjusted again and again, which is why the following methods have more to recommend.
White wall
A wall or a screen is evenly illuminated and then photographed. In practice, however, it is difficult to create completely even illumination. Besides, there is not always a white wall nearby.
Luminescent foils
Electroluminescent foils have been available for a number of years. The foil is laid flat over the telescope aperture. If necessary, a couple of layers of paper may reduce the brightness. This makes it very straightforward to take correcting images at any time, which is why this method is the most highly recommended.
Author: Mario Weigand / Licence: Oculum Verlag GmbH