
Are you an astrophotographer? Are you looking for an instrument for taking perfect astrophotos? In this case, you most likely may have reached the end of your search. Because there is something for you: the new Omegon RC telescopes.
The Dream Telescope for Any Astro-photographer
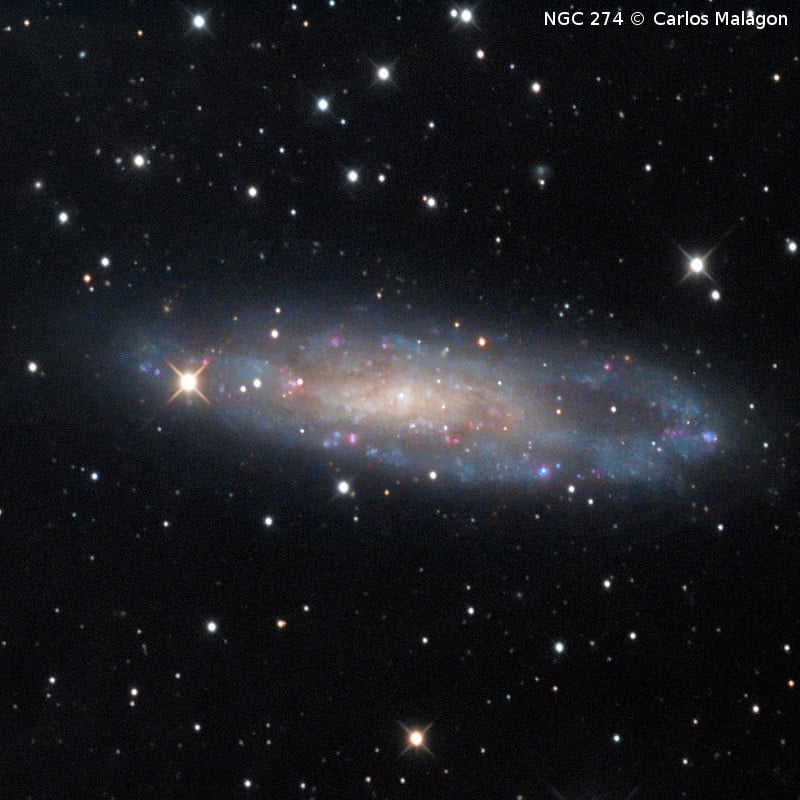
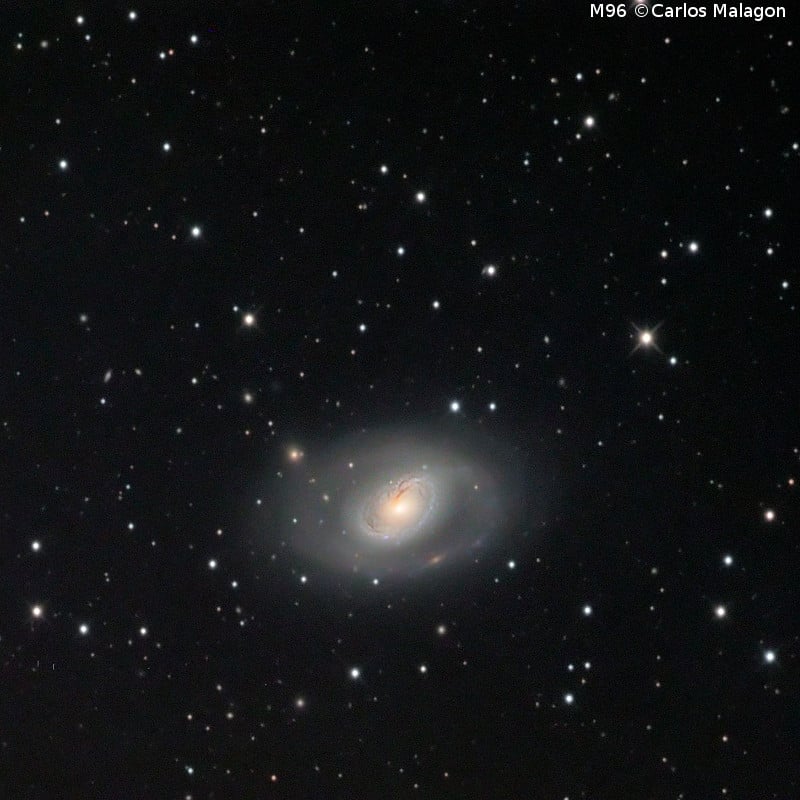
Almost all professional observatories use RC telescopes. Coincidence? Probably not. They produce a coma-free field of view by means of two hyperbolic mirrors. When it pans the field of view through an area full of stars, these remain sharp and round, right to the edge of the field of view. Another advantage: the large usable field of view. It is considerably bigger than any other system, like e.g. Cassegrain or Dall-Kirkham. This provides you as an astro-photographer with a higher level of freedom! Take photos even without a corrector with an APS-C sensor.
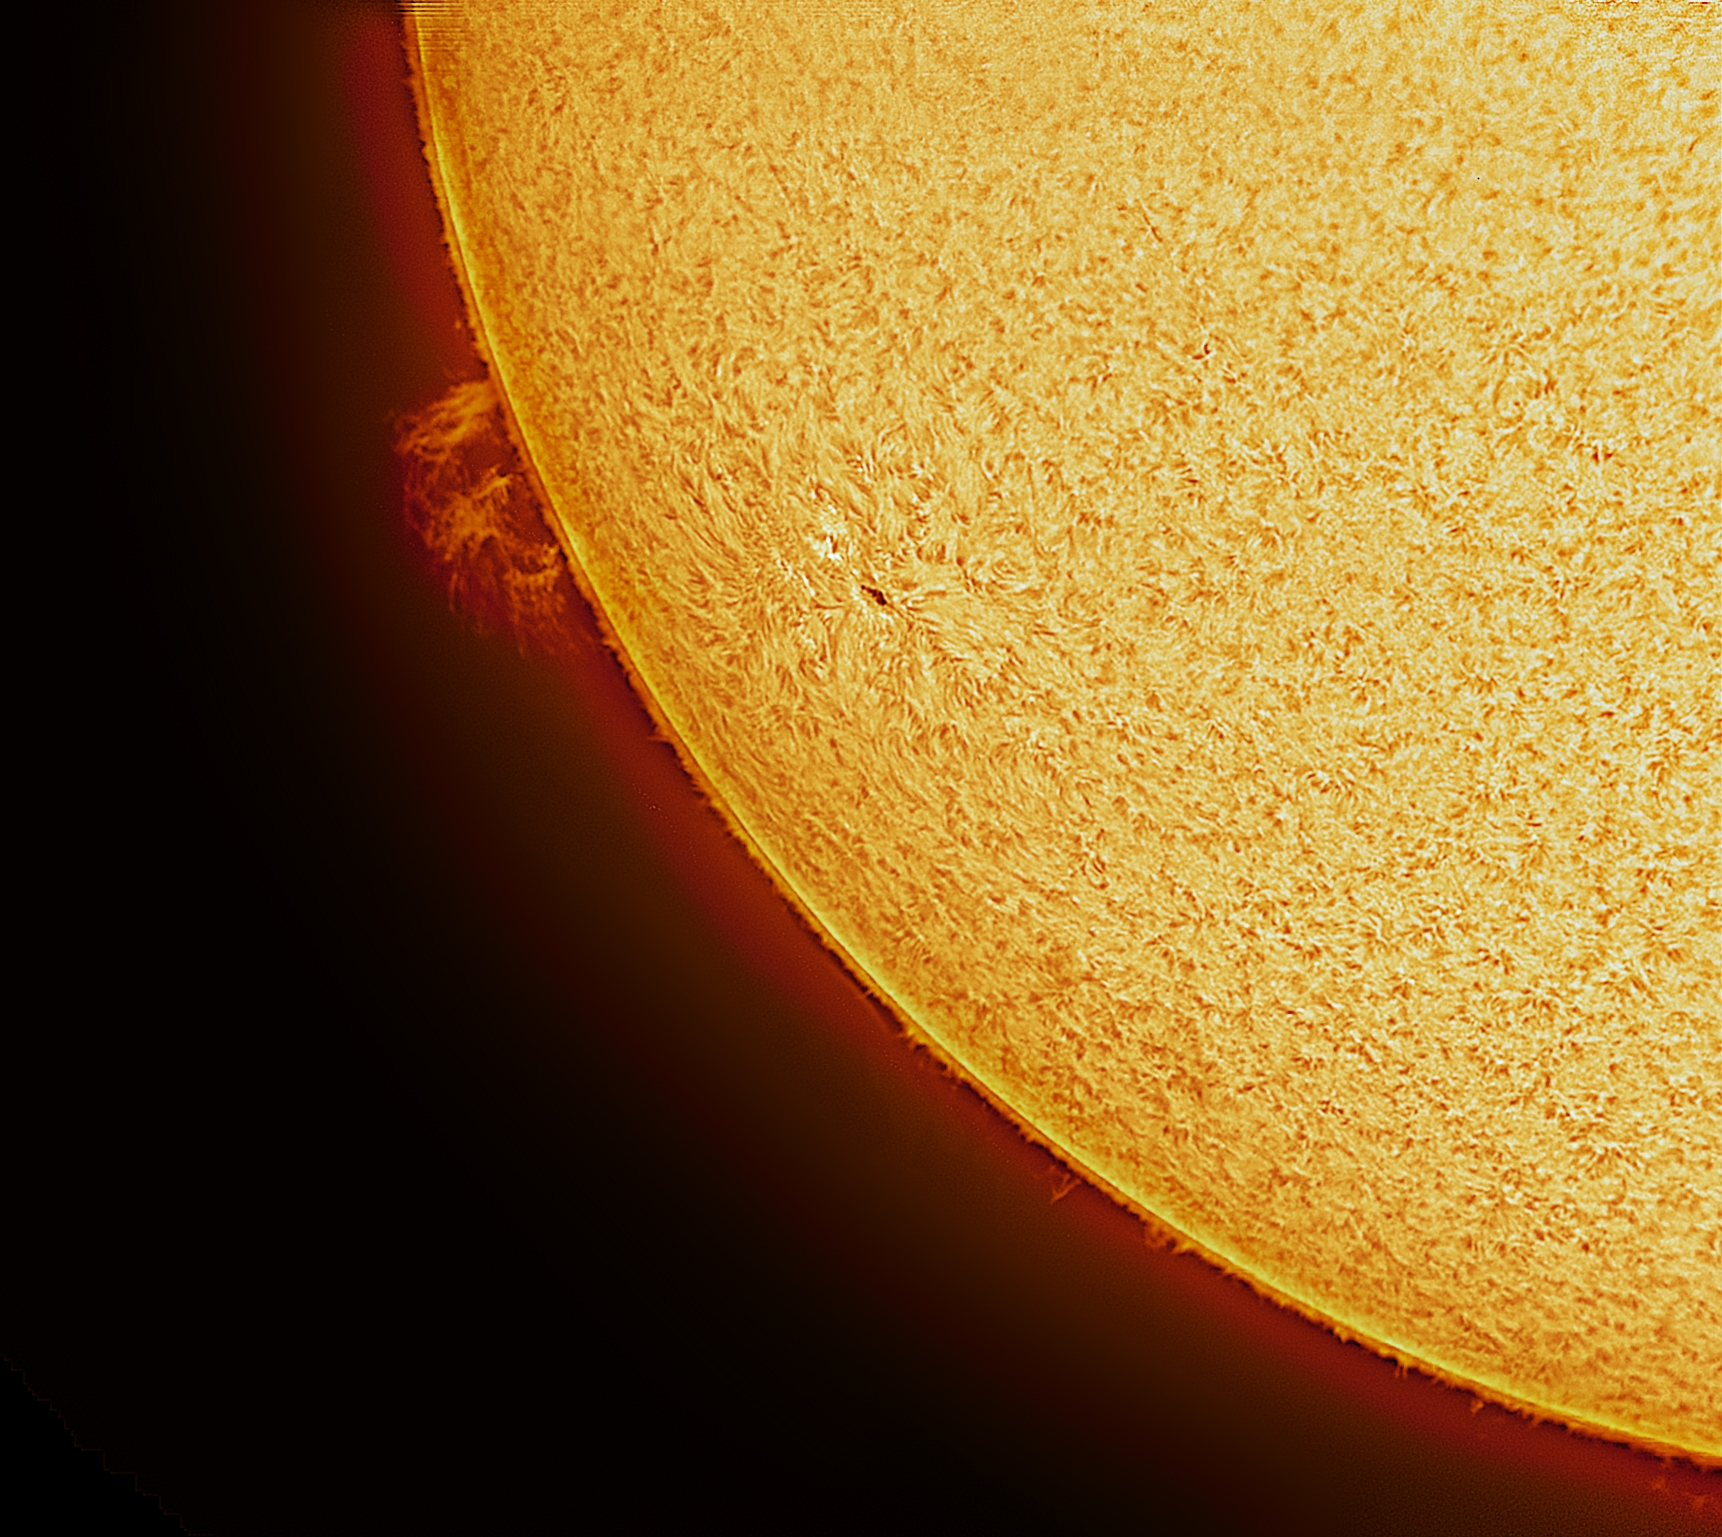
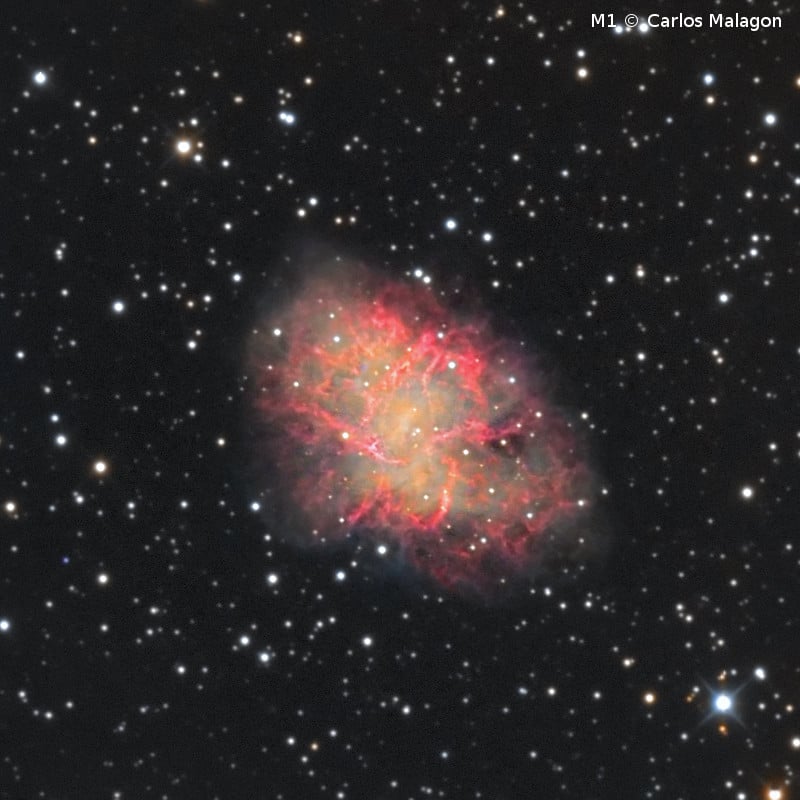
The reason for enthusiasm: These images were taken by our colleague Carlos with Omegon RC telescopes:
Advantages of the Omegon RC telescopes:
- Hyperbolic mirrors: extremely sharp images, large field of view without correctors
- Mirrors made of quartz (8″ and bigger): for stable focus and sharp image, no refocusing required
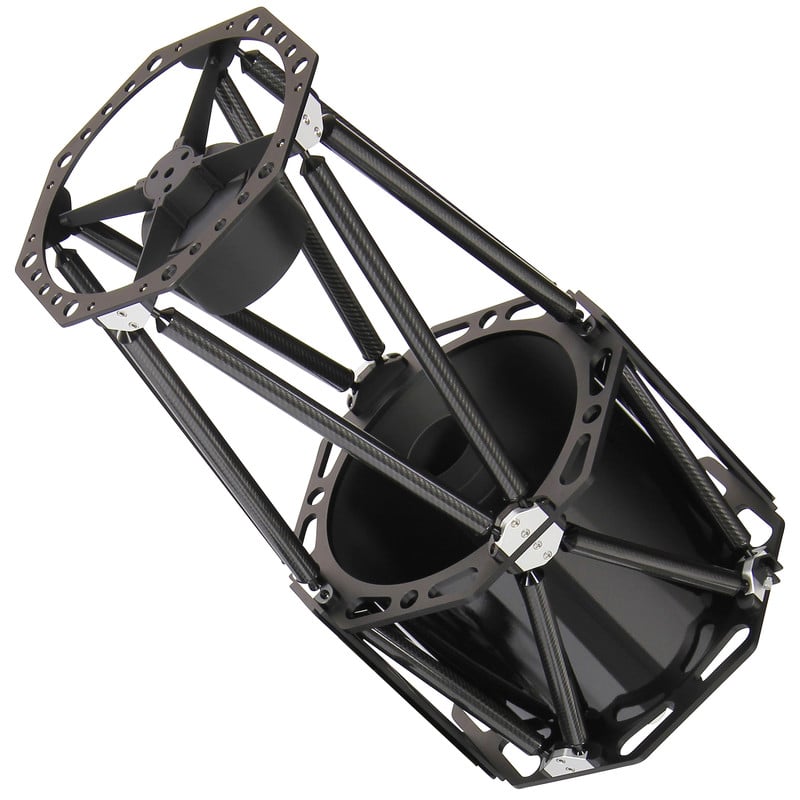
- Available as full tube up to 6″-10″ or as truss tube from 12″-16″ aperture
- High reflection: 92-94% dielectric mirror coating for bright, high-contrast observations and astro-photography
- Quick cooling-off time due to the open design
- High capacity electric fan (8″ and higher): minimizes tube seeing and accelerates optical cooling
- With 2″ or 3″ eyepiece holder, depending on model
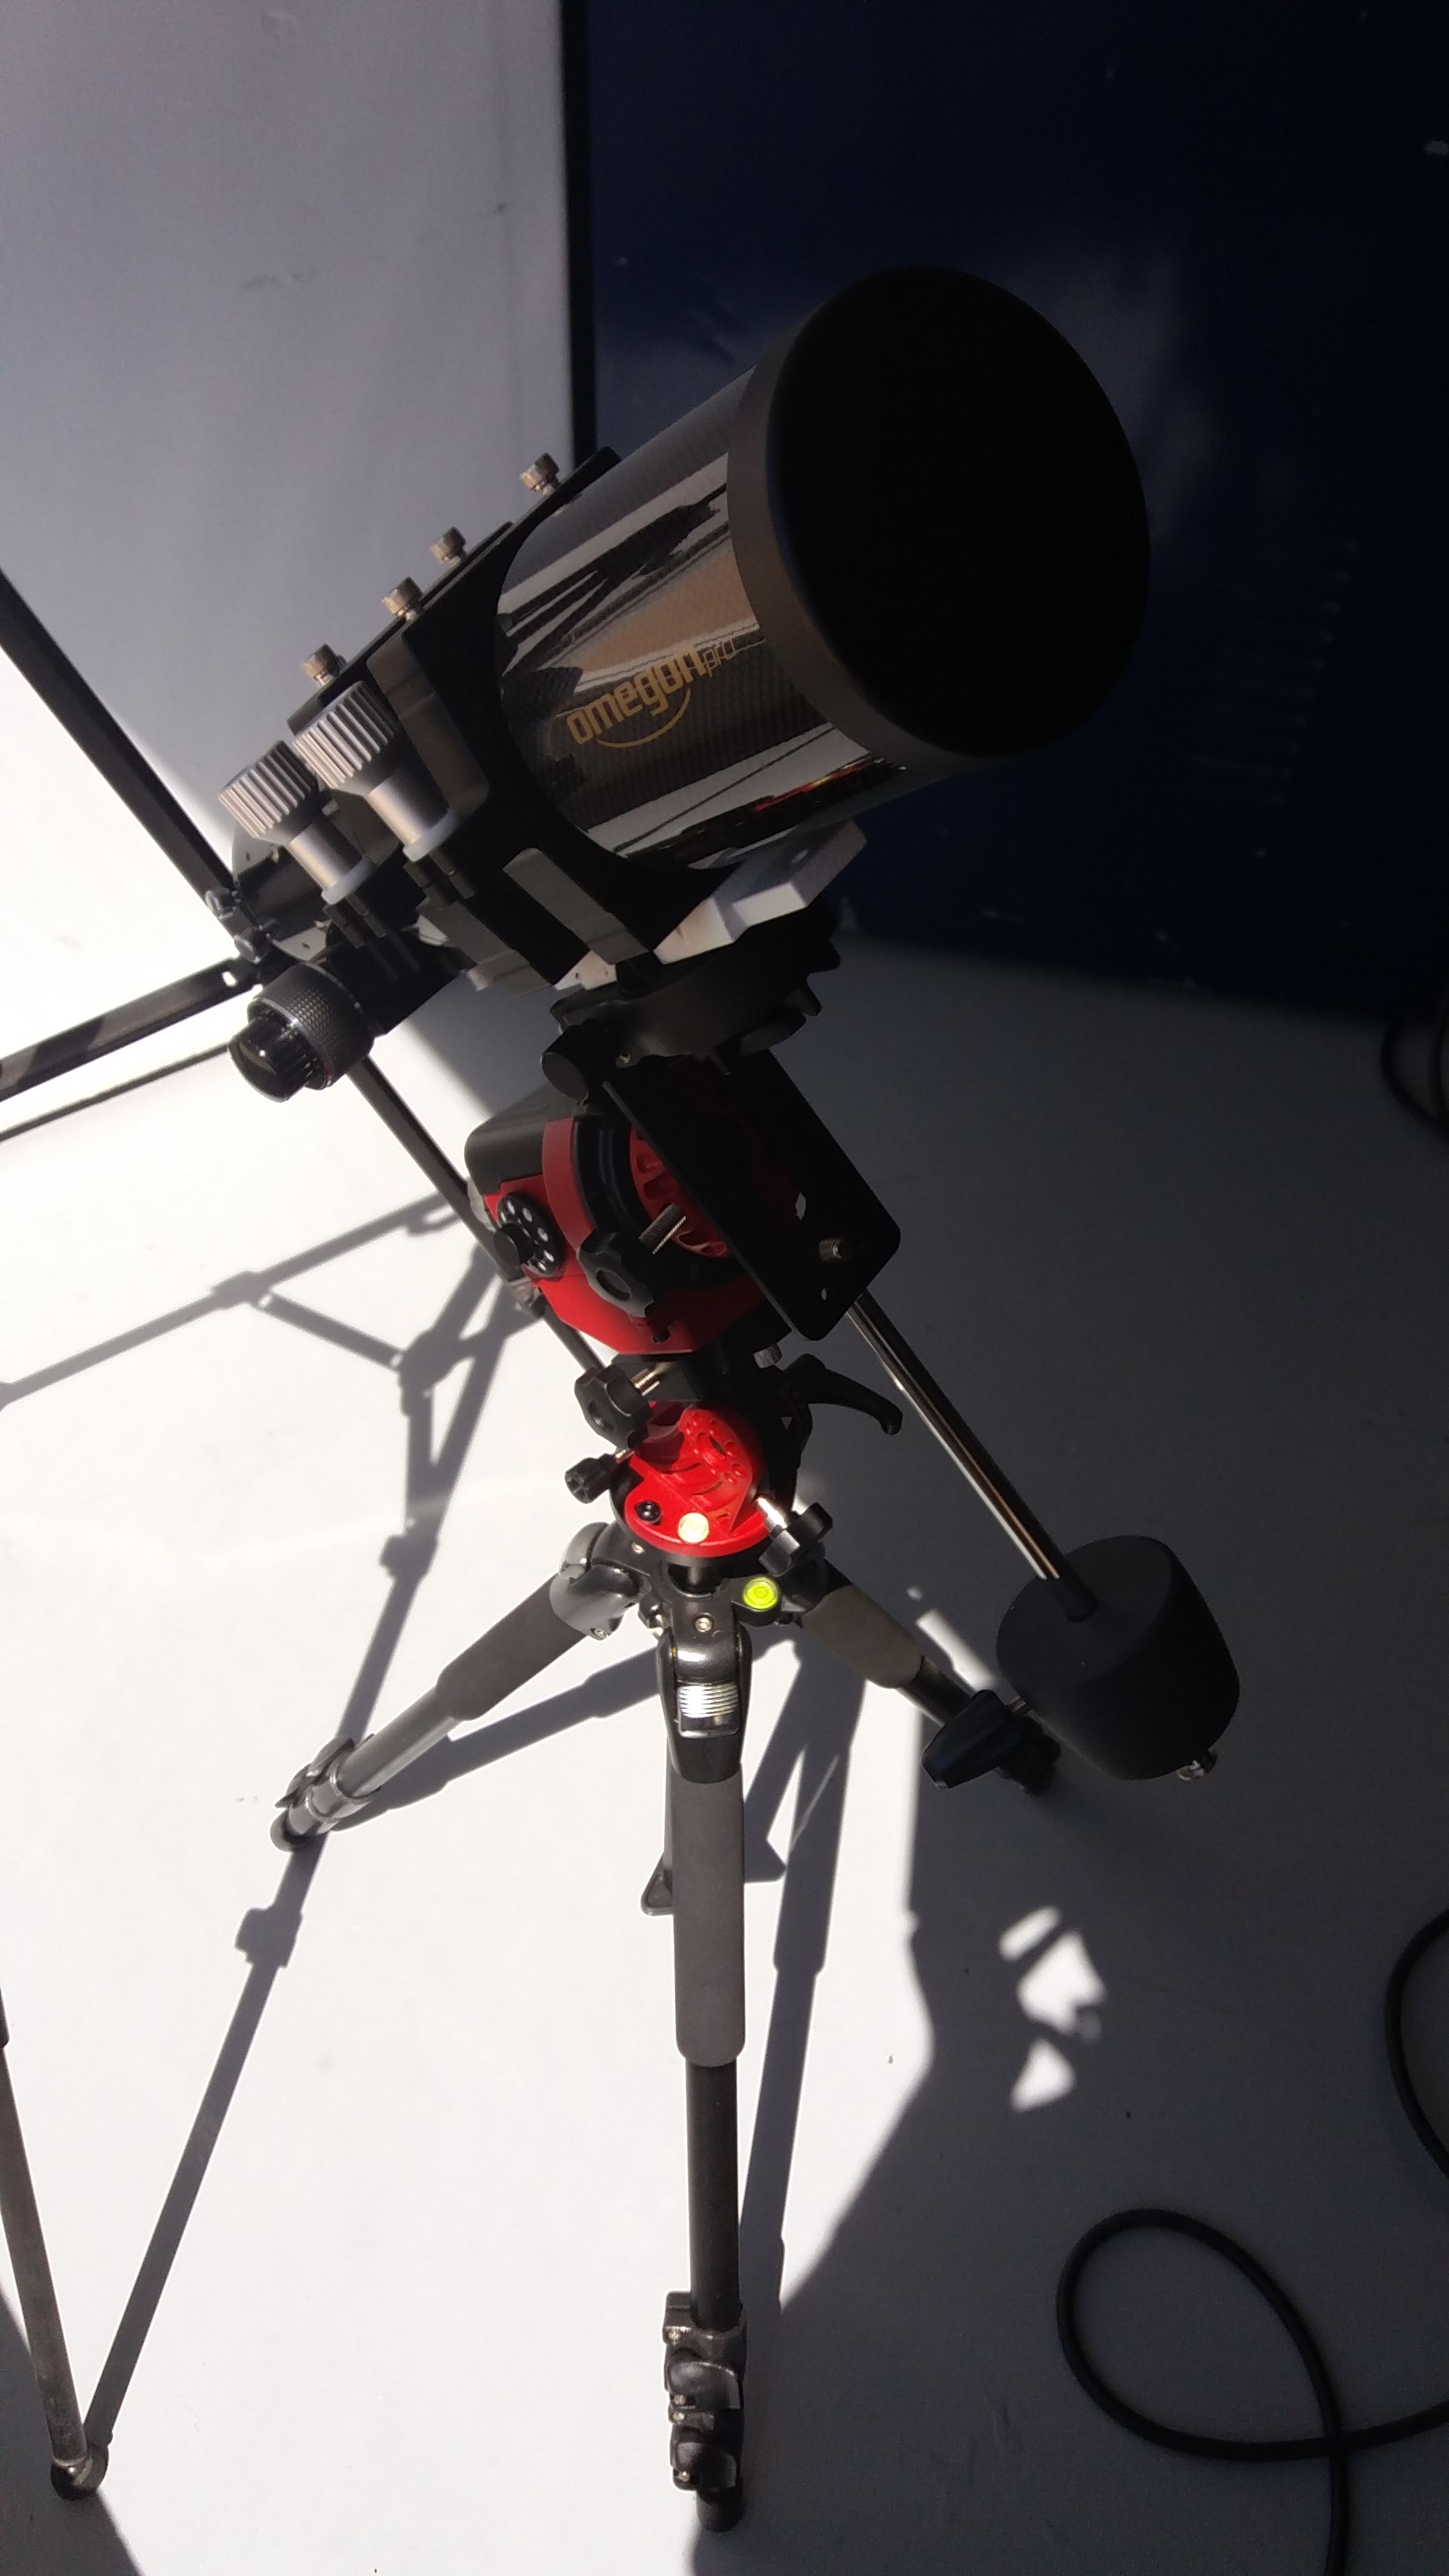
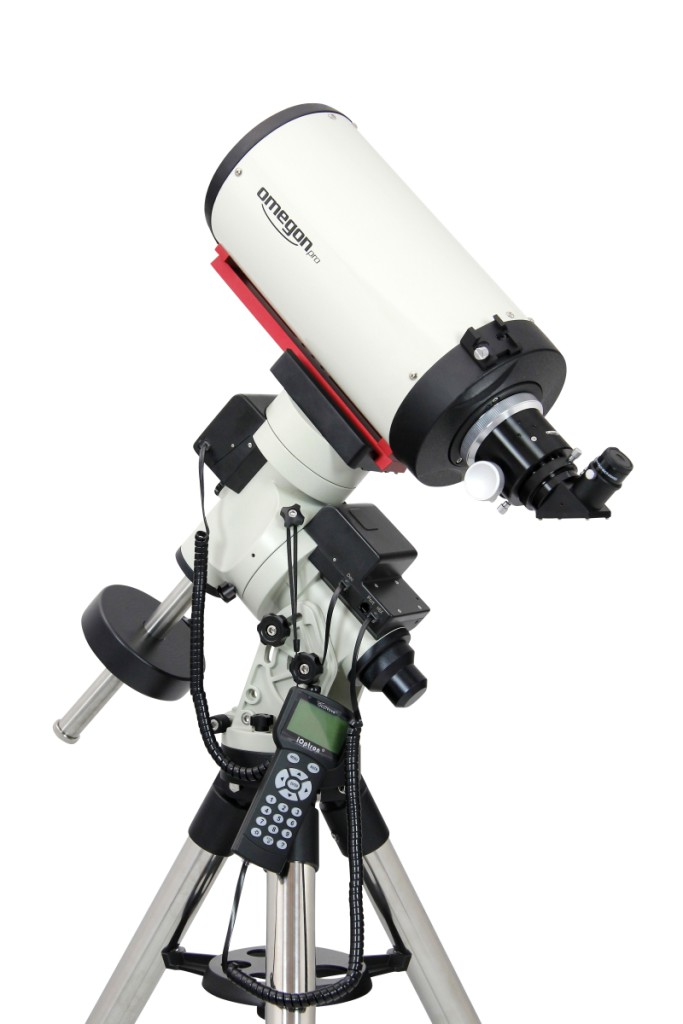
The new Omegon telescopes are the right choice for any amateur astronomer: Choose from six different instruments with apertures ranging from 6″ to 16″.
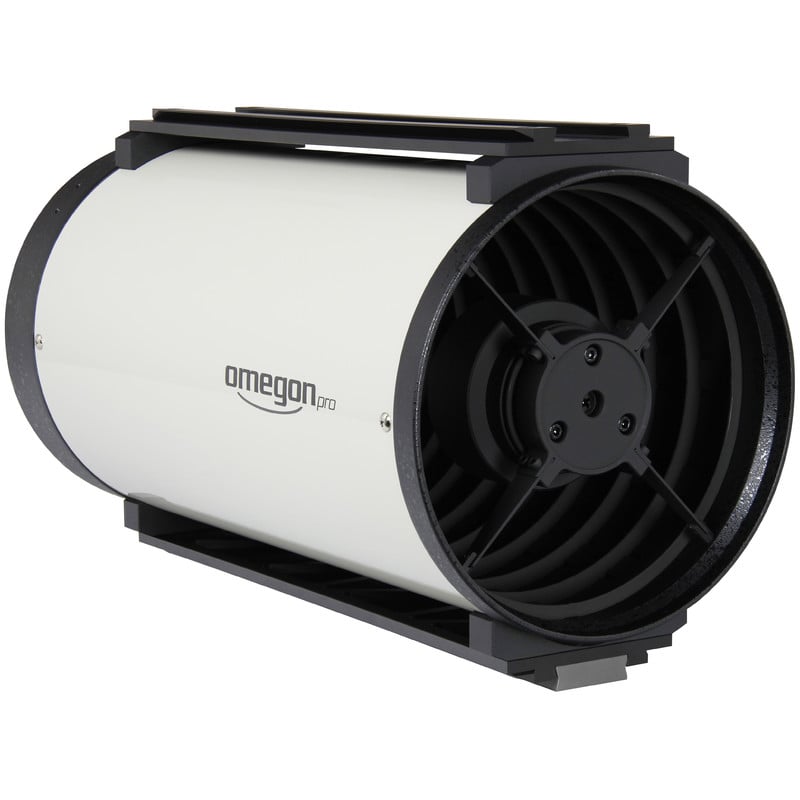
The full tubes of the RC telescopes are available with 6″, 8″ or 10″. With a Vixen style and 3″ Losmandy rail to match your mount. At the top, the tube offers ample space for other accessories, like a guiding system.
The RC truss telescopes with sizes of 12″, 14″ and 16″ are perfectly suitable for a stationary observatory.
Until recently, RC telescopes were very expensive for amateur astronomers. Now let your dream come true: a reasonably priced “professional telescope” for your own mobile or stationary observatory.
Interested? Click here to find the professional telescope for your own observatory. Or ask for a personal consultation on the phone.
By the way: If you are thinking about an own observatory with an RC telescope – why not have a look at our observatory domes. You are planning on a big scale? On request, we will organize the complete construction and accompany your project right to handing over the key.